From a Negative to a Darkroom Print
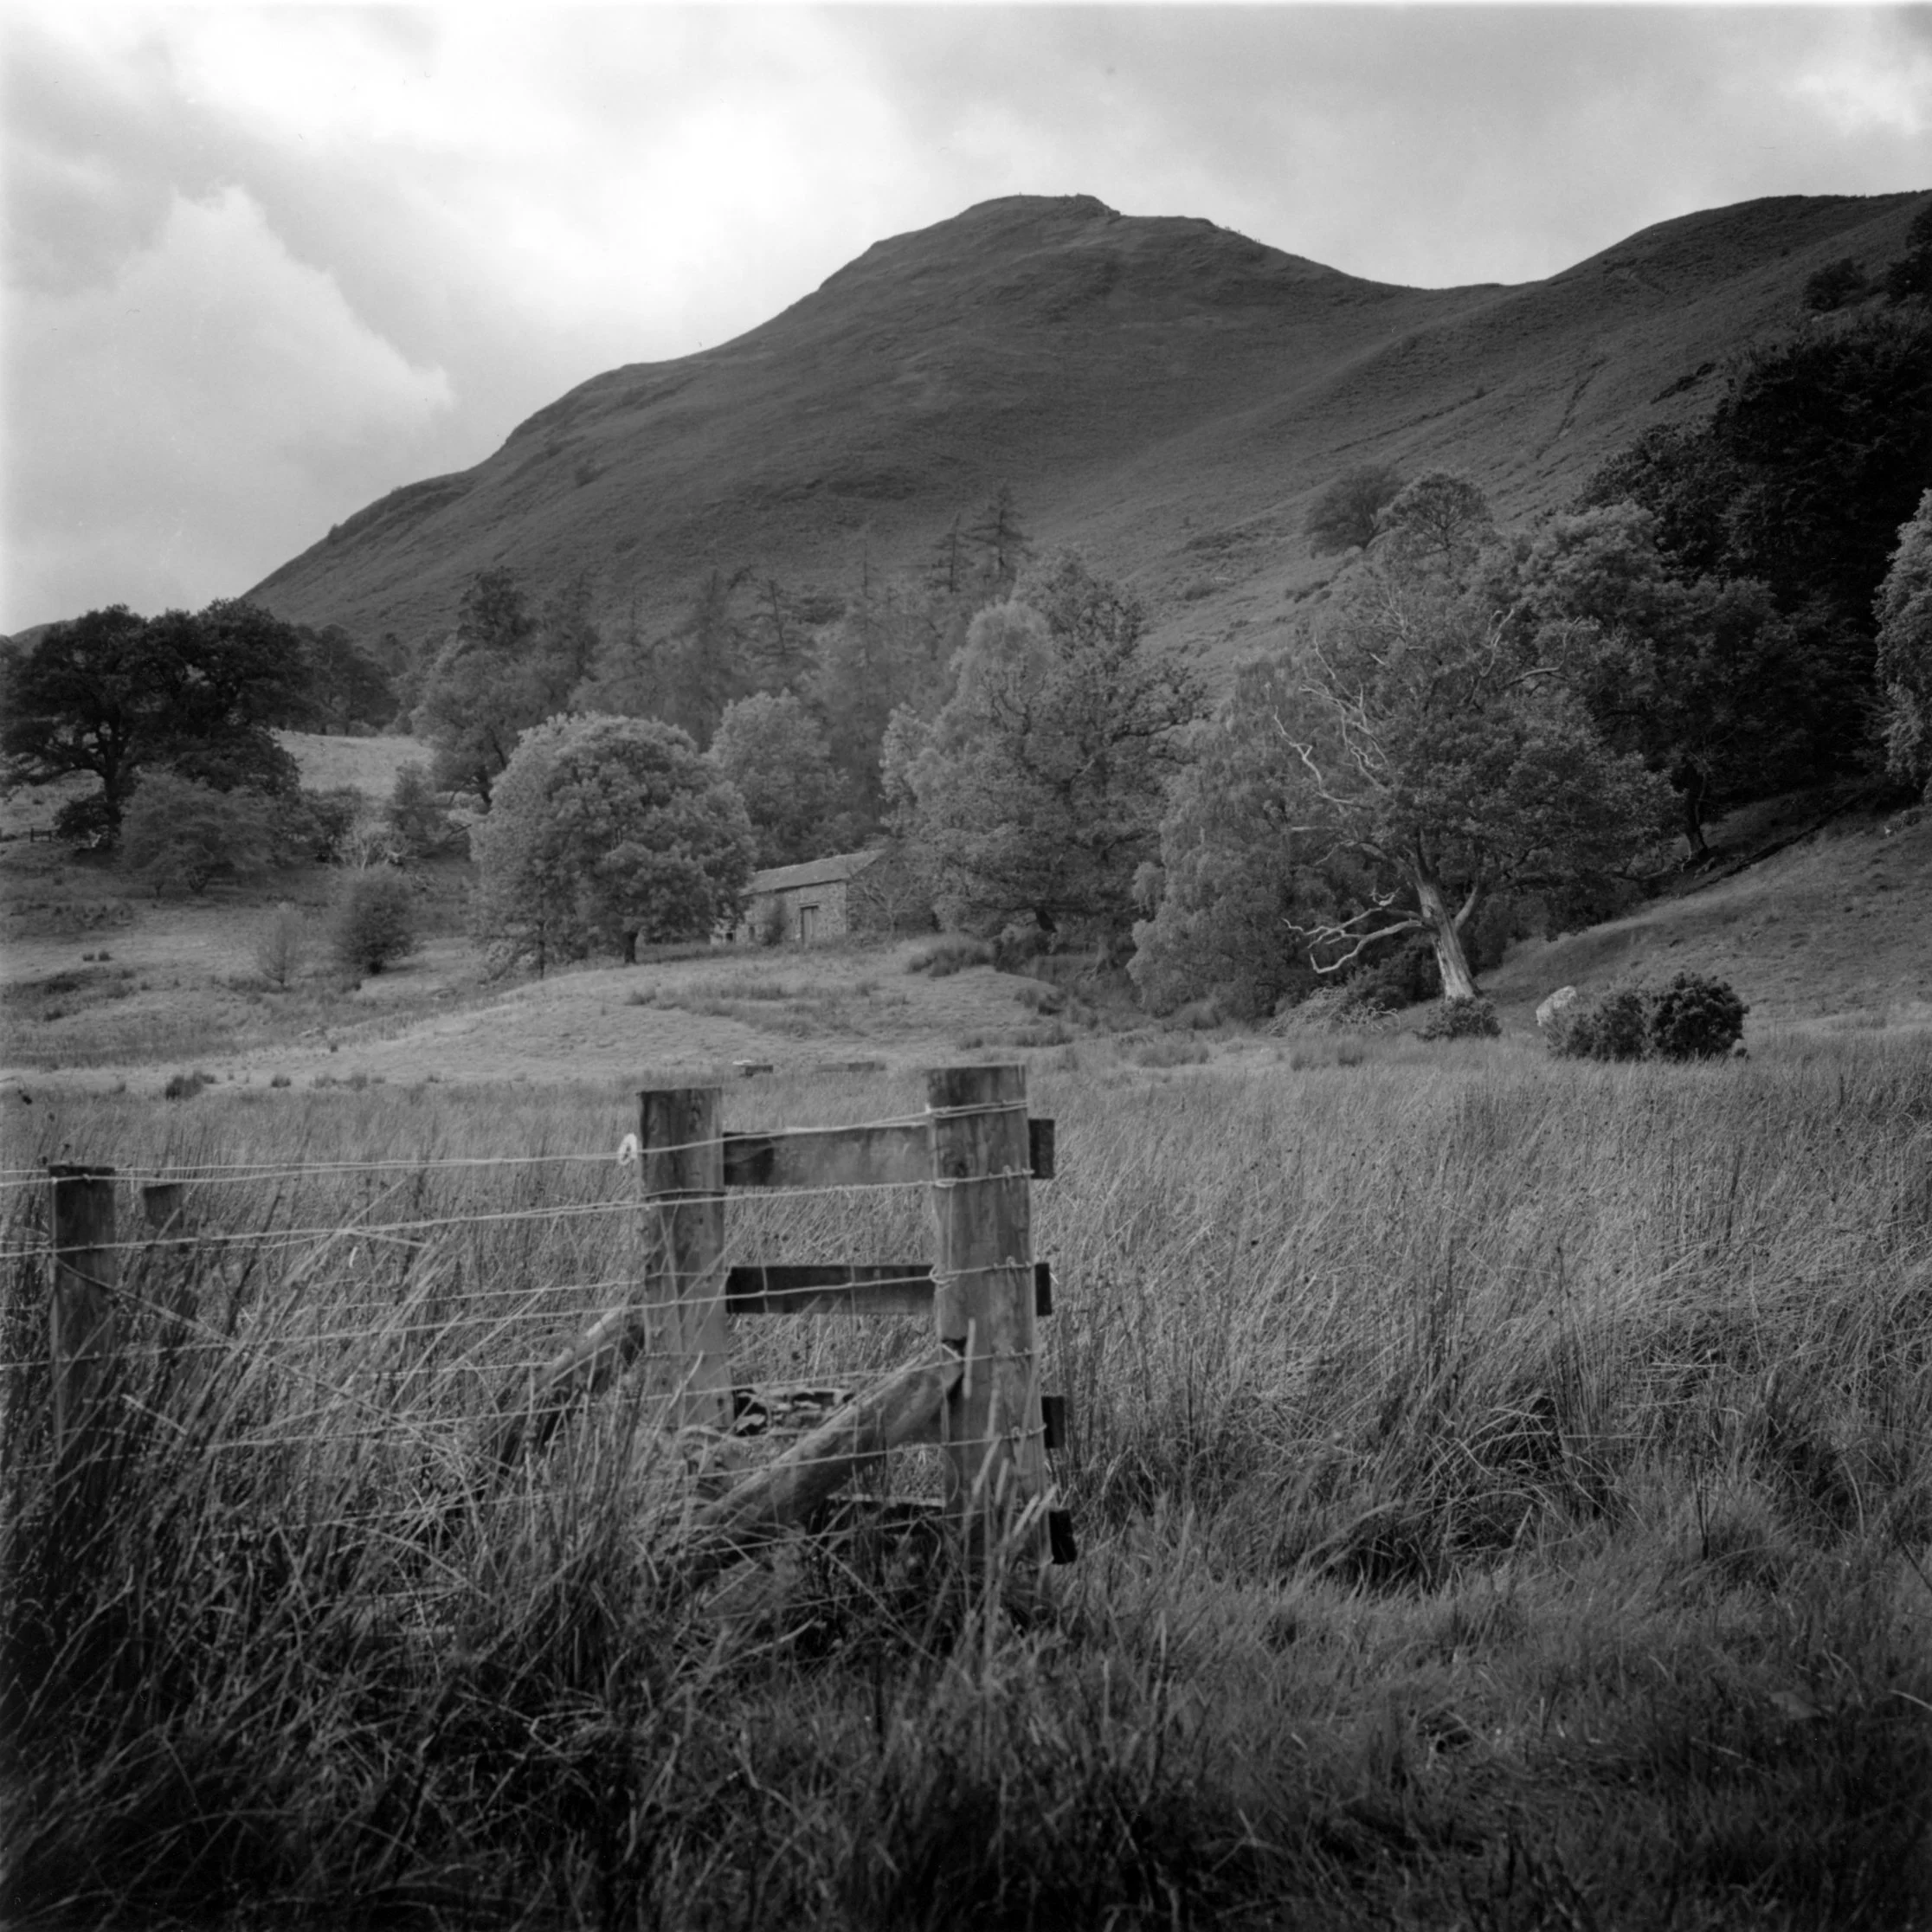
The photograph I spent the most time on after our trip to Derwentwater was made between two boat stops. My partner and I had taken Lake Trip tickets so we could spend the day moving along the shore with our cameras. I had my Hasselblad 500C with me, but this was a newly acquired body after the failure of my previous one. The two rolls of Ilford HP5 Plus 400 I shot that day were the first and second to go through the new setup. I expected the frames I made at Lodore Falls to be the first ones I would print. Instead, it was a scene I noticed on the walk from Low Brandelhow to Hawes End that kept drawing me back to the darkroom.
I had finally visited Lodore Falls for the first time and finished my first roll there, making five frames of the falls. I’ll come back to those photographs another time. From Lodore, we caught the boat to Low Brandelhow and spent some time around the bay and jetty before setting off towards Hawes End. We planned to catch the boat back to Keswick from there, along with the walkers returning from Cat Bells.
There was an added interest in seeing what came back from this trip because I hadn’t yet put a roll through the replacement body. I had spent years using the previous one before a broken gear brought that to an end. Although this was a different camera body, I was carrying it into familiar territory: loading a roll, looking down into the waist-level finder, and deciding which of the scenes along the shore was worth one of the twelve frames. I wouldn’t know what the new setup had produced until I developed the film at home.
Roughly halfway between Low Brandelhow and Hawes End, I came across the scene in this photograph. A wooden fence sits among long grass in the foreground. Beyond it, an old farm building stands between the trees, with the hillside rising behind them and clouds above. The building is easy to miss at first, but it was part of what made me stop. It places something small and human within a much larger landscape, without becoming the obvious subject of the frame.
I made one exposure. I wasn’t entirely sure that I had found the best composition, and I still feel that way looking at the photograph now. A longer lens might have brought the farm building and hillside into a closer relationship, while a slightly different position could have changed how the building appeared between the trees. Those are possibilities I can see after spending far longer with the frame than I spent standing on the path. They don’t make me regret using a frame on it. Of the photographs from the day, this was one I particularly wanted to see as a print.
The first two rolls through the new body
Back home, I developed both rolls of HP5 together. My Paterson multi-reel tank can take up to four rolls of 120, although I only had two from this trip. I loaded them onto two Kaiser reels, which have a larger lip to help feed the film in. It is a small practical difference, but a welcome one when loading 120 film in the dark. Once the beginning of the film has caught properly, the rest of the roll is much easier to wind onto the reel.
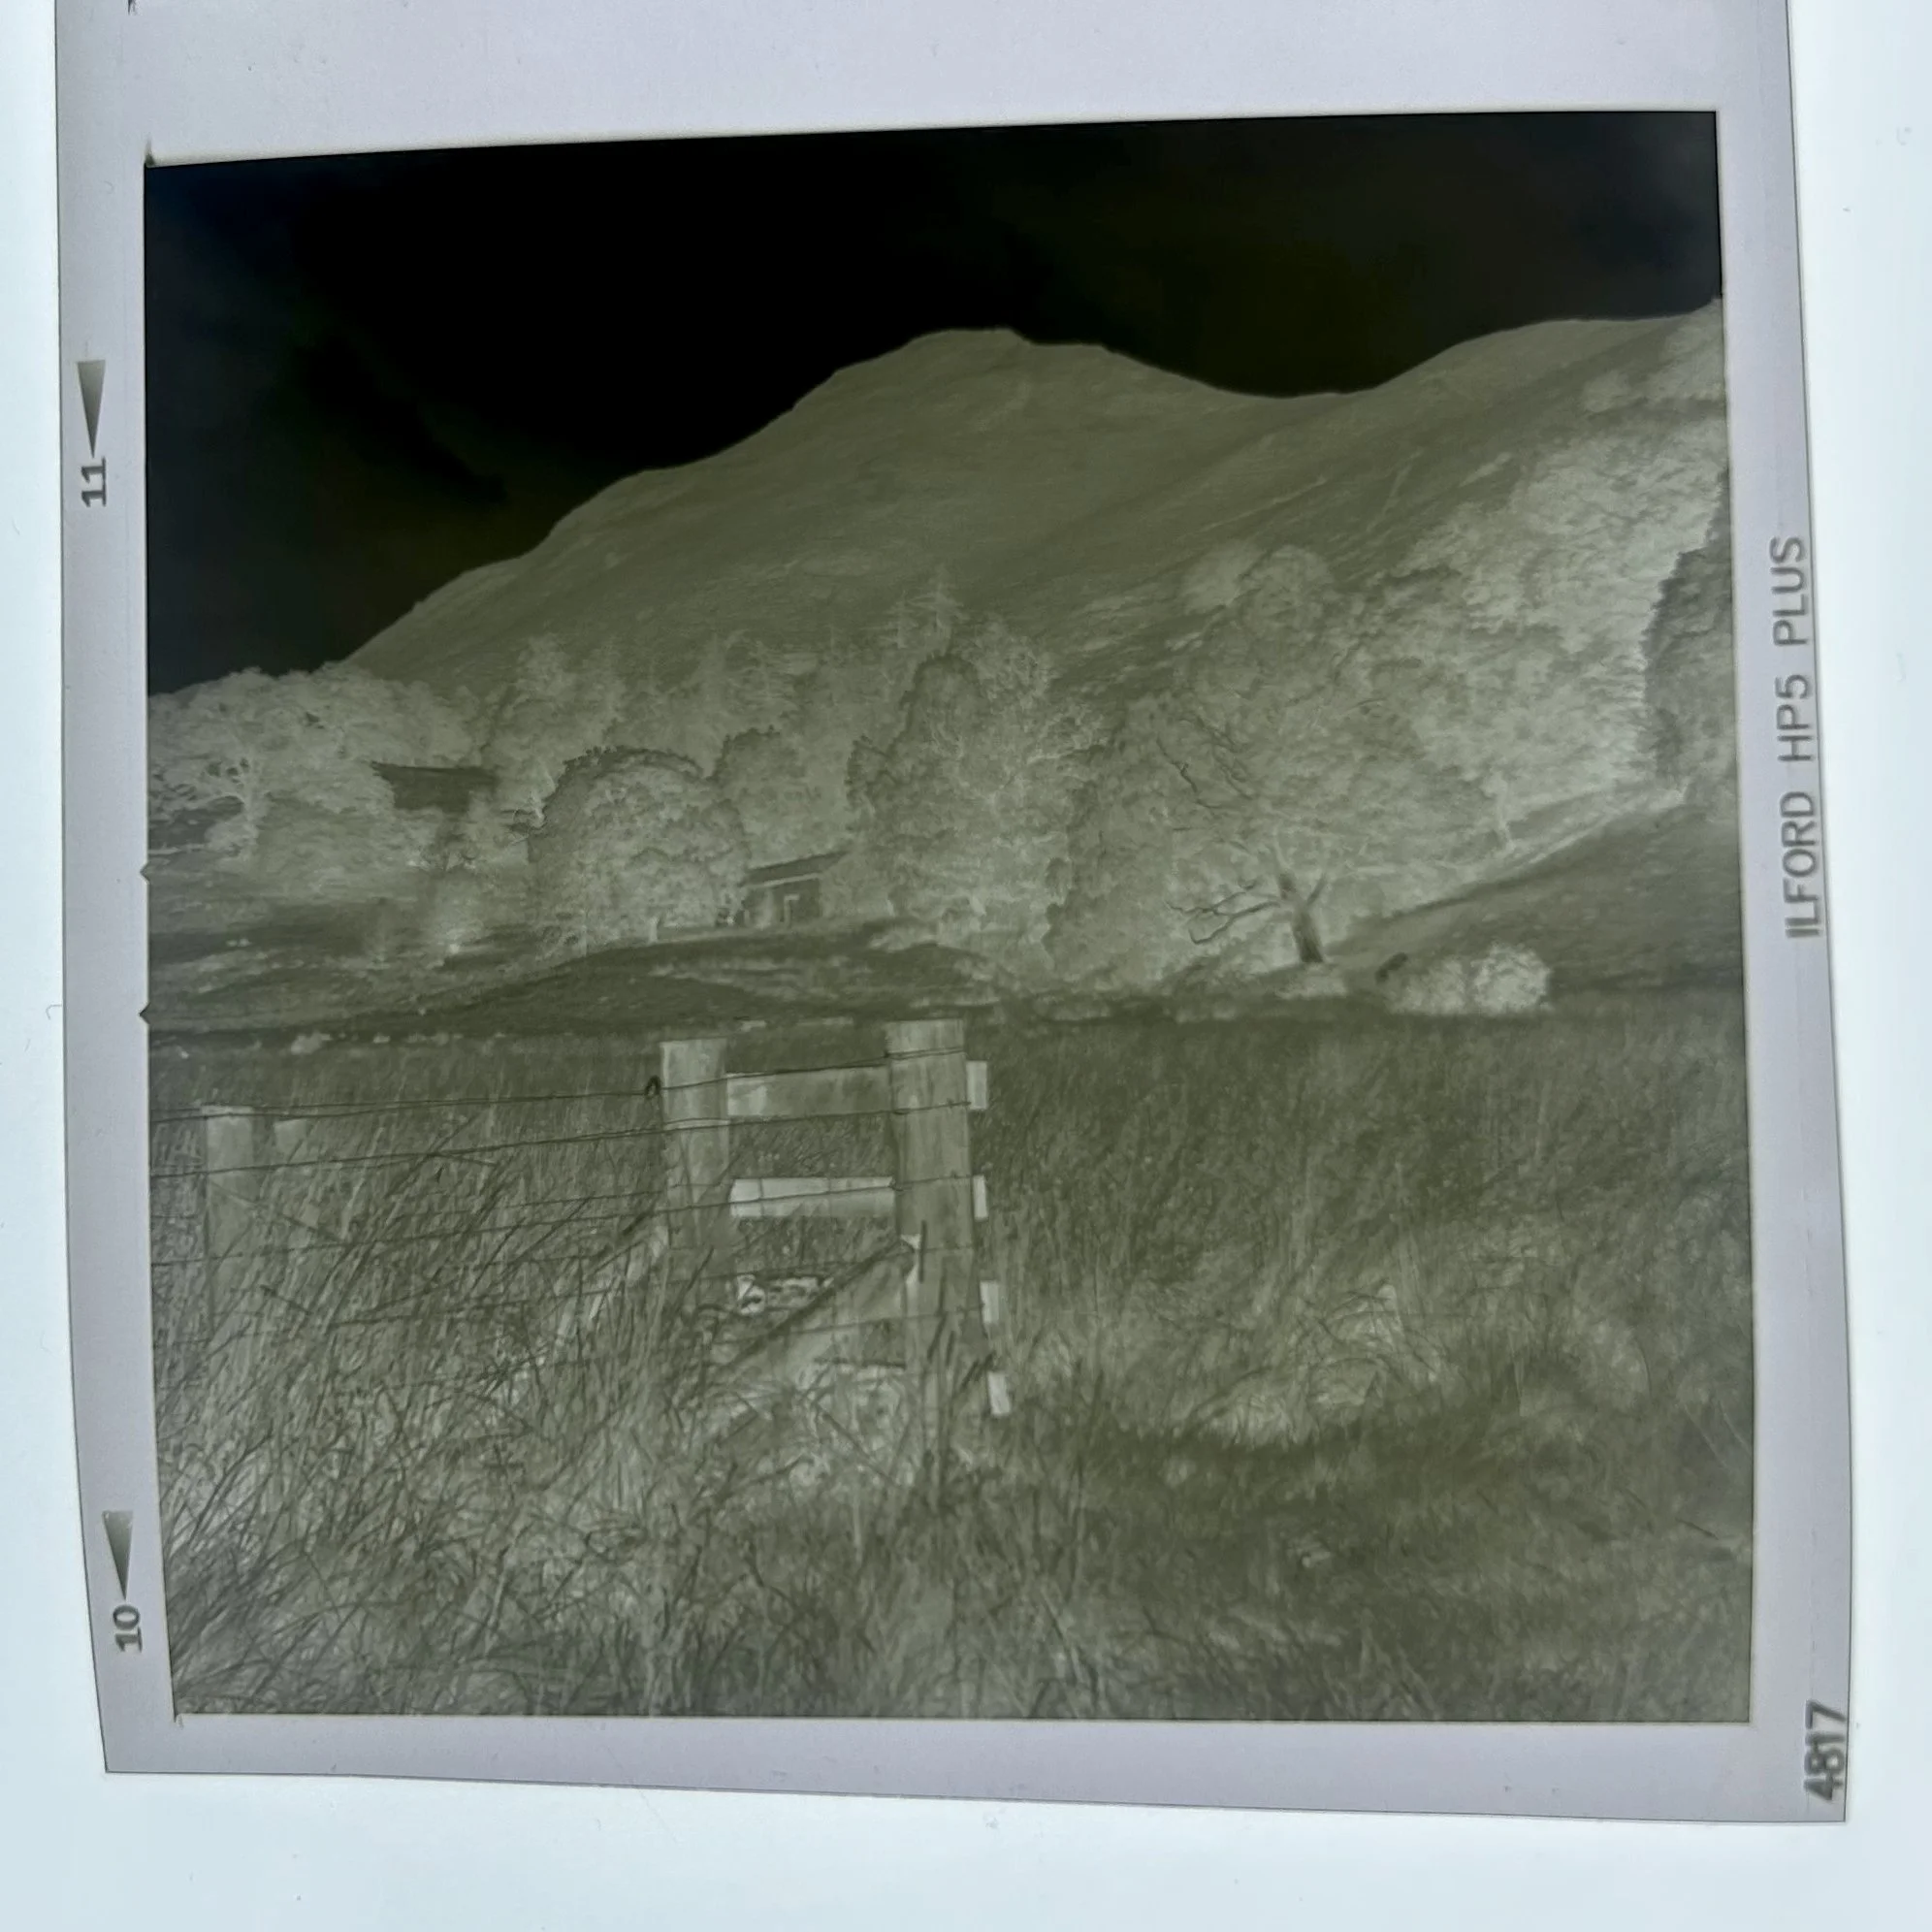
At the moment, I’m using Zone Imaging De Fehr’s 510 Pyro pretty much exclusively for my black-and-white film. I gave these rolls a one-minute pre-wash, then developed the HP5 for eight and a half minutes. After the developer, I used plain water for sixty seconds before fixing the film in Zone Imaging Eco Zonefix, an alkaline rapid fixer. I then washed and dried the negatives before scanning them with my Epson V550.
Developing those two rolls was the first chance to see what the replacement body had actually put on film. There is always some anticipation when I take film out of the tank, but I was especially keen to look over these negatives. I had bought the body so that I could continue using the Hasselblad after the failure of the previous one; this trip had finally given me photographs made with it rather than just a camera ready to be used.
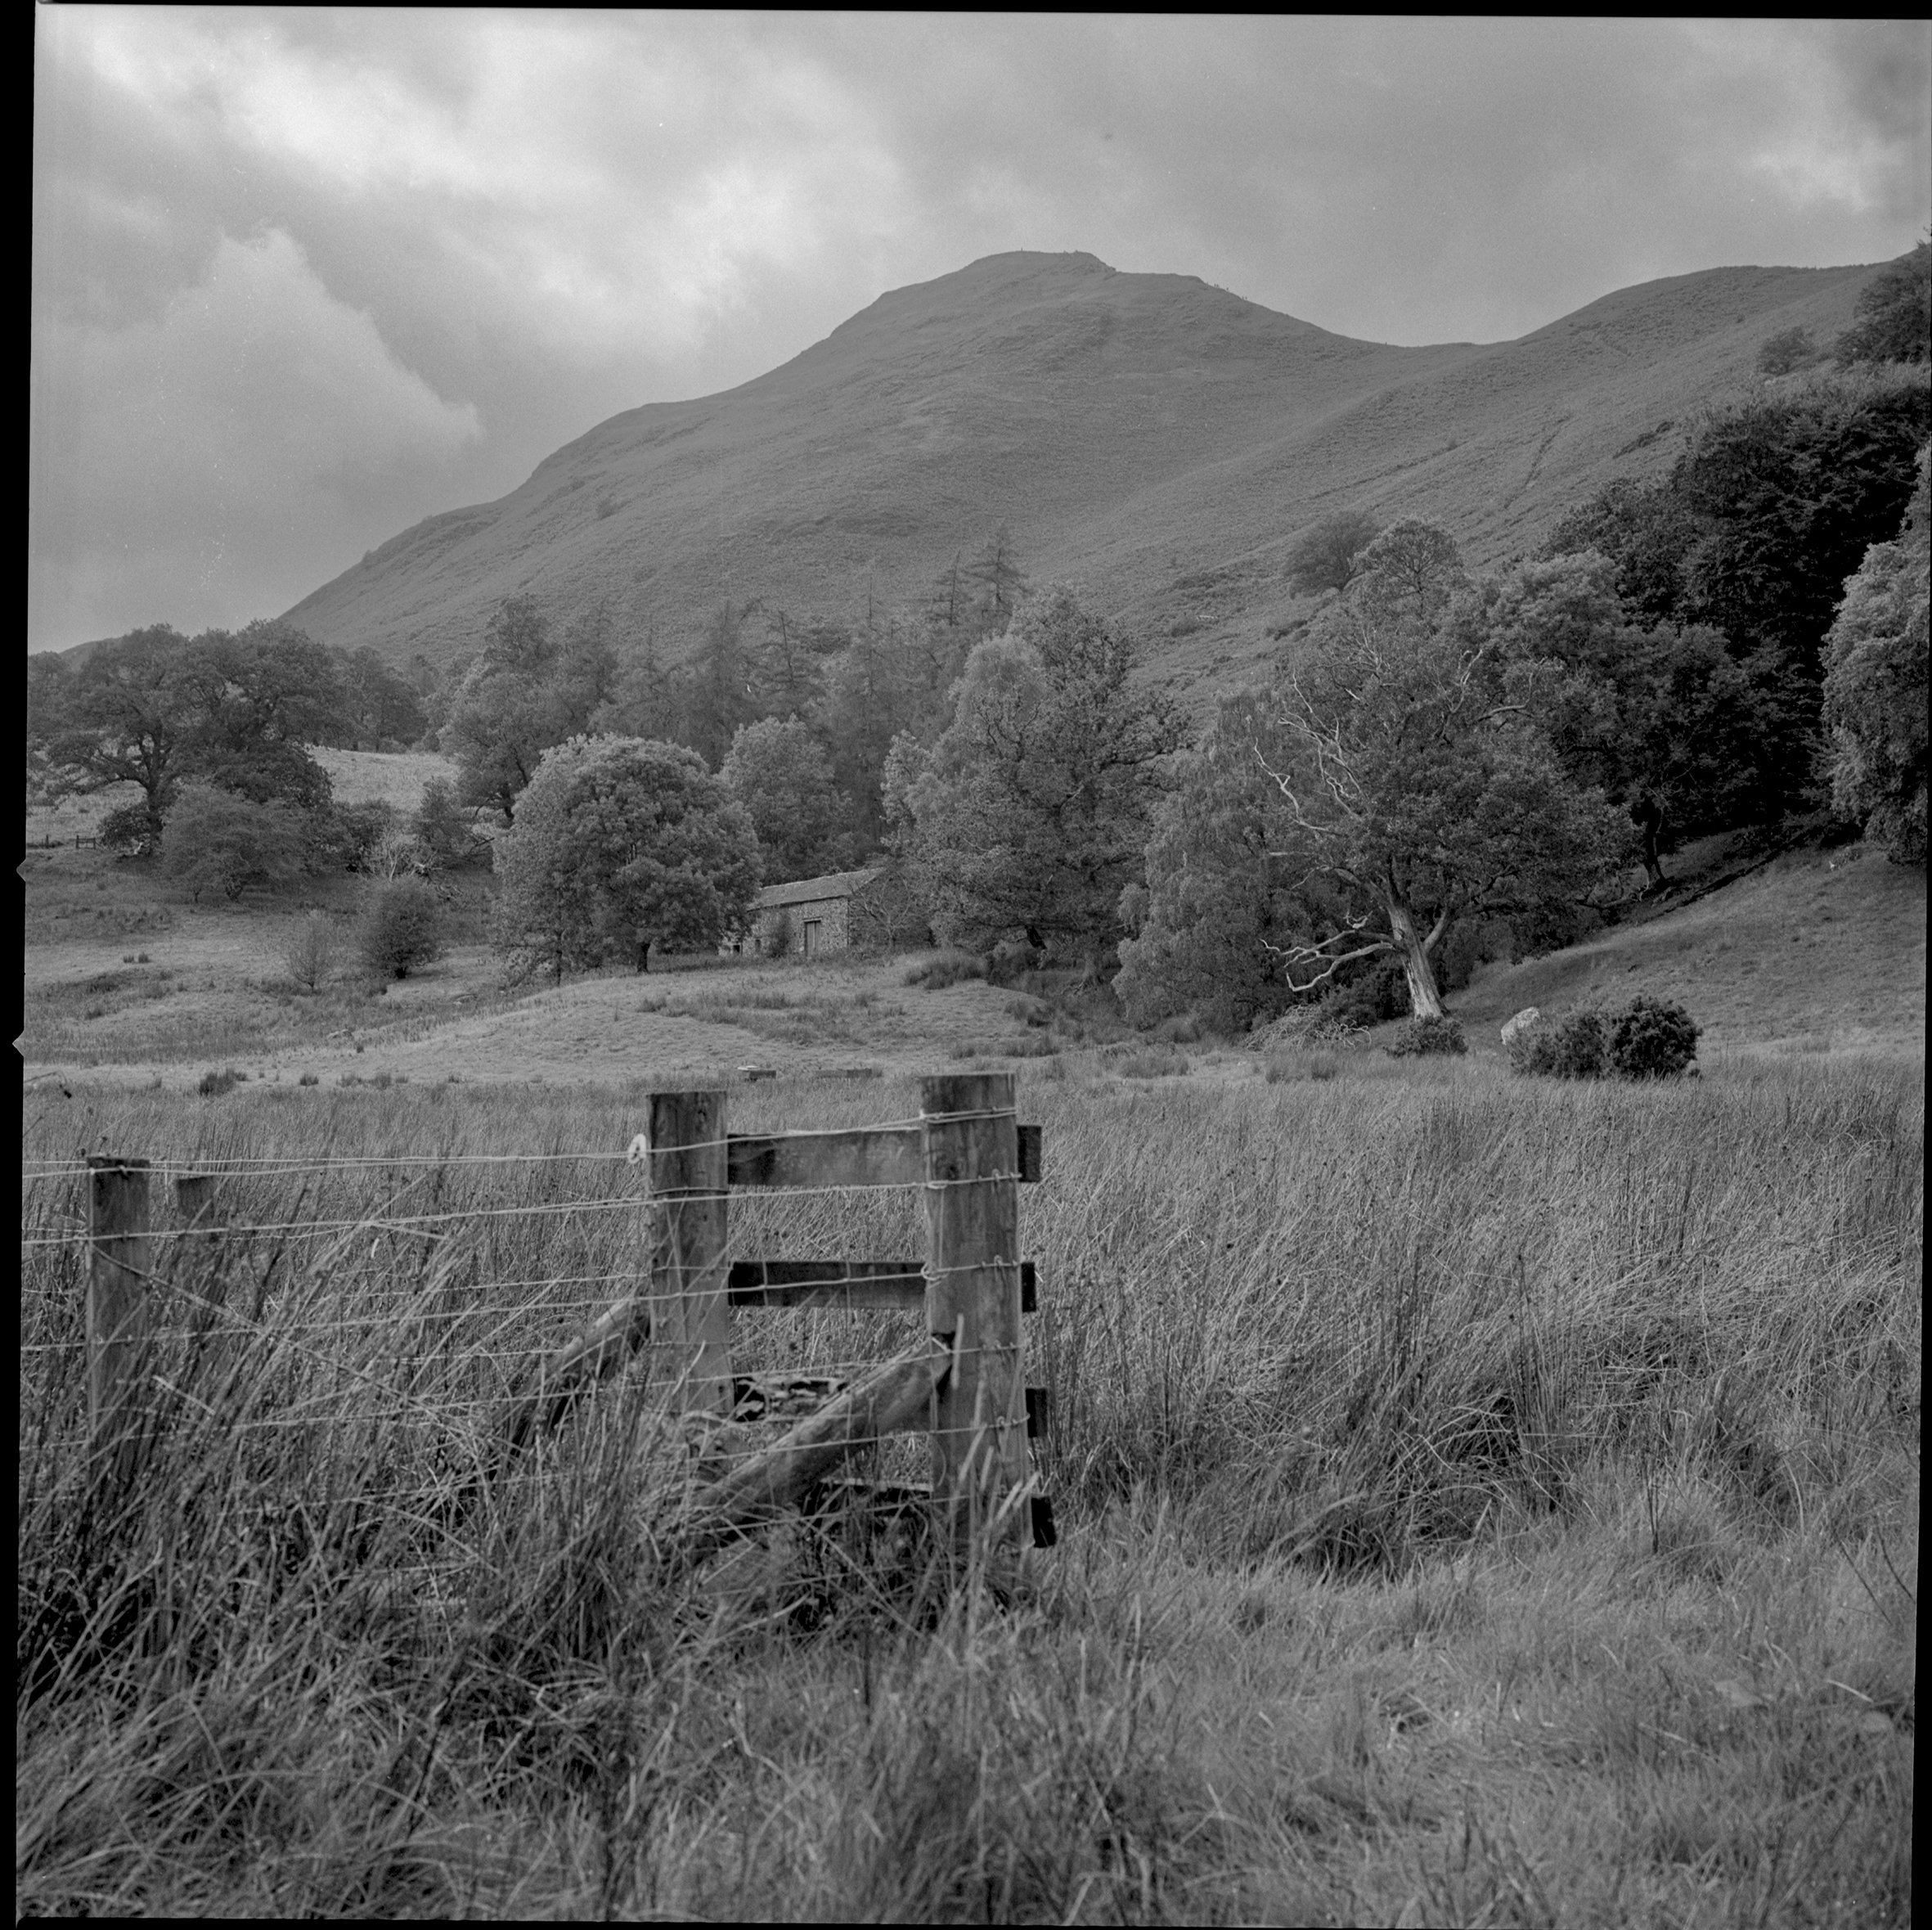
The scan of this particular frame was fairly flat. That didn’t bother me, because I was using it to look through the roll and decide which negatives I wanted to work on. I could see detail in the clouds and enough separation through the trees to make me interested in what the photograph might become on paper. The farm building was there in the middle distance, partly absorbed into its surroundings, just as it had been when I first noticed it on the walk.
I spent some time zooming into the scan to inspect the detail, as I often do after developing film. Eventually that stopped telling me much. There is only so much sharpness I can get from a film scan on the V550, and enlarging the file on a screen doesn’t reveal detail indefinitely. I could adjust the digital image to get a better idea of the negative, but I wanted to see what I could do with it under the enlarger. The scan had helped me choose a frame. It wasn’t where I wanted to finish it.
Finding the exposure
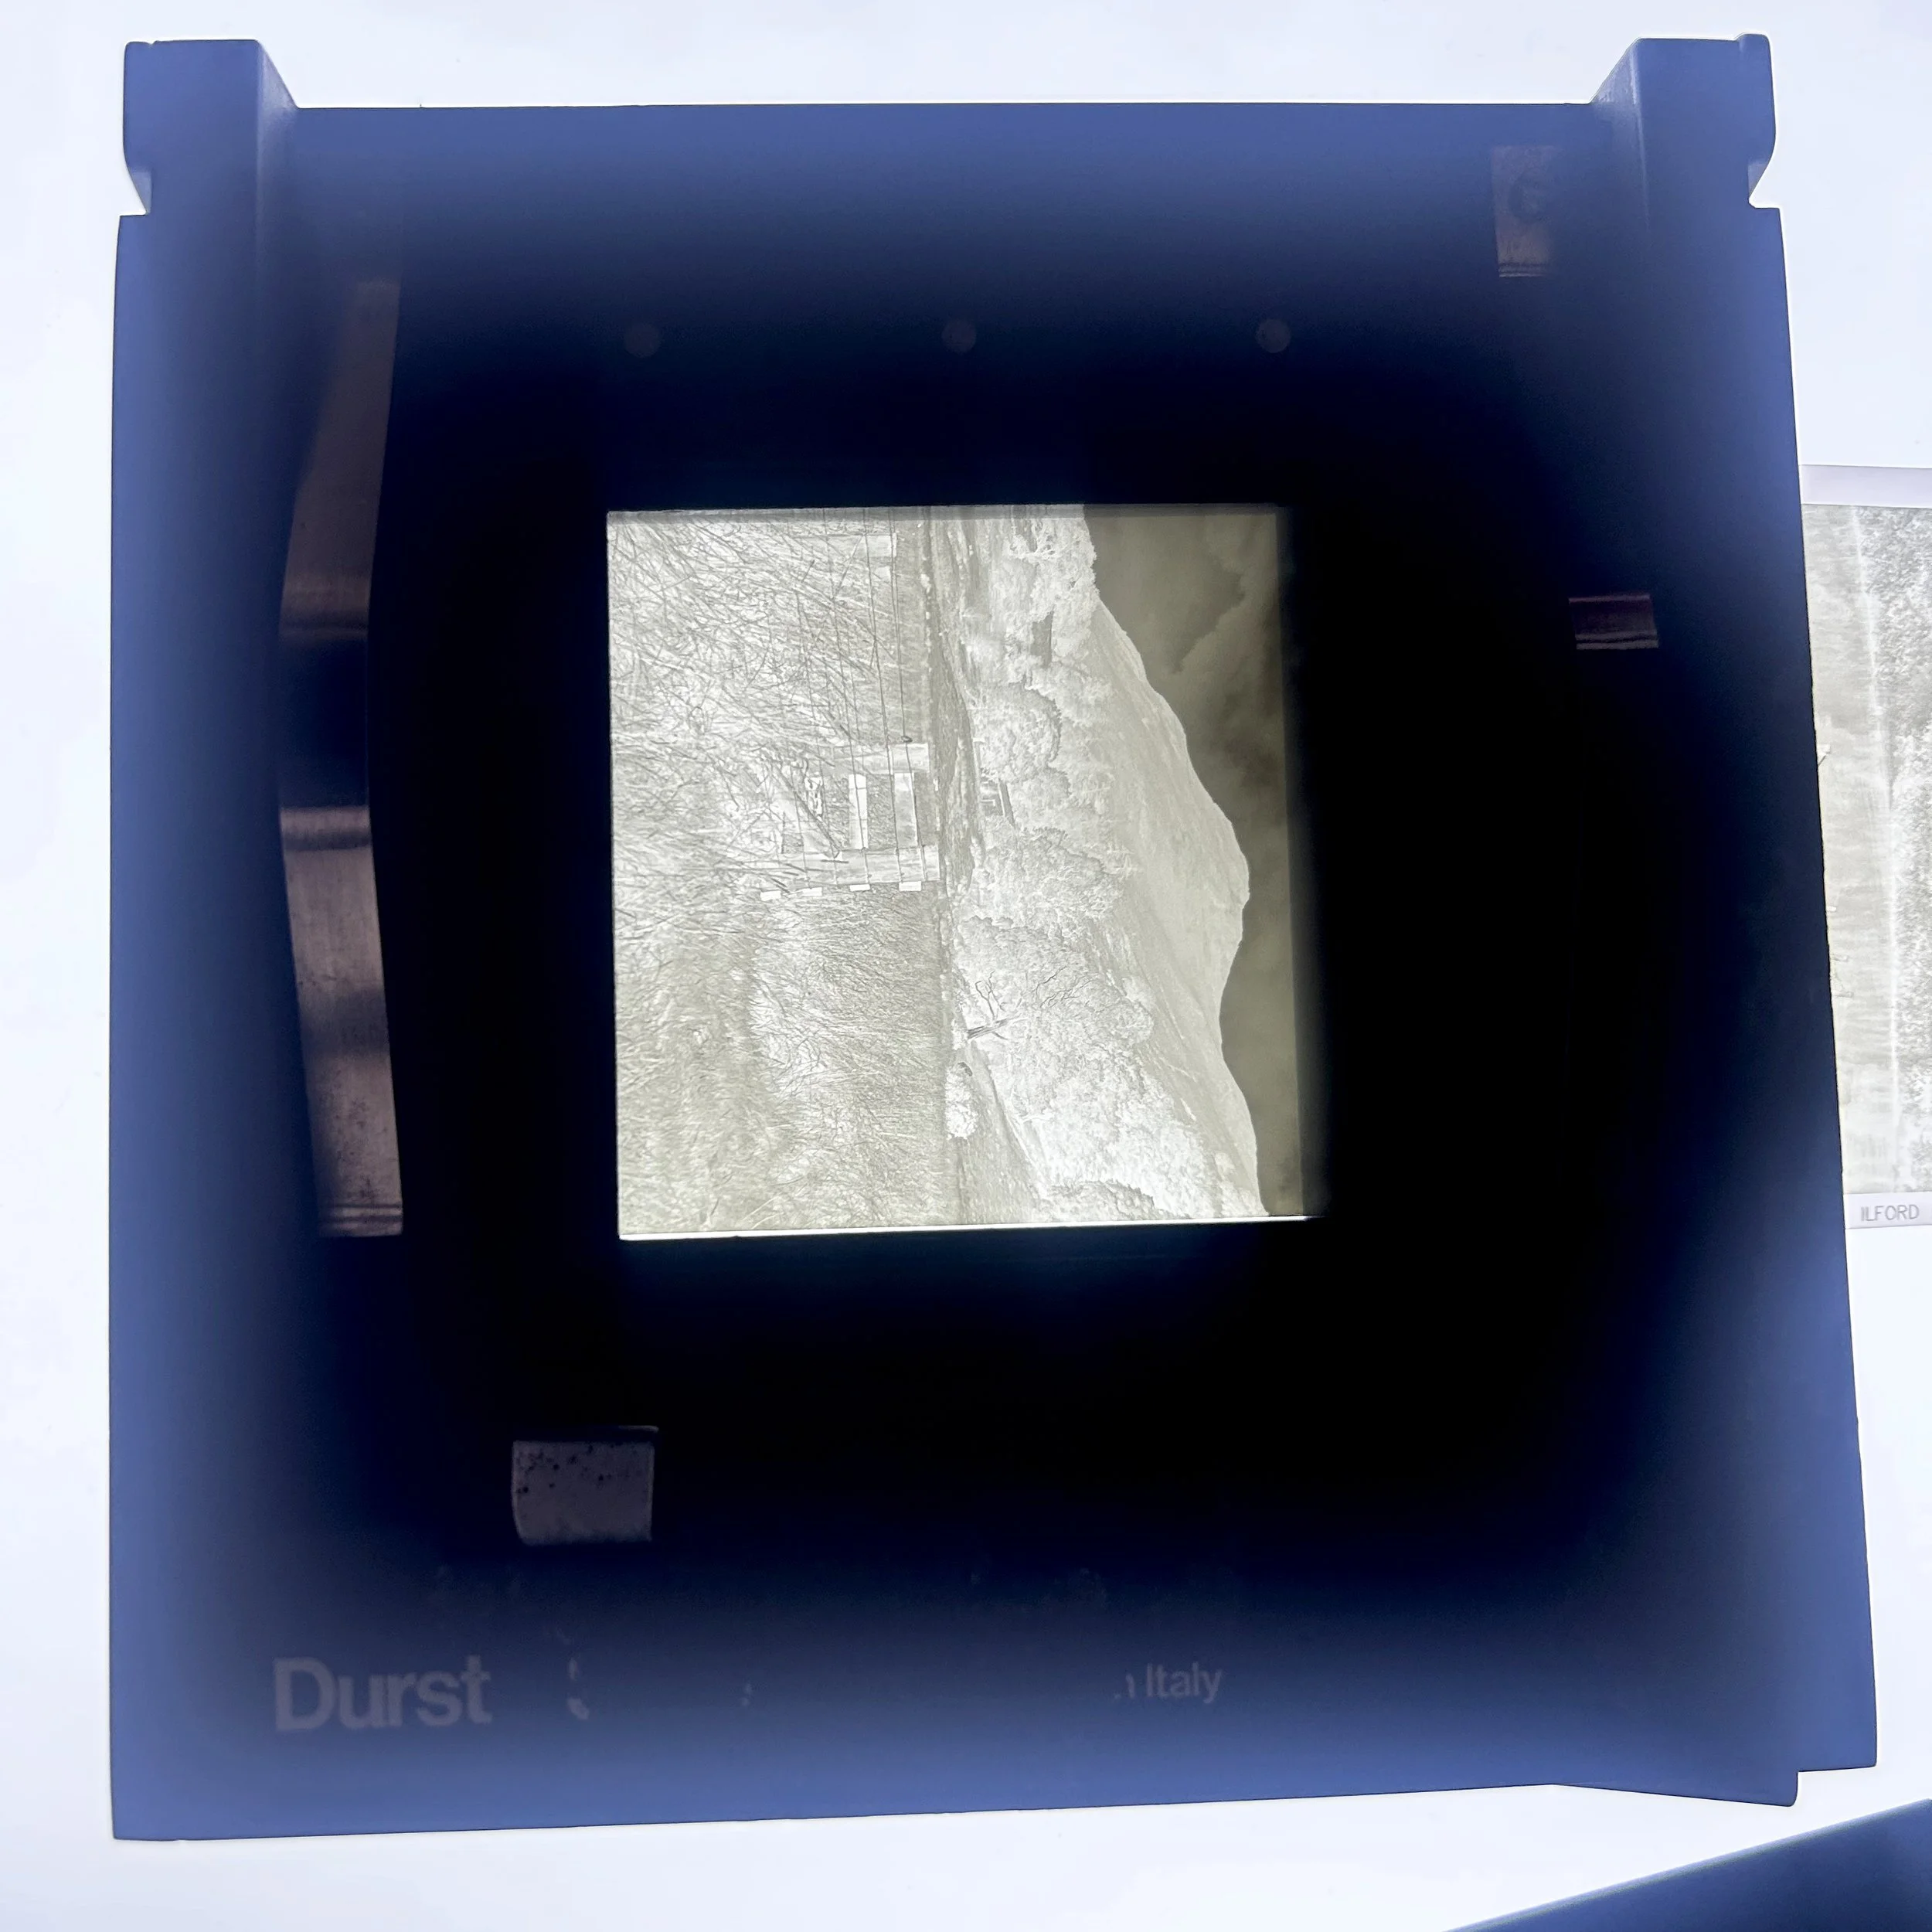
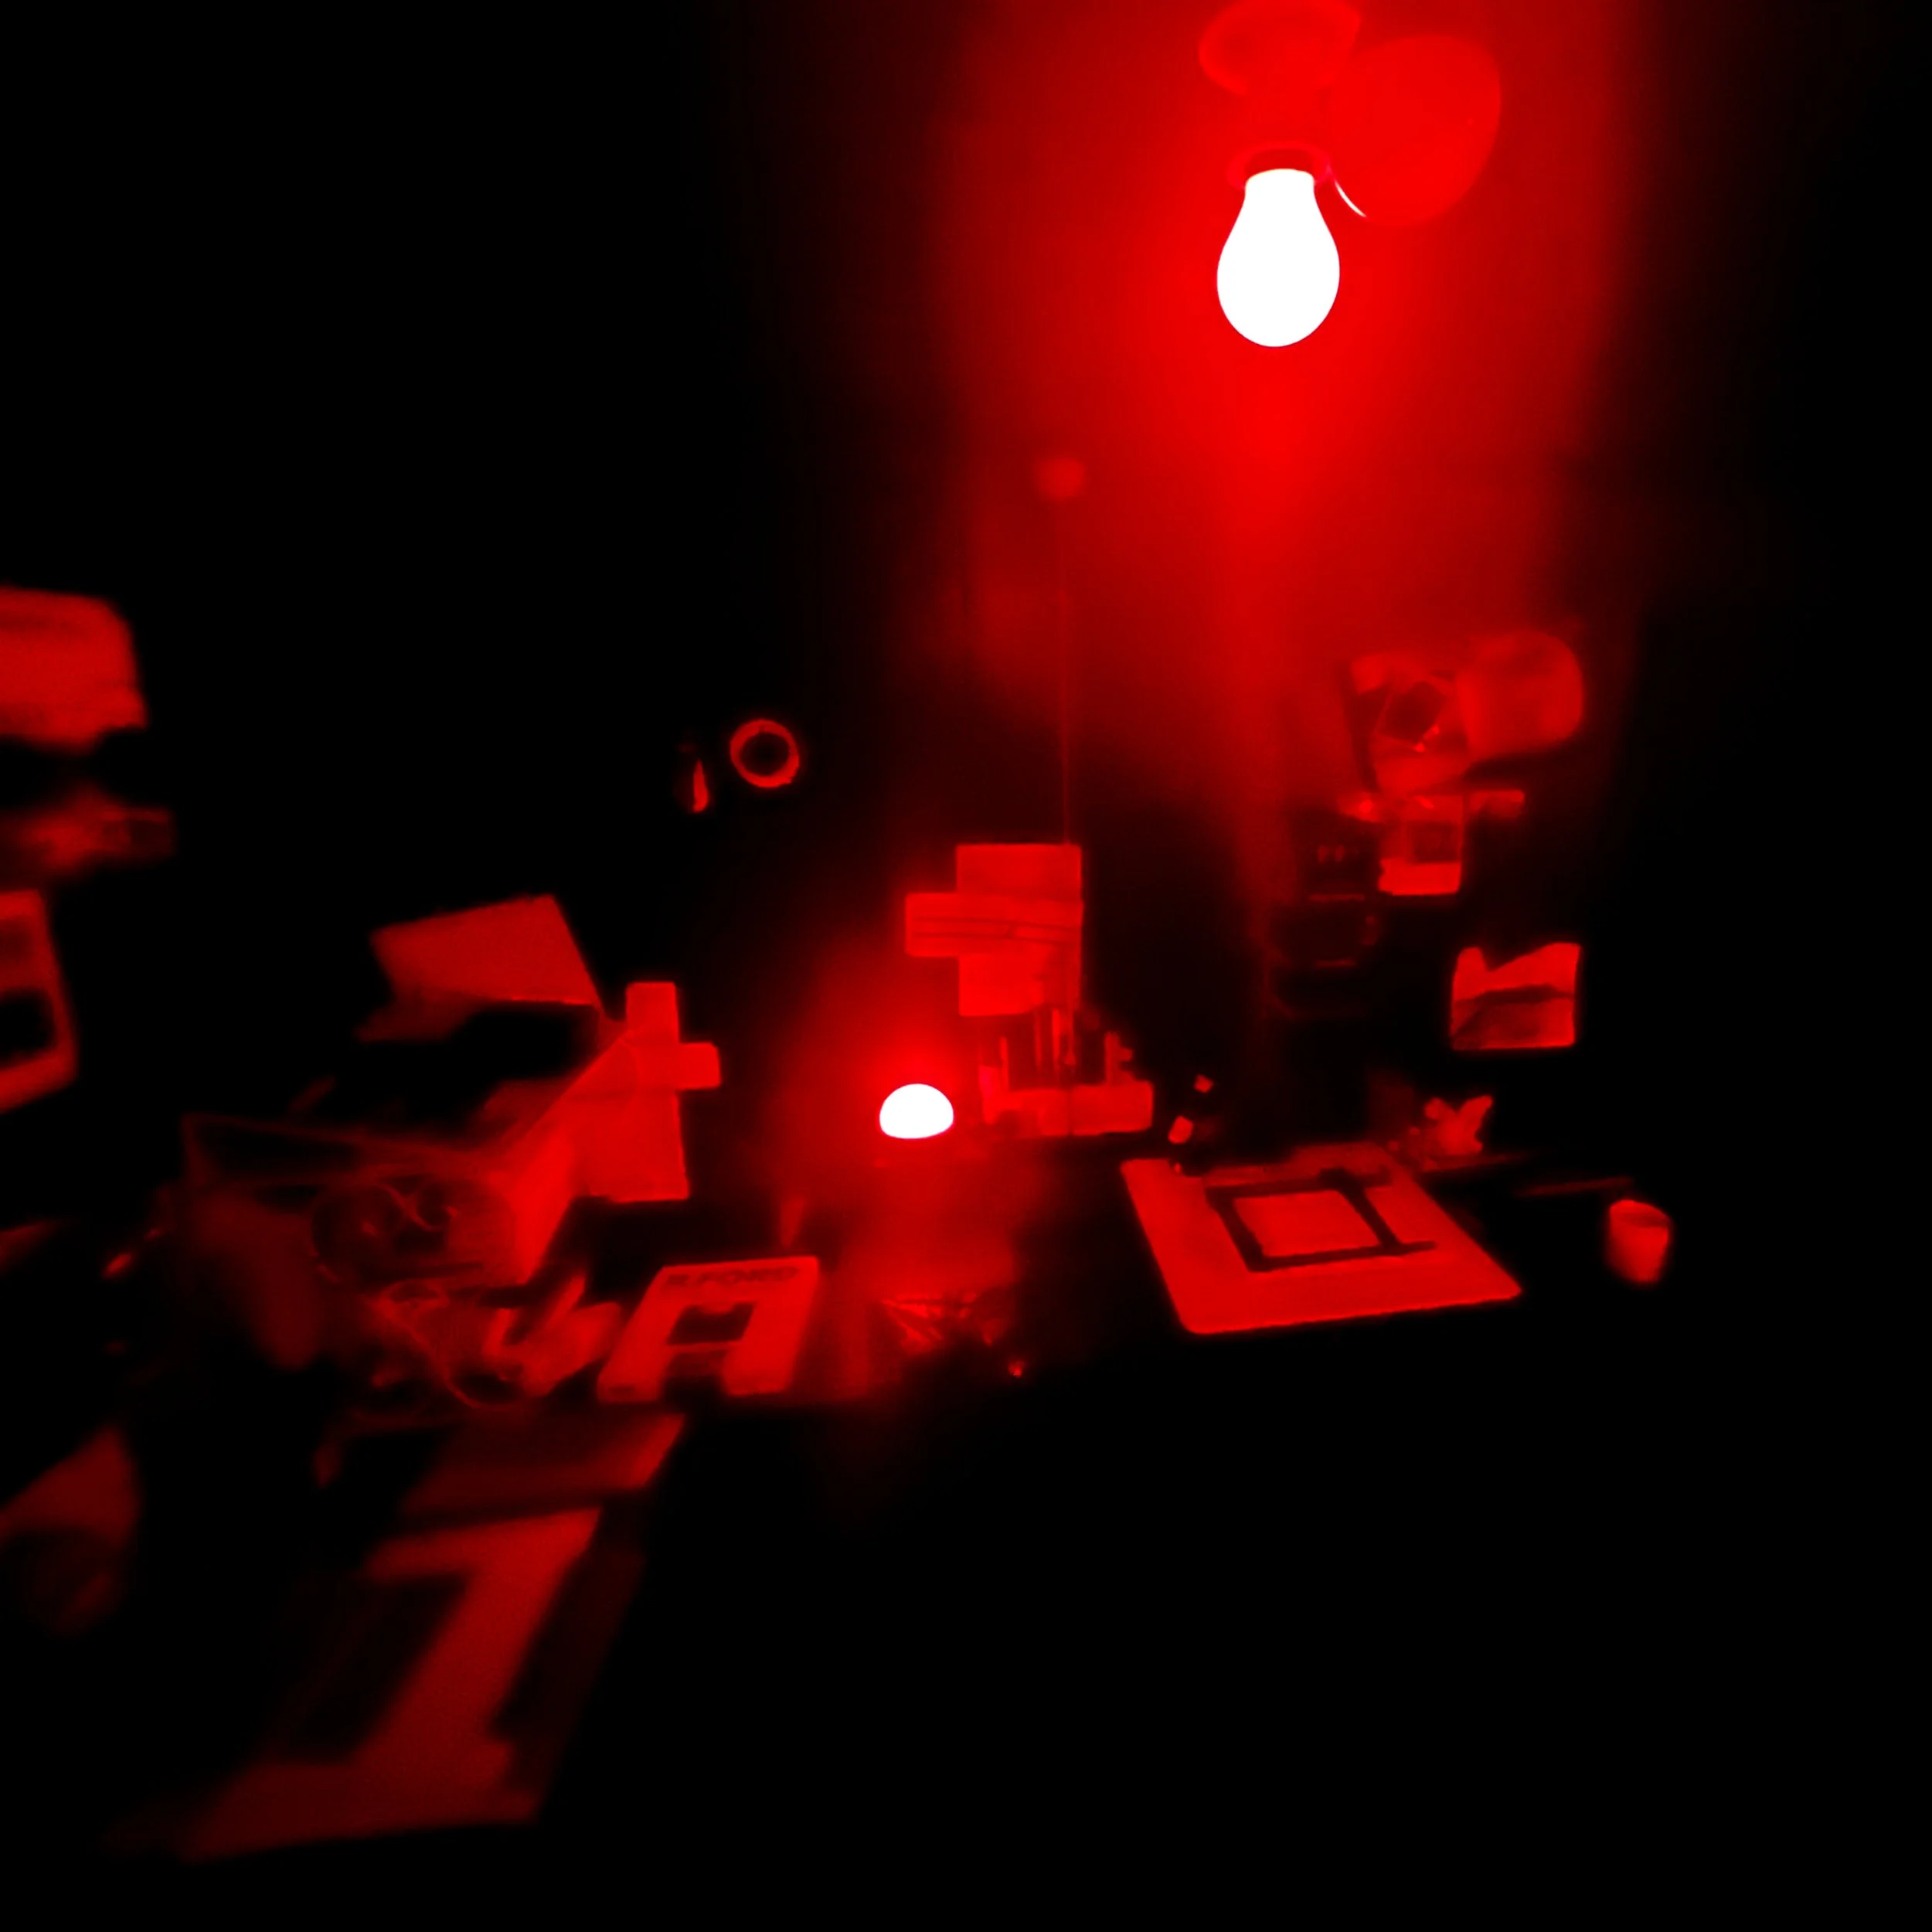
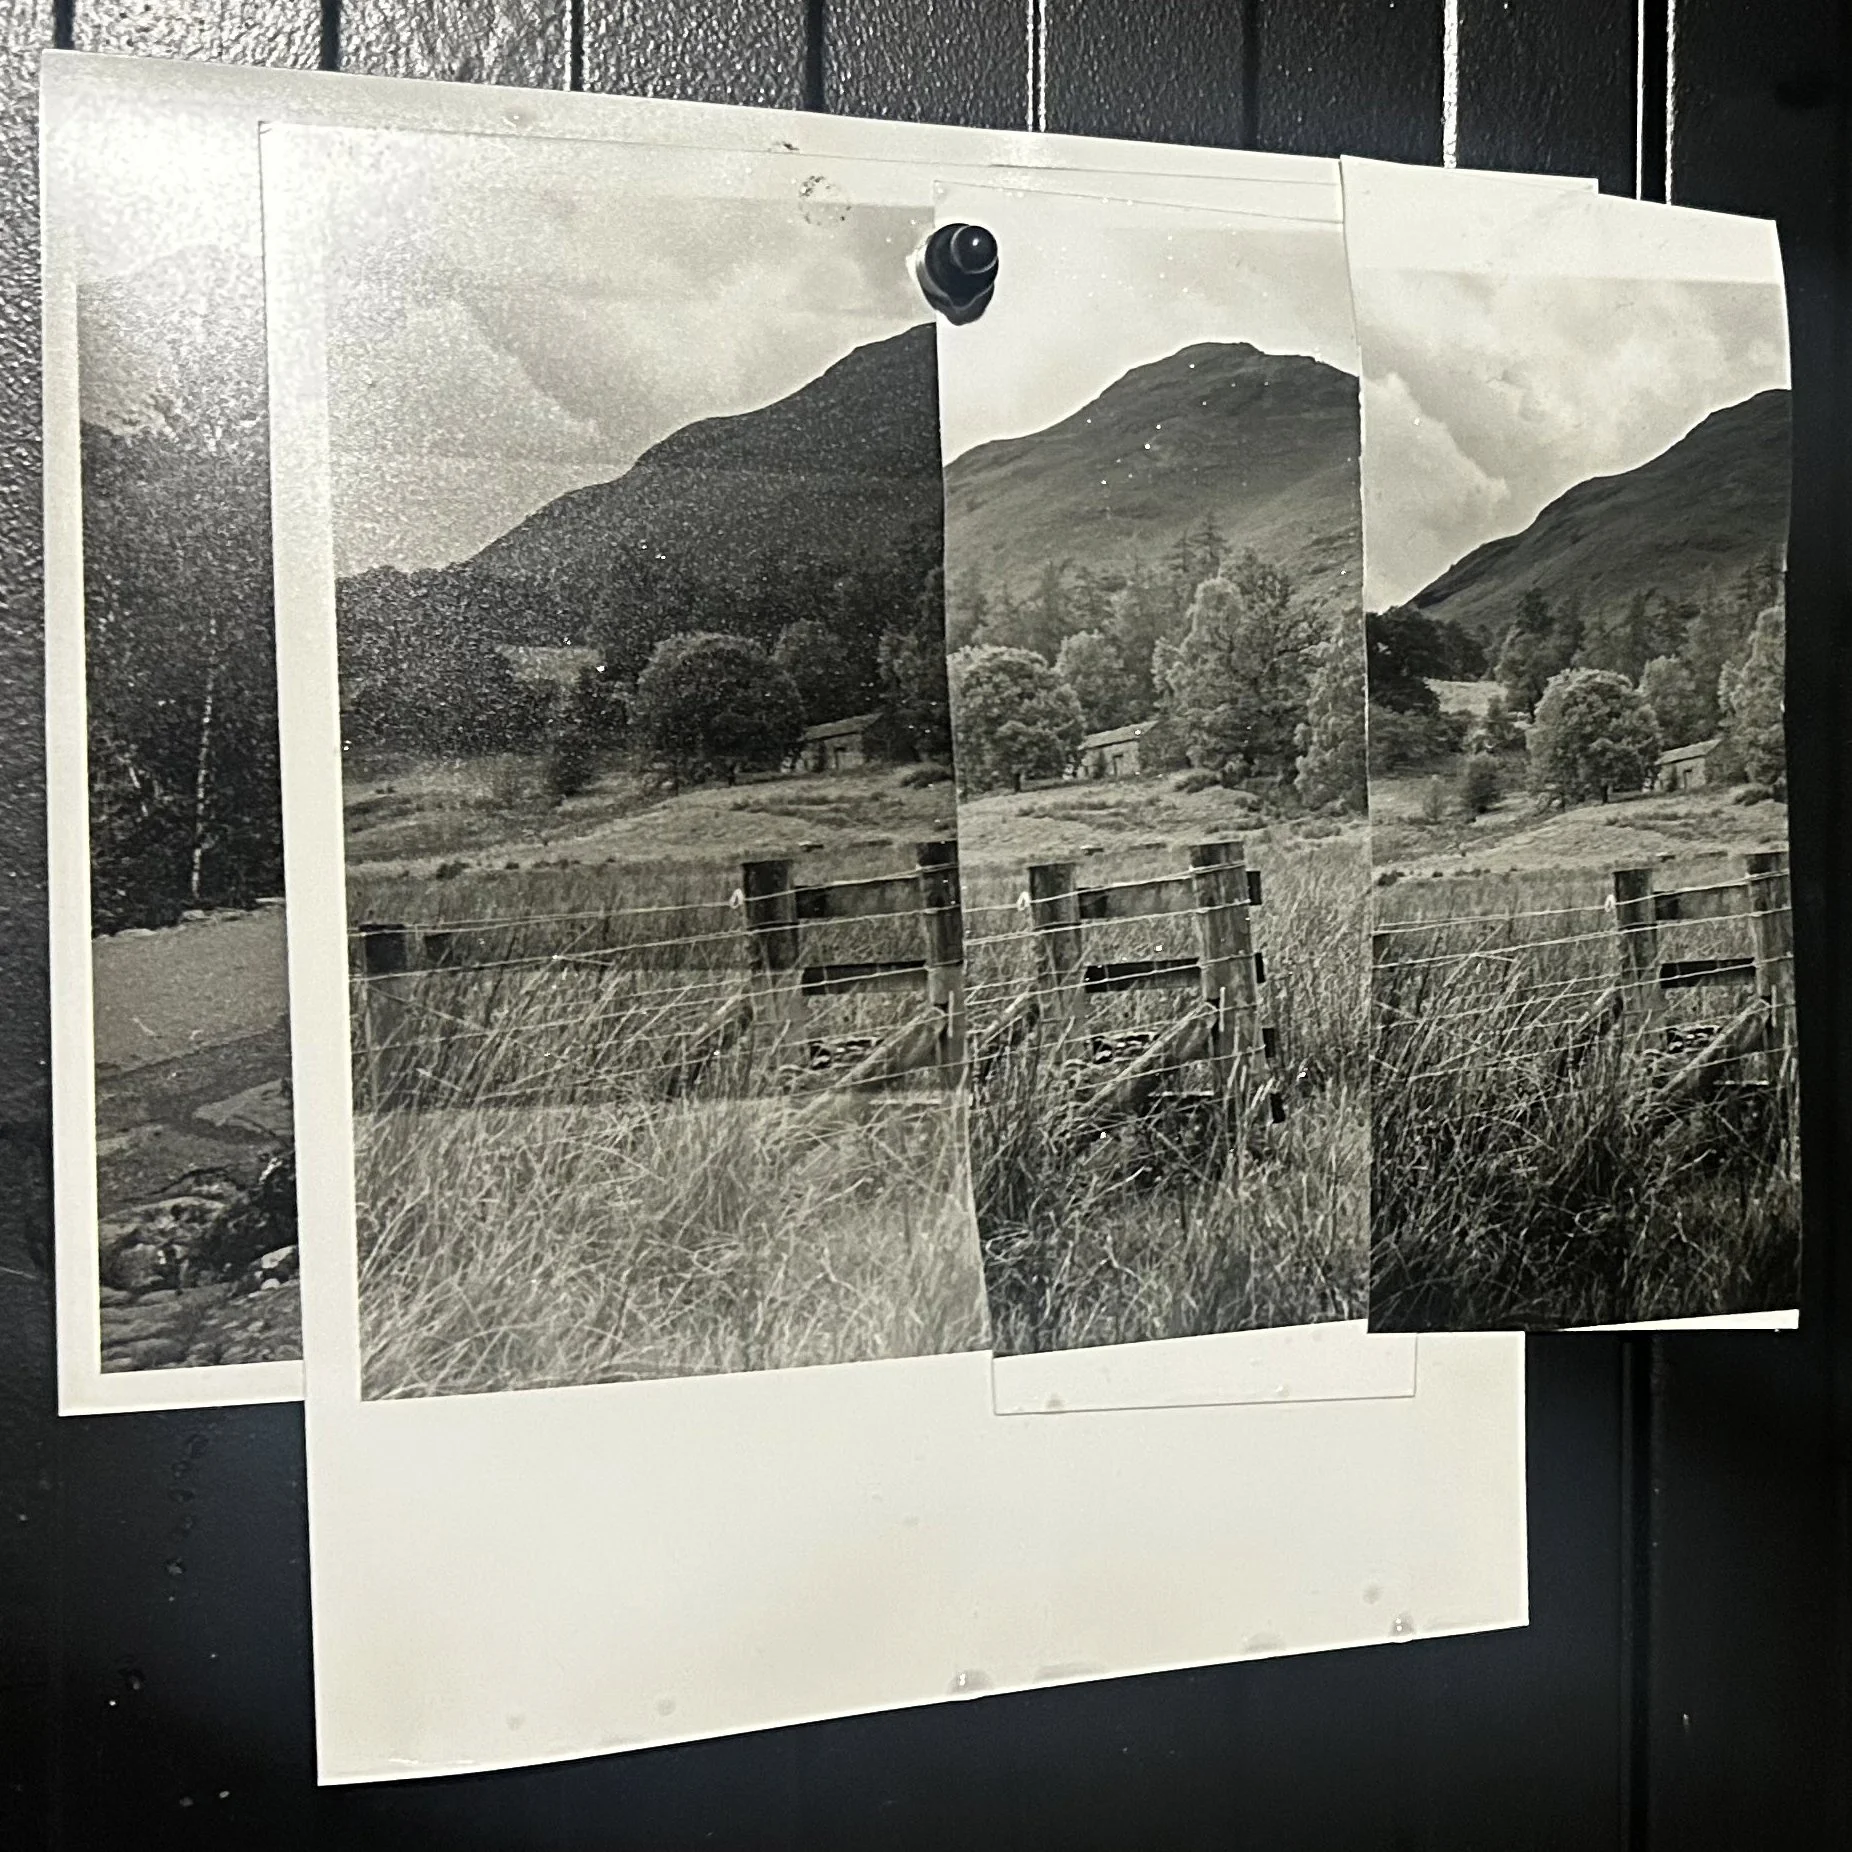
I went into the darkroom the following day and began making test prints on Ilford Multigrade Pearl RC paper. I settled on a contrast setting of 3.5 and a ten-second base exposure. That gave me a starting point for the entire sheet, but it was clear from the tests that the photograph needed more work in particular areas.
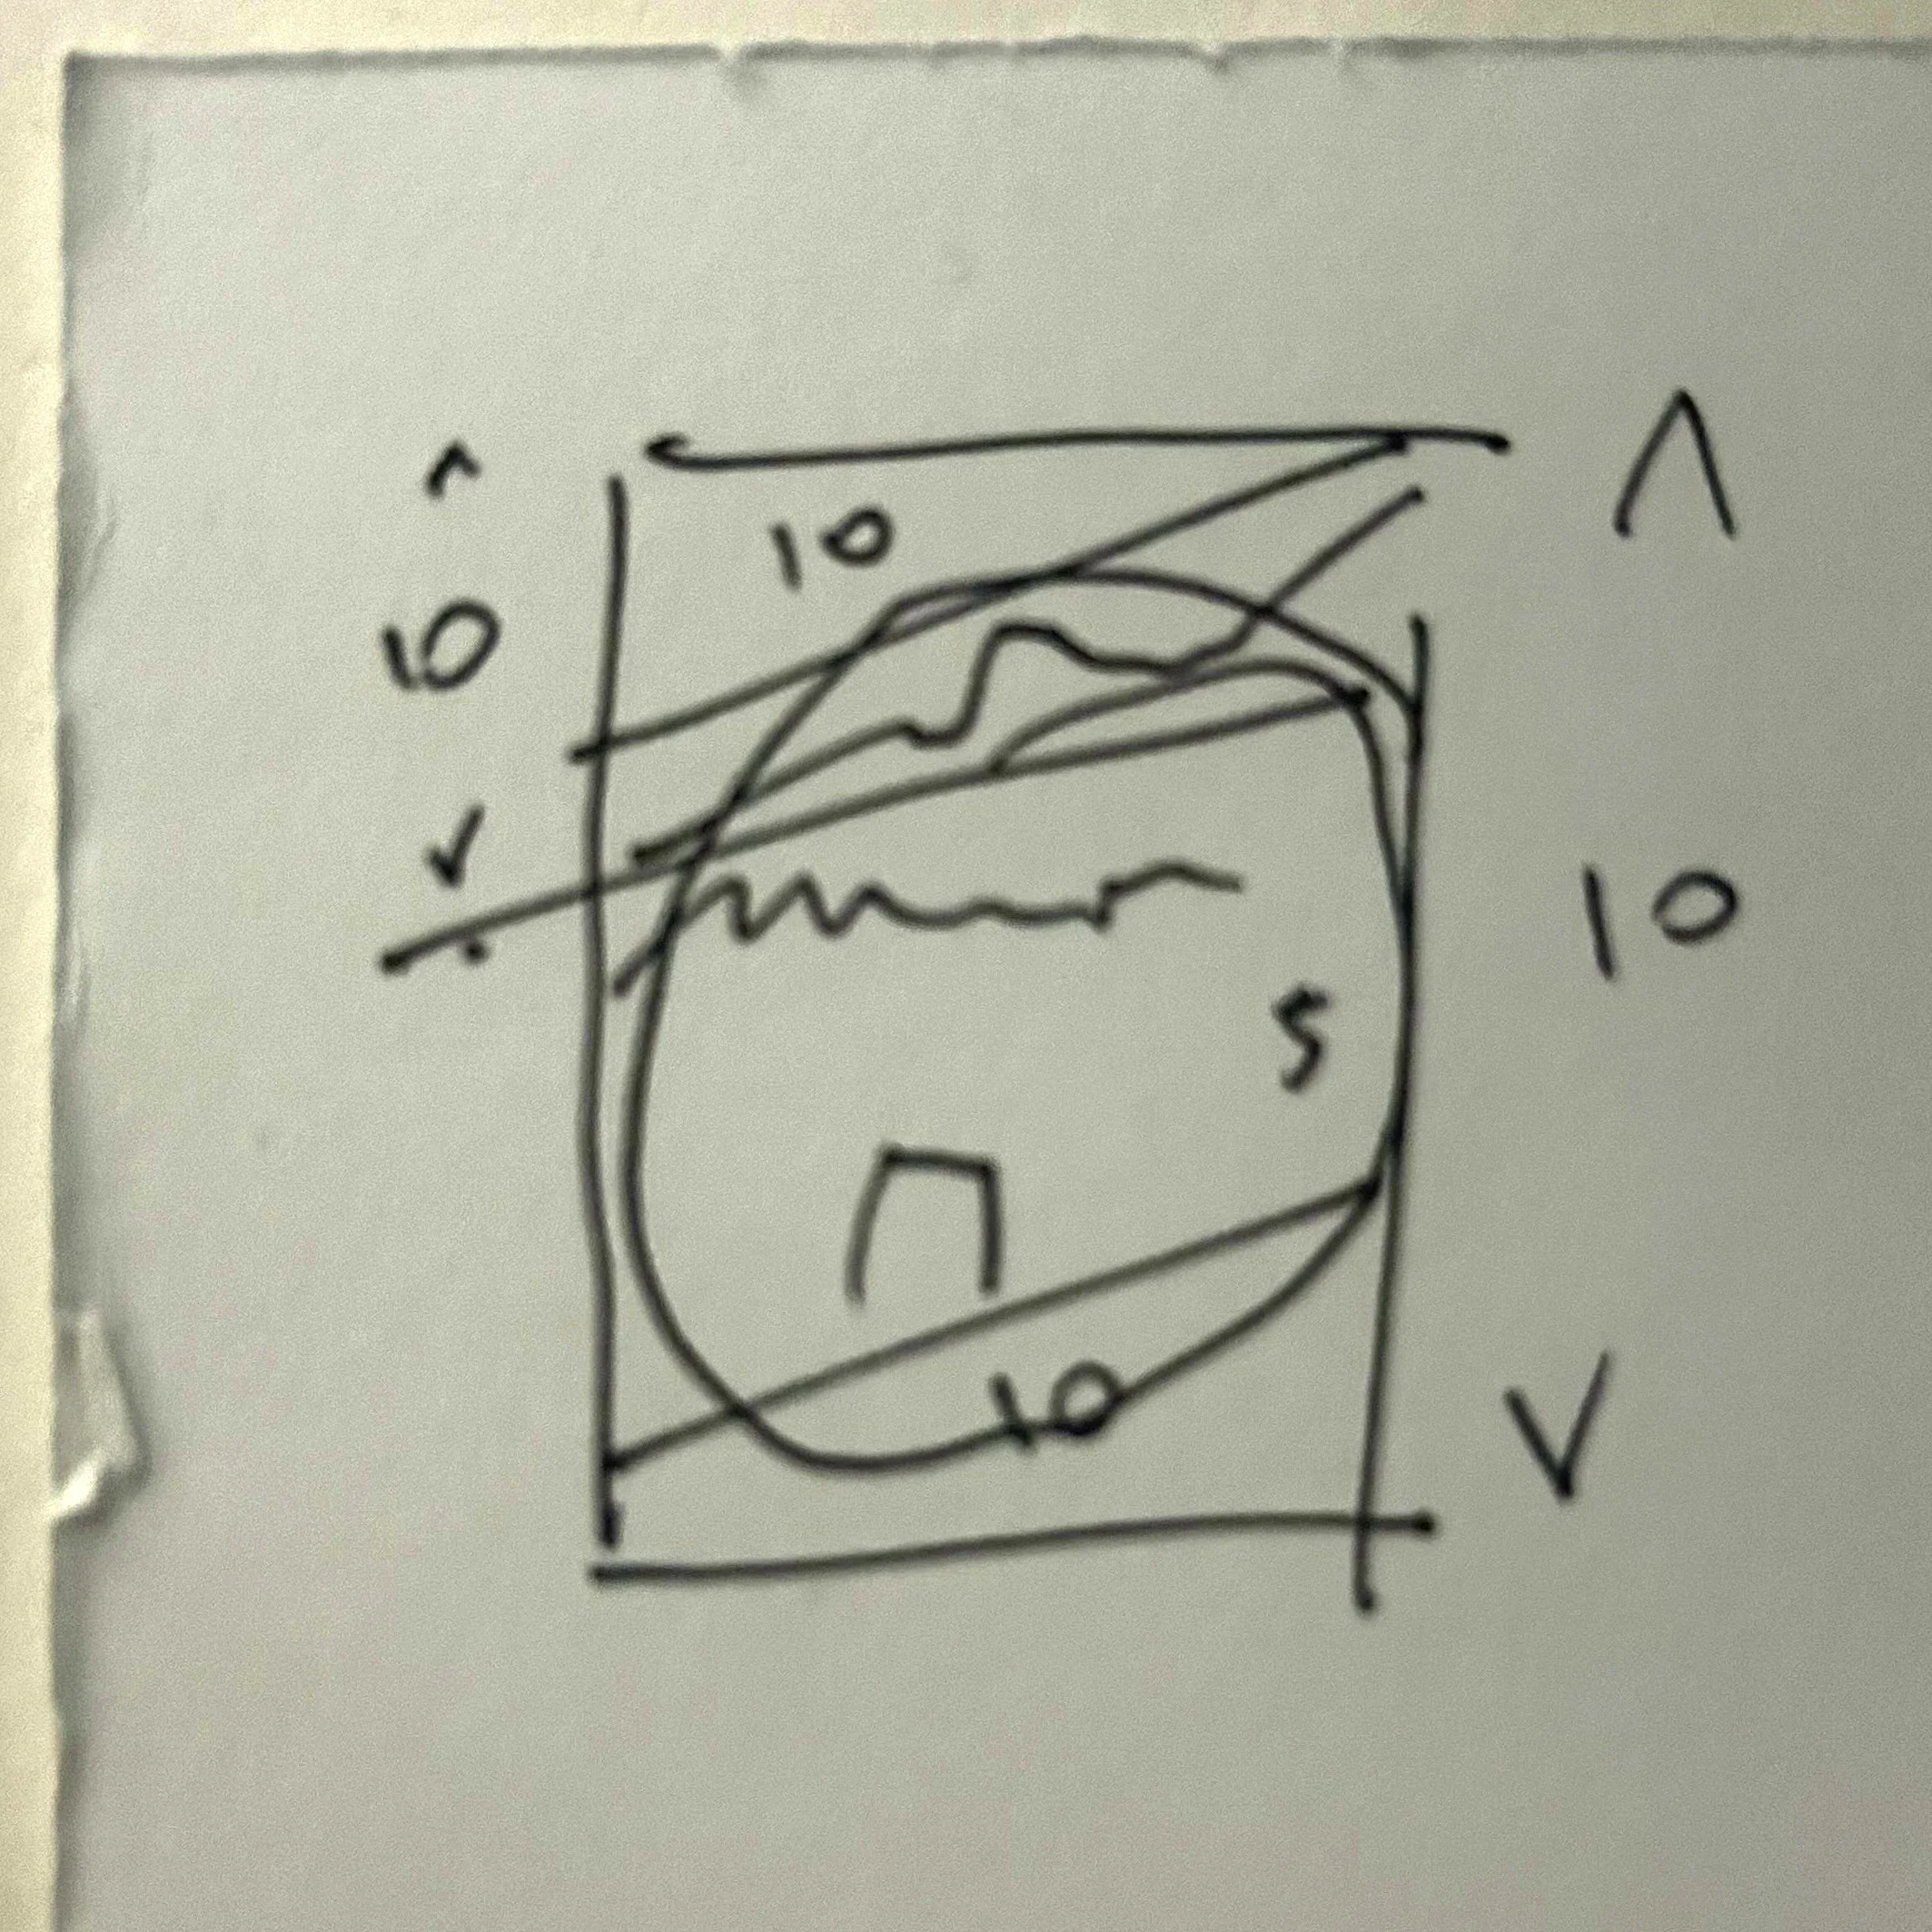
The clouds were one of the reasons I had wanted to print this negative. They contained detail that wasn’t doing much in the flat scan, and I wanted them to have a stronger presence above the hillside. I gave the sky and hills an additional twenty seconds. The foreground received another ten seconds, and I added a five-second vignette. Those times describe the exposure I arrived at for the final print, although getting there involved making tests, looking at the results, and reconsidering how the different parts of the photograph sat together.
A list of times can make printing sound more exact than it feels while I’m doing it. Adding exposure to the sky changes the way I see the hillside beneath it. Giving the foreground more weight changes the balance of the frame, even when nothing has changed in the middle. I also didn’t want to make the building unnaturally conspicuous. Part of its interest is that it takes a moment to find among the trees. My aim was to give the photograph enough structure and tonal separation for the viewer to explore it, without making every area compete equally for attention.
The test prints let me examine those decisions before committing to another full sheet. They showed me what was available in the negative and where an extra exposure helped, but they couldn’t quite settle the relationship between all the areas at once. For that, I needed to look at the complete photograph.
I drew an exposure map to record the work I was doing under the enlarger. It is rough, but it gave me a clear sequence to follow: the ten-second base exposure, the additional time for the sky and hills, the foreground, and finally the vignette. It also made the next print more repeatable. Dodging and burning by hand always introduces some variation; having the plan in front of me meant that I could concentrate on where I was placing the extra light and what I wanted to change from the previous attempt.
Once exposed, each sheet went into Bellini BW D100 paper developer for one minute, Ilford Stop for ten seconds, and Ilford Rapid Fixer for two minutes, followed by washing and drying. I was using RC paper, so I could work through the tests and full-size prints in one session. Even so, I had to give each print time to complete the process before deciding what it told me. Watching the image appear in the developer is one part of printing; judging it as a whole photograph is another.
Four versions of the same frame
I made four full-size prints before I was satisfied. The differences between them may look slight, particularly when they are reproduced as a photograph of prints hanging to dry. They were enough to matter when I had the sheets in front of me. Each version gave me a chance to judge whether the additional exposures were helping the entire image or solving one problem while creating another.
That is something a test strip cannot always tell me. I can find a useful exposure for the sky, but only a full print shows how much attention it takes from everything below. A small change to the lower part of the photograph may alter whether the eye settles there or moves through it towards the building and trees. With each complete sheet, I could see those relationships more clearly and decide what to do on the next one.
There is also a temptation, while printing, to assume that every deliberate adjustment must be an improvement. Keeping the earlier versions beside me made it easier to resist that. If I preferred something about the second print to the third, I could see it rather than rely on my memory of what the second one had looked like wet. By the fourth, I felt that I had worked through the areas that had been troubling me. The clouds held the detail I wanted, and the different parts of the landscape belonged to the same photograph.
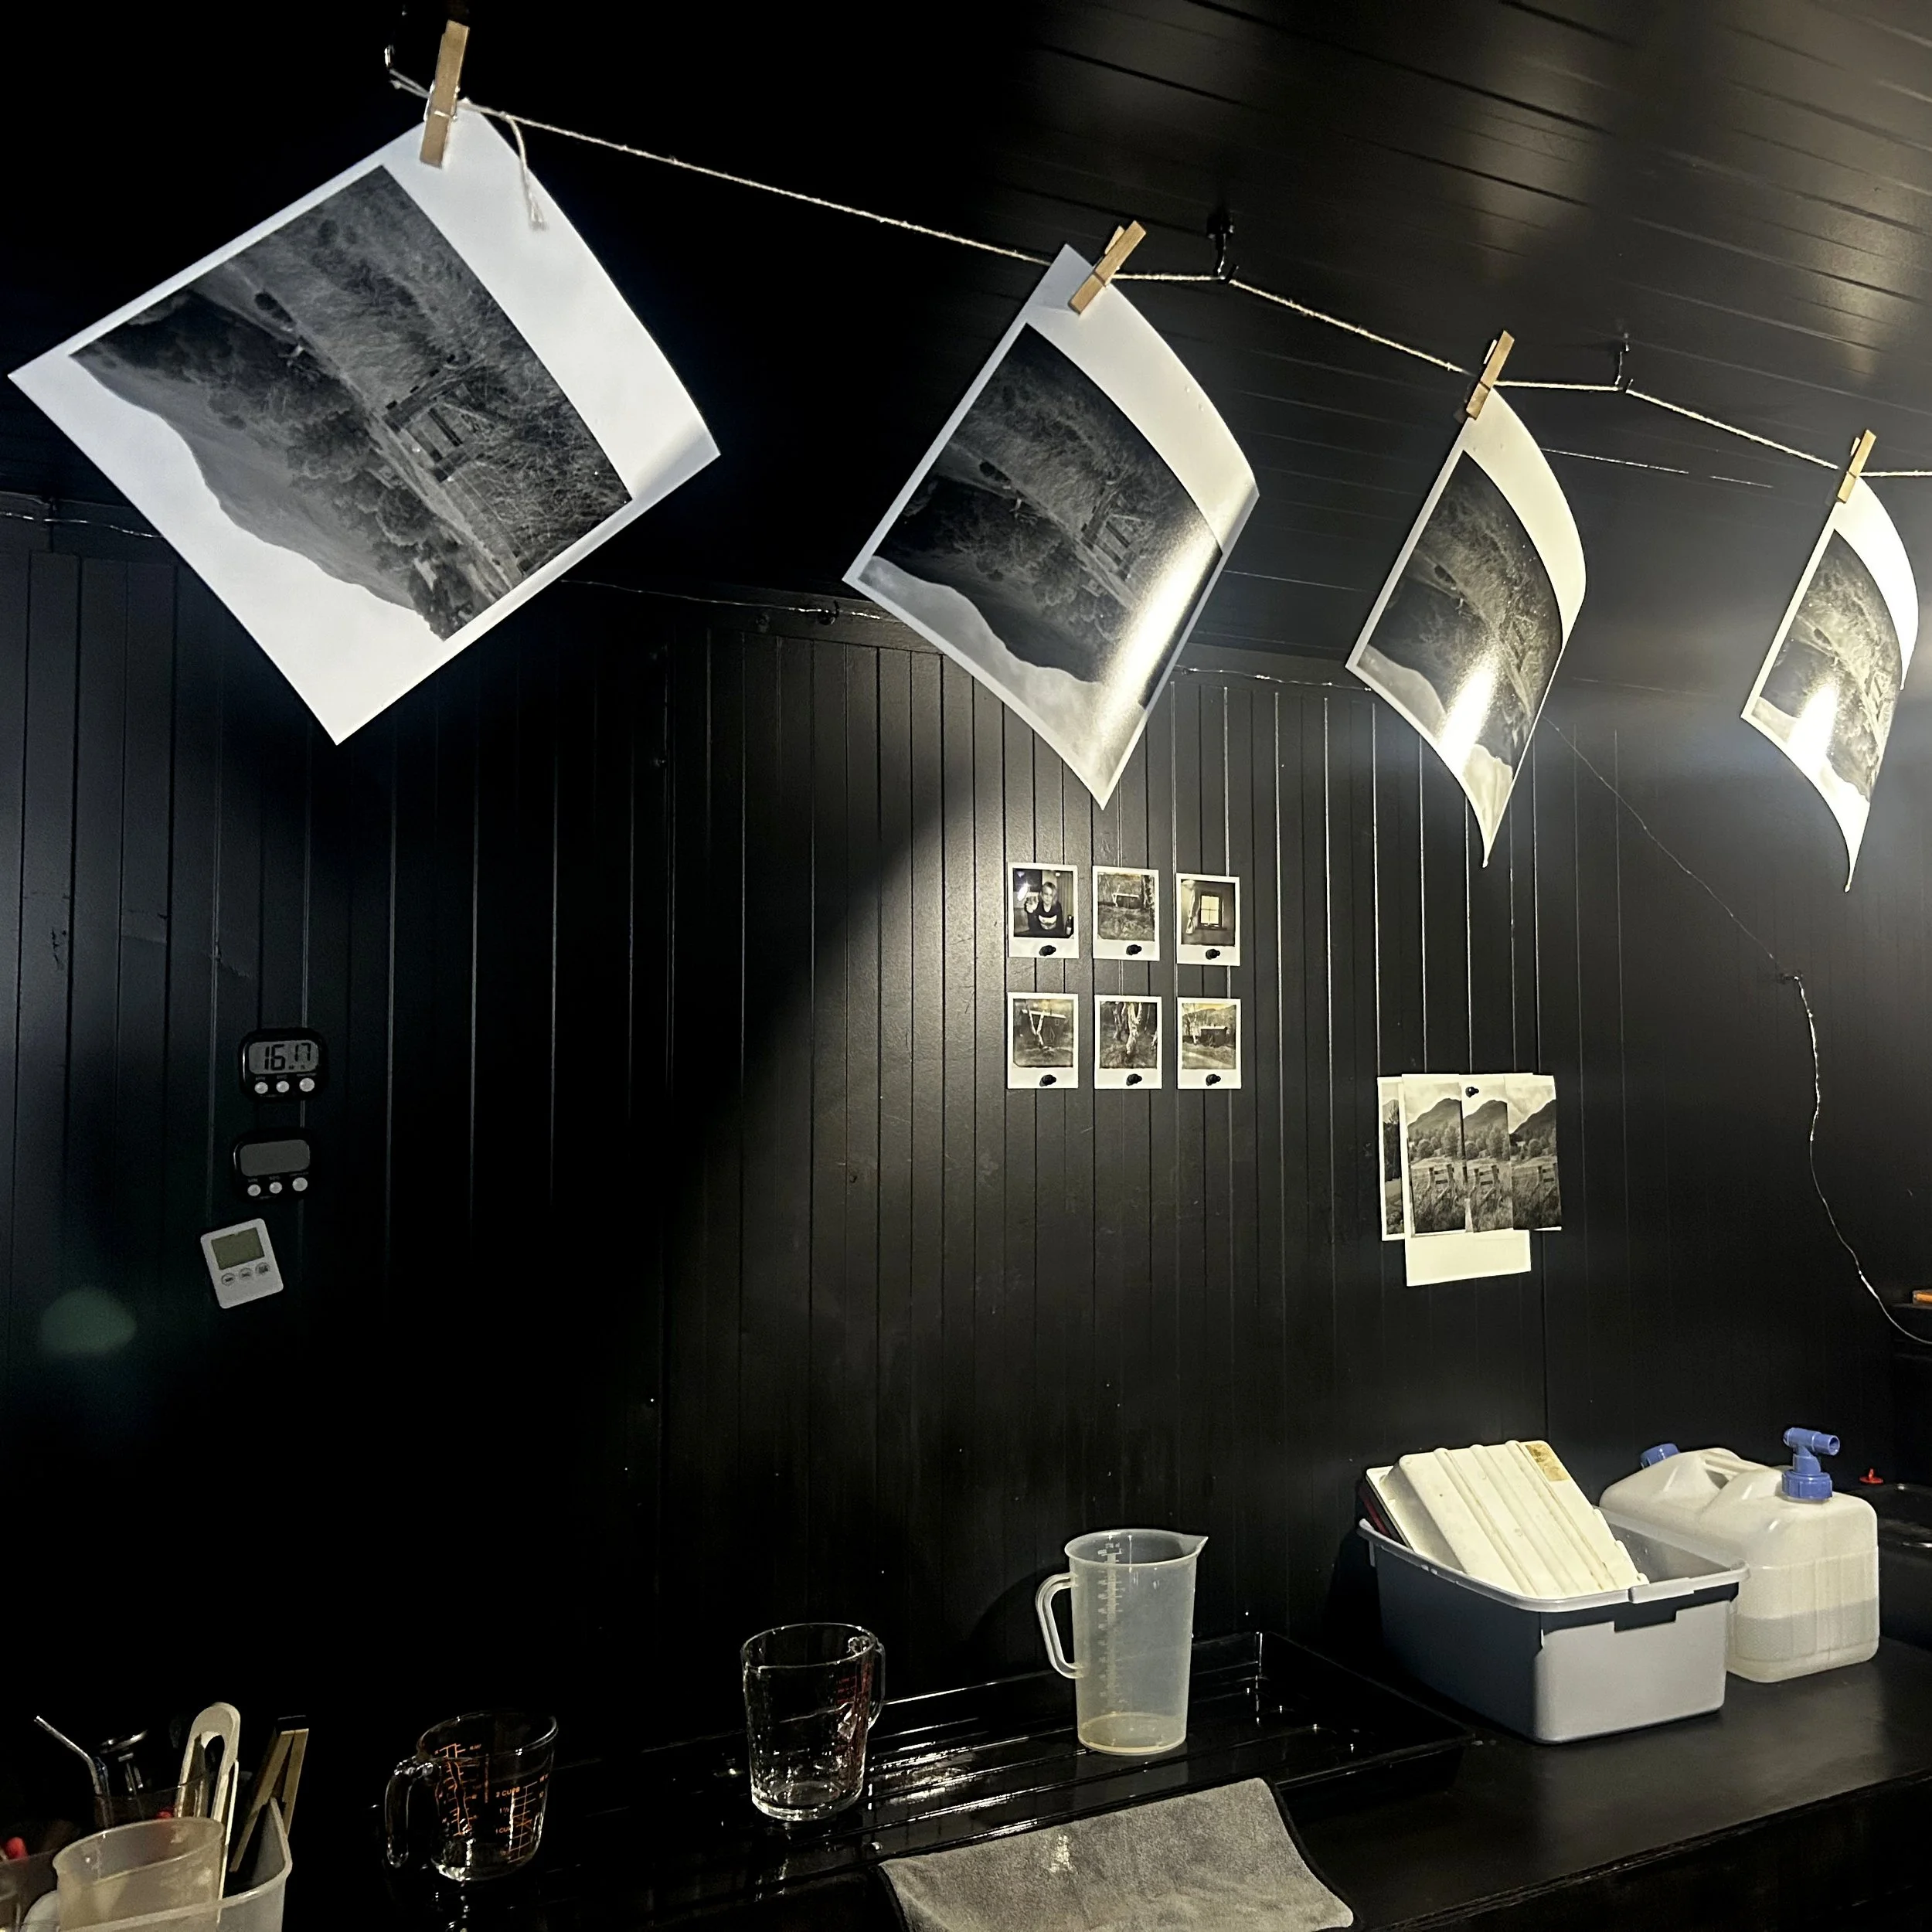
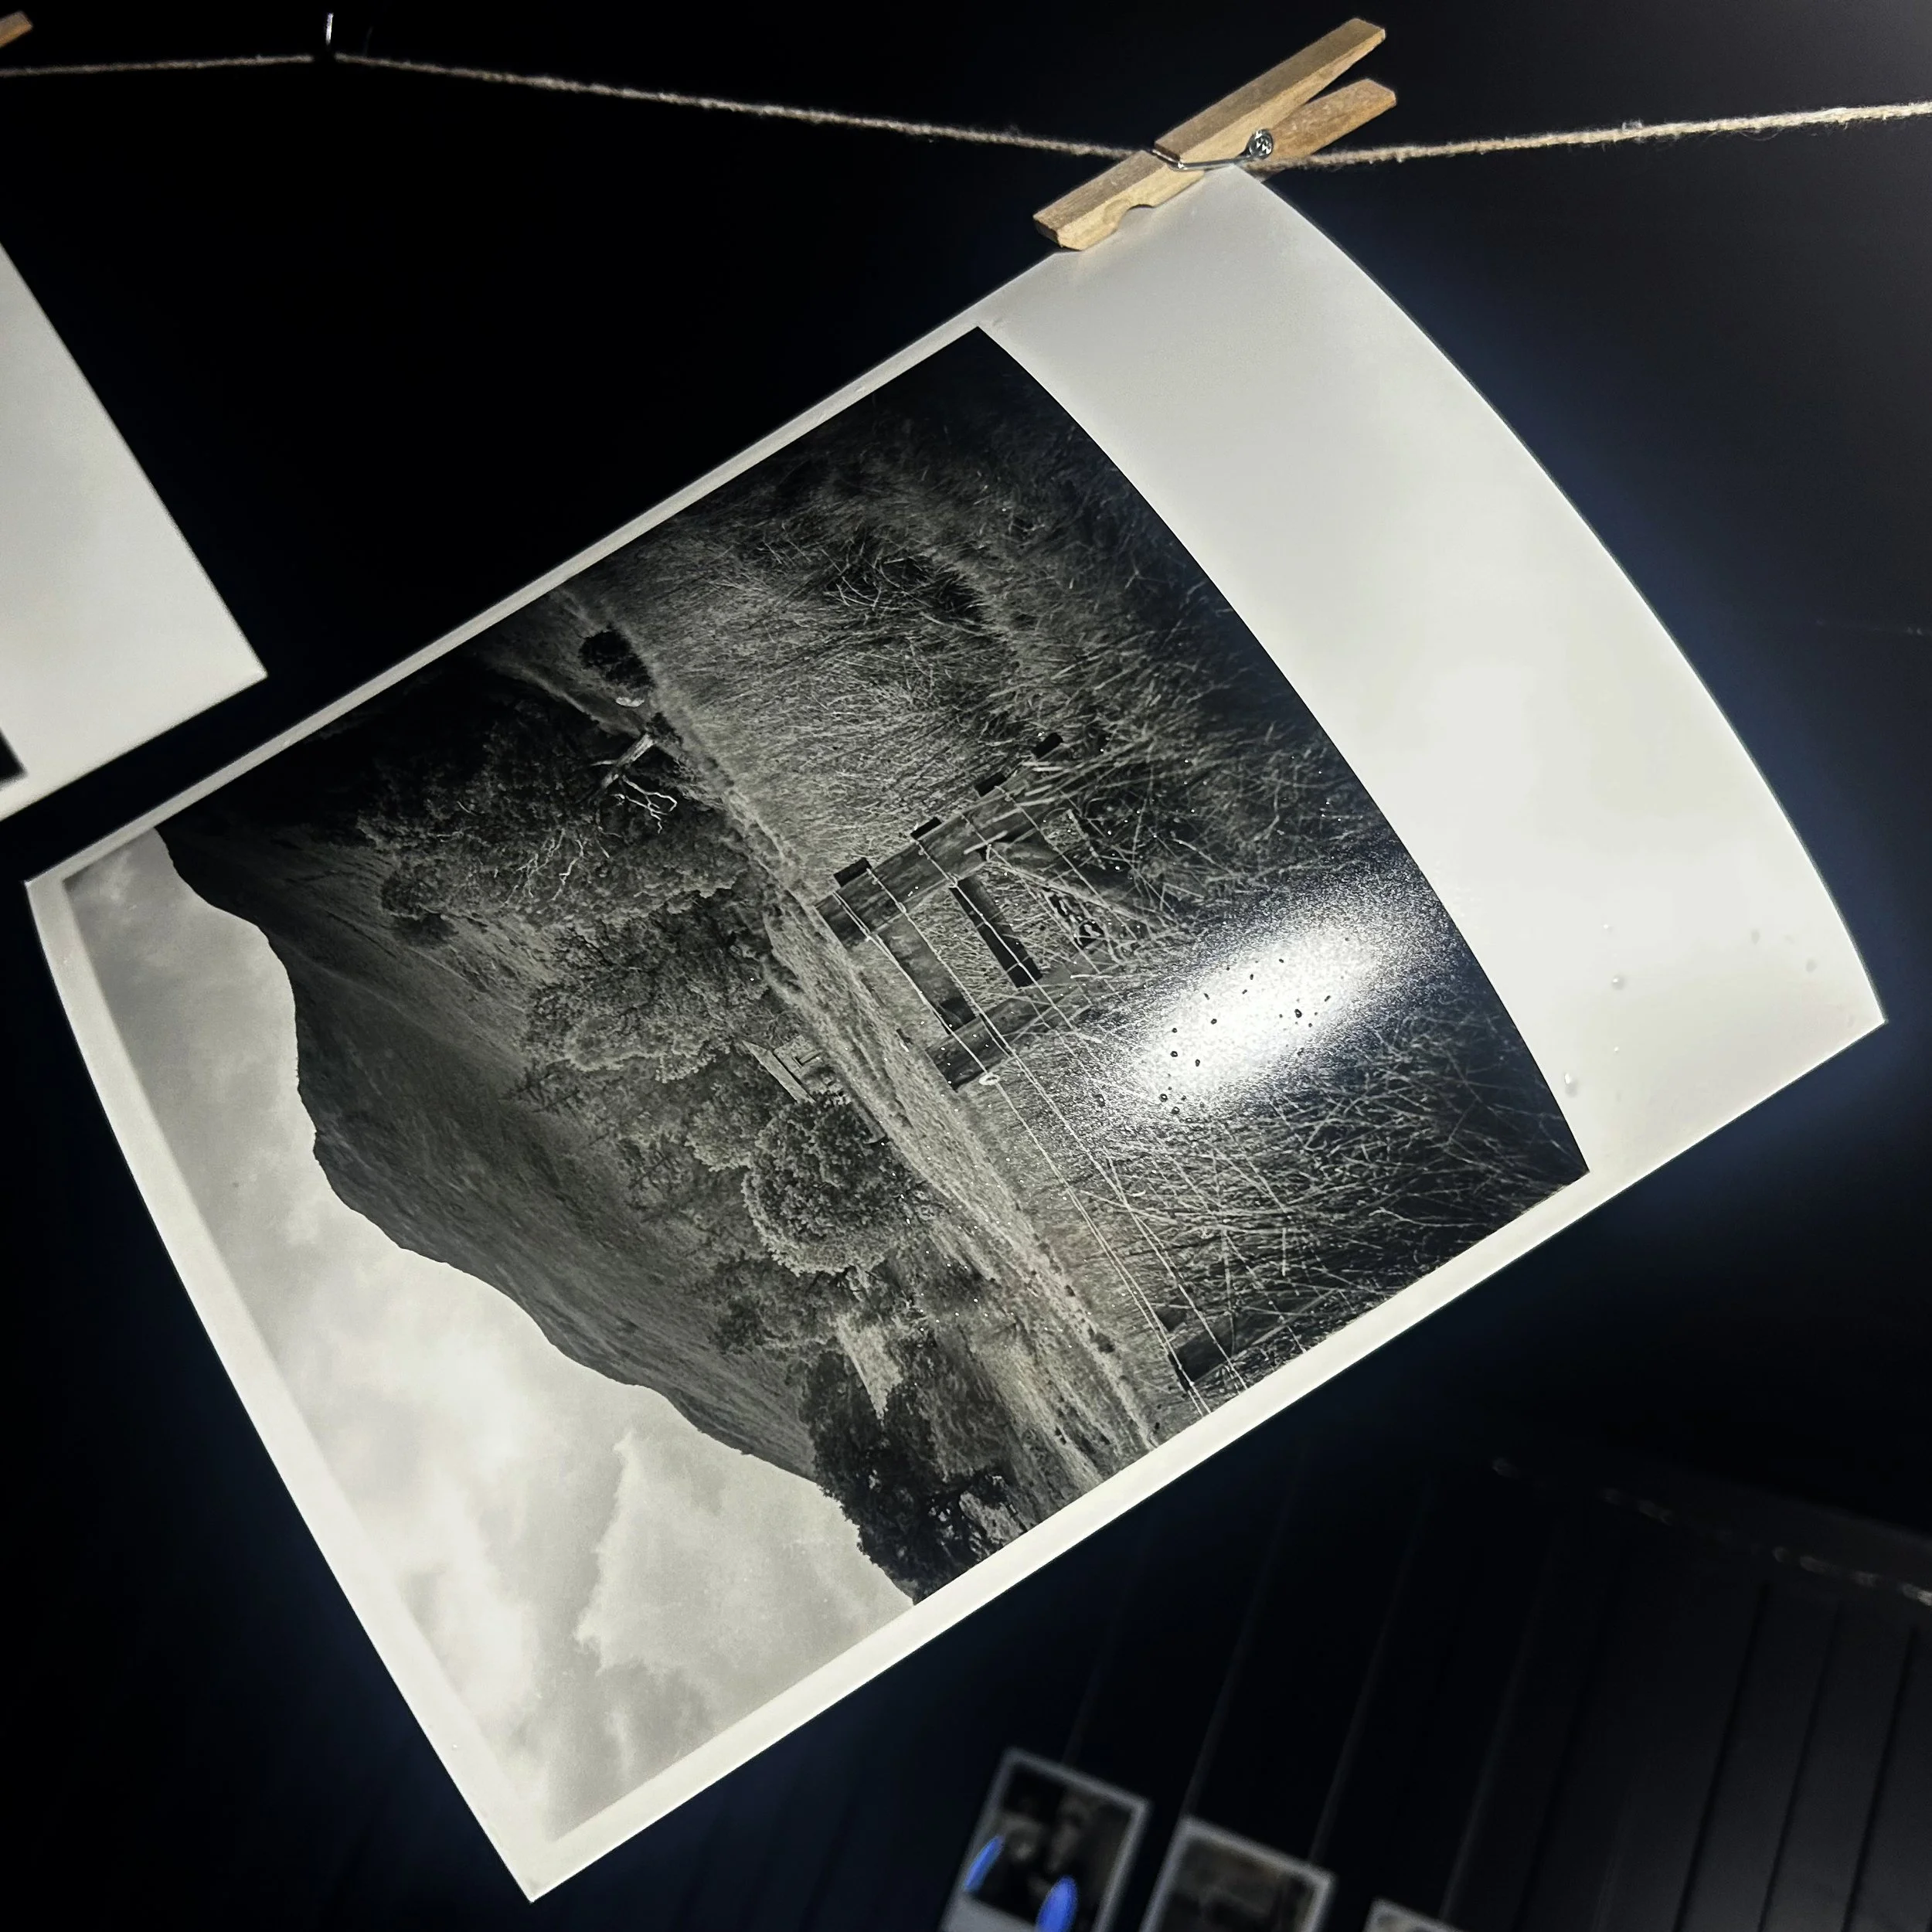
The scan of the finished print is included here, although it brings me back to the limitation I felt when I first inspected the negative scan. It is a useful way to show the result online, but I made the decisions by looking at the prints themselves. Having the four sheets hanging together was particularly useful because I could compare the changes directly instead of switching between versions on a screen.
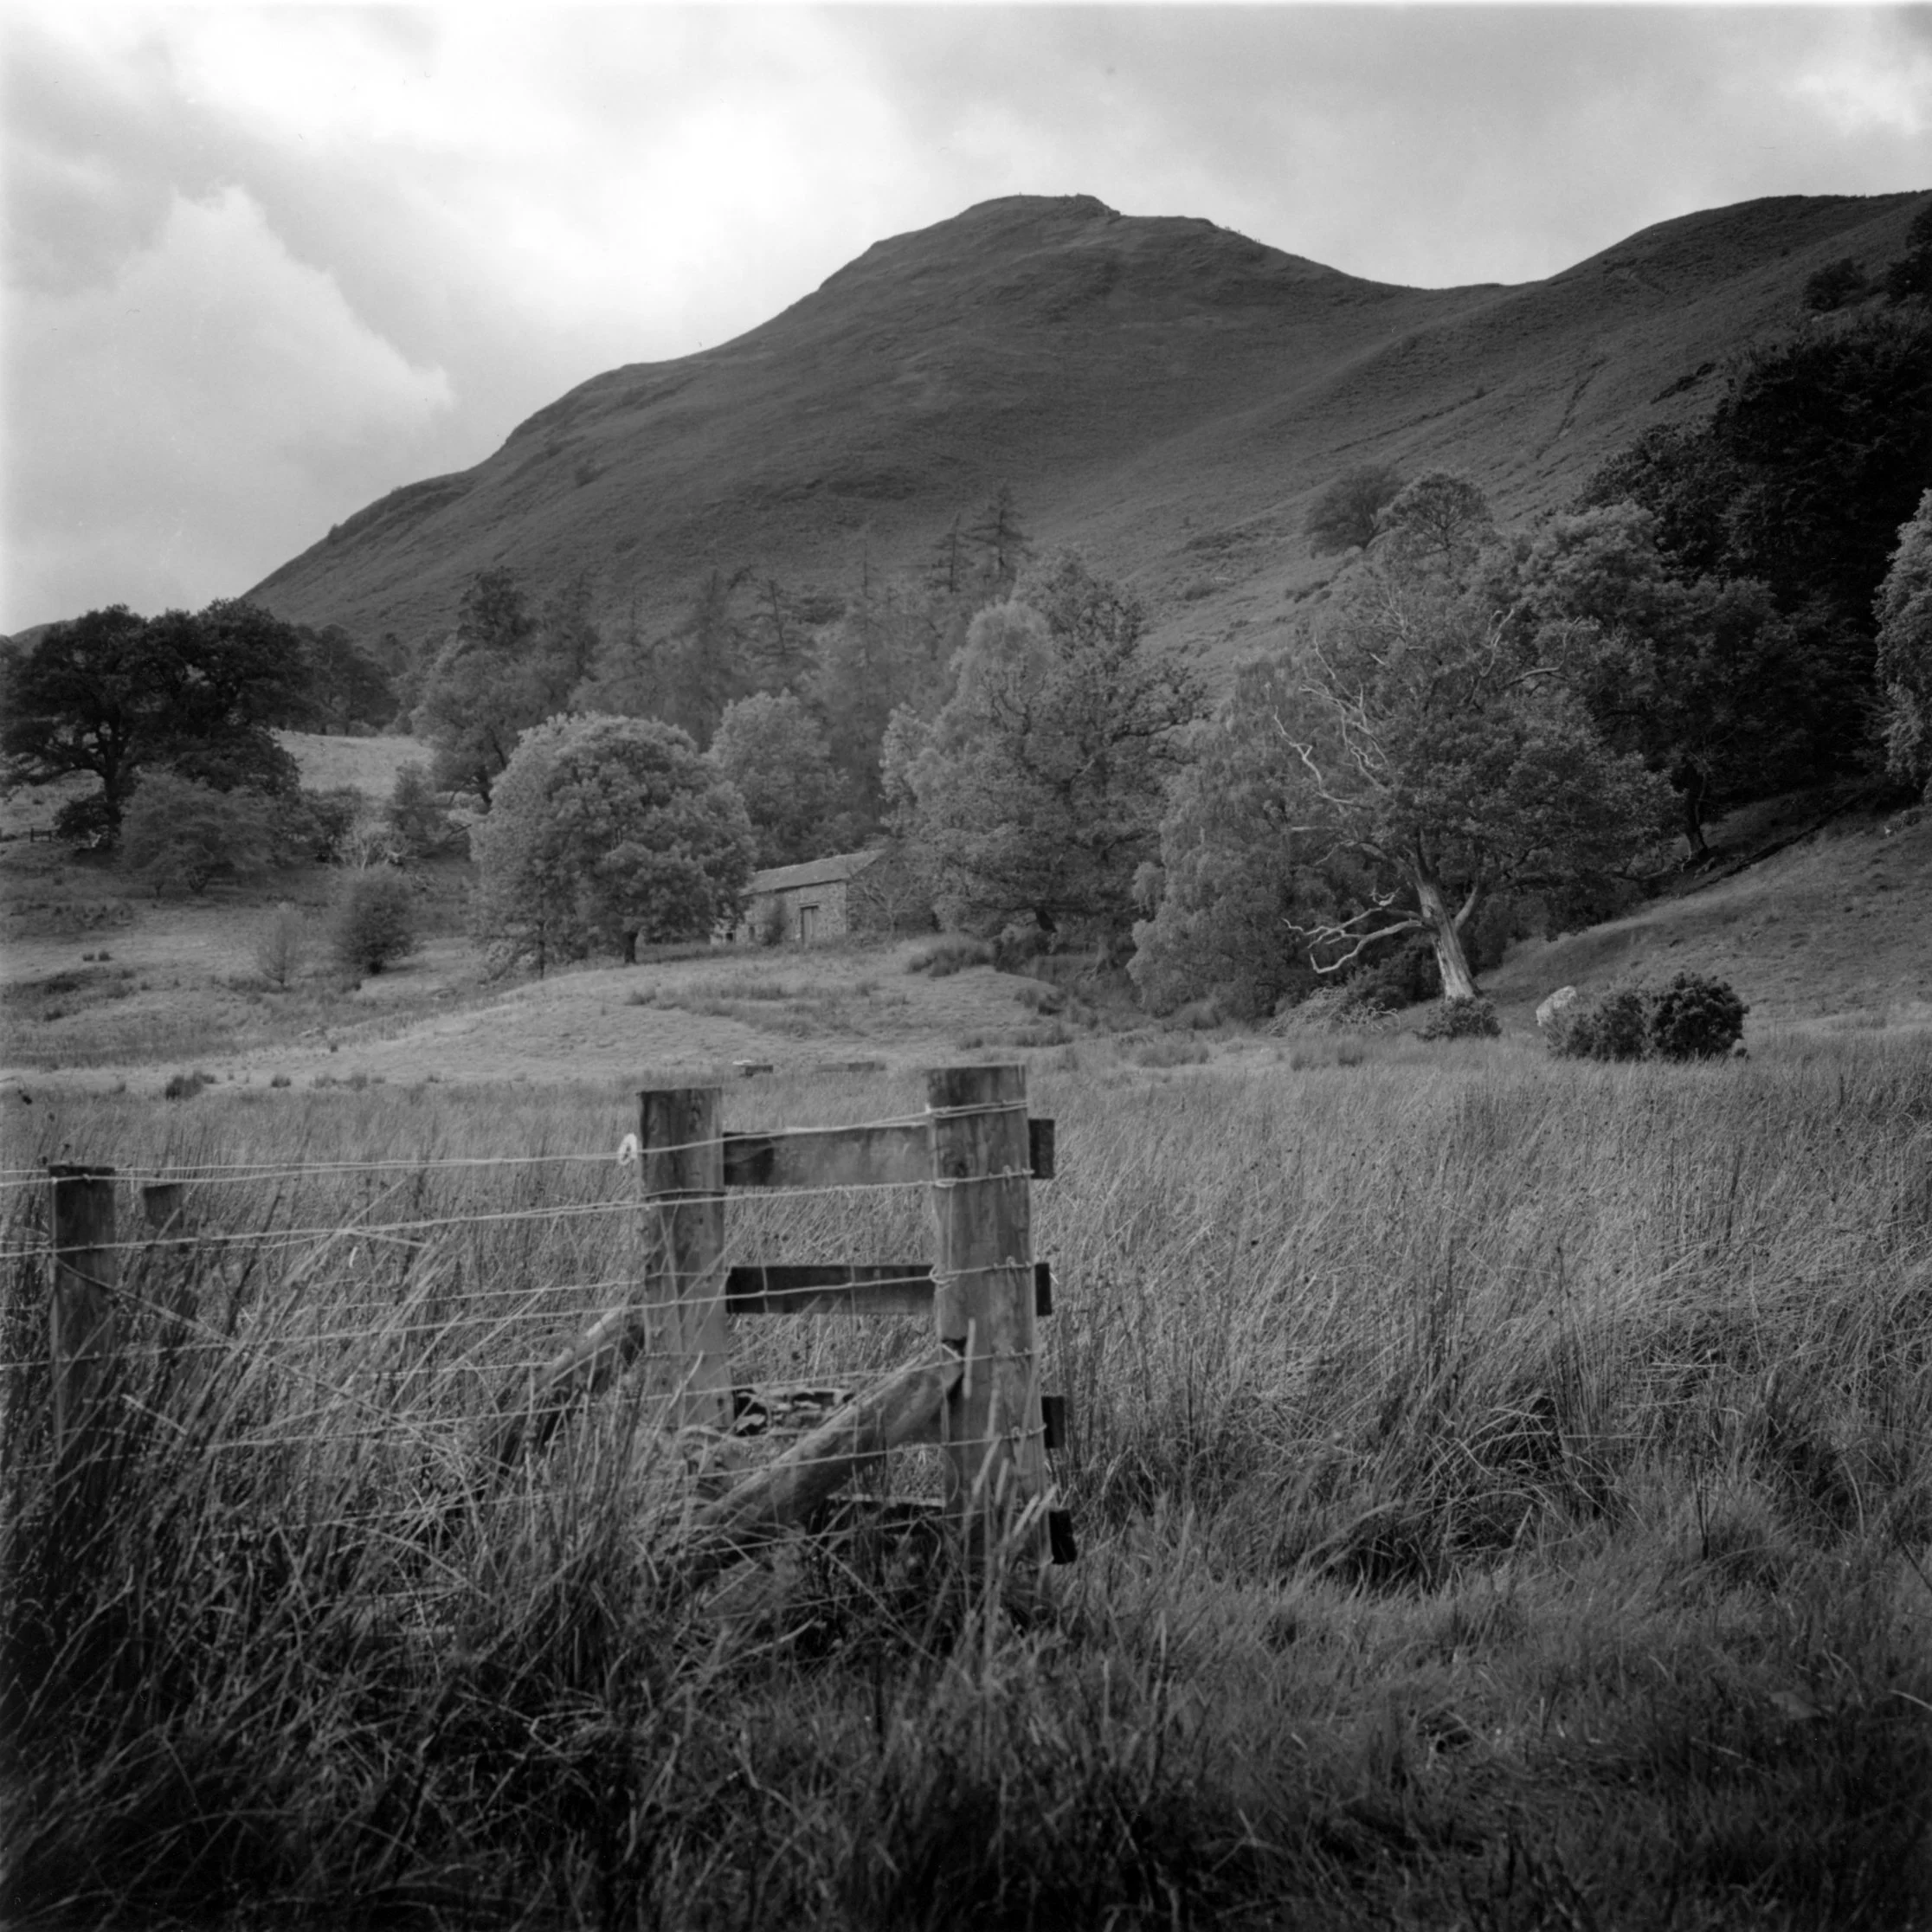
I may still tone the print with sepia and selenium. I haven’t decided whether that would suit this photograph, and I want to spend some time with it as it is before making another change. If I do go ahead, the toning process would be worth a separate post rather than an extra step added to this one.
I also think there may be another photograph to make along that stretch of path if we go back. I would like to see what a longer lens does with the farm building and the hillside, and whether I would choose the same position now that I know this scene a little better. For this trip, though, I have the frame I made and a print I’m happy with.
The falls were the place I had particularly wanted to visit, and the replacement Hasselblad body was something I was keen to use. Both are part of the story of those two rolls. But the photograph that occupied my next day was made while we walked between Low Brandelhow and Hawes End. Developing and printing it gave me time to see what had caught my attention there, beyond the few moments I spent deciding to press the shutter.