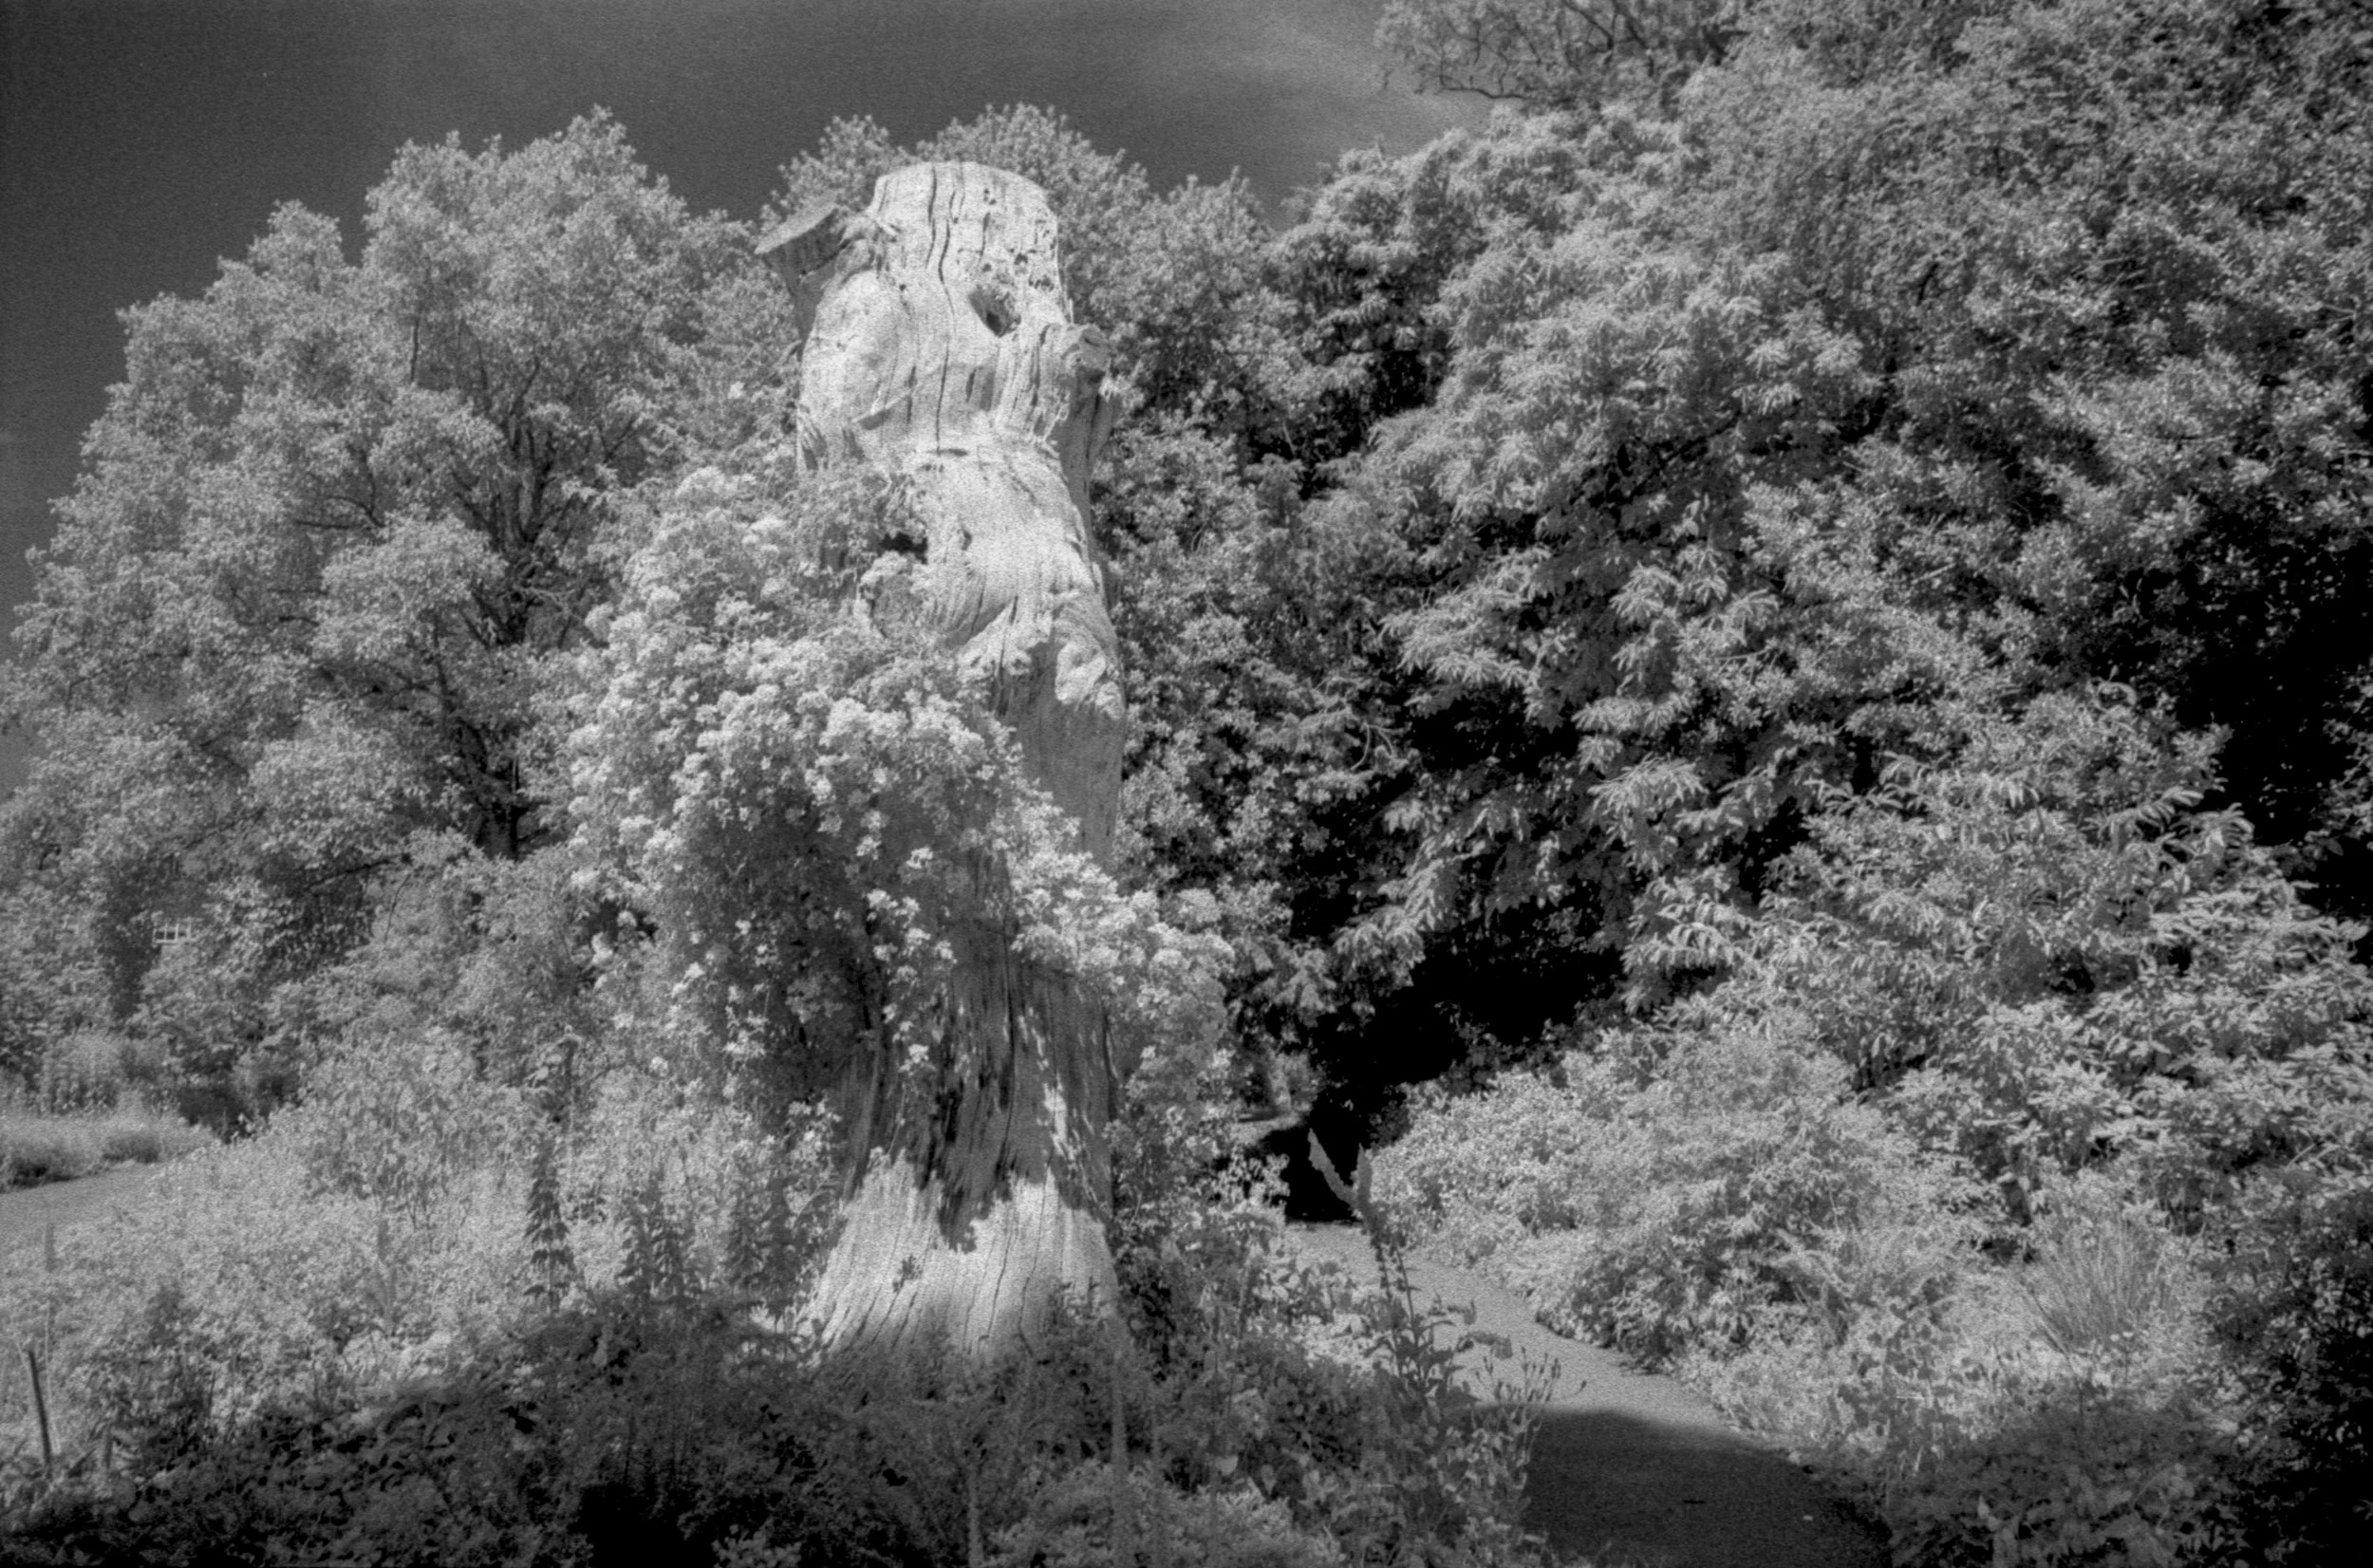
The Same Subject, A Different Experience
The same camera, the same lens and almost the same composition, yet three very different photographs. Two frames on Glow 400 and one on Ilford SFX 200 with an R72 infrared filter reminded me that changing film doesn't just alter the final image – it changes the whole experience of making it. Sometimes returning to a familiar subject reveals far more than searching for a new one.

Wide Open with Lomography Fantôme 8
Lomography Fantôme 8 through the Nikon F on a bright afternoon. ISO 8 slows everything down and makes you pay attention to the light properly. Shot mostly wide open for the soft focus, blooming highlights, and thin luminous look this film handles so well.
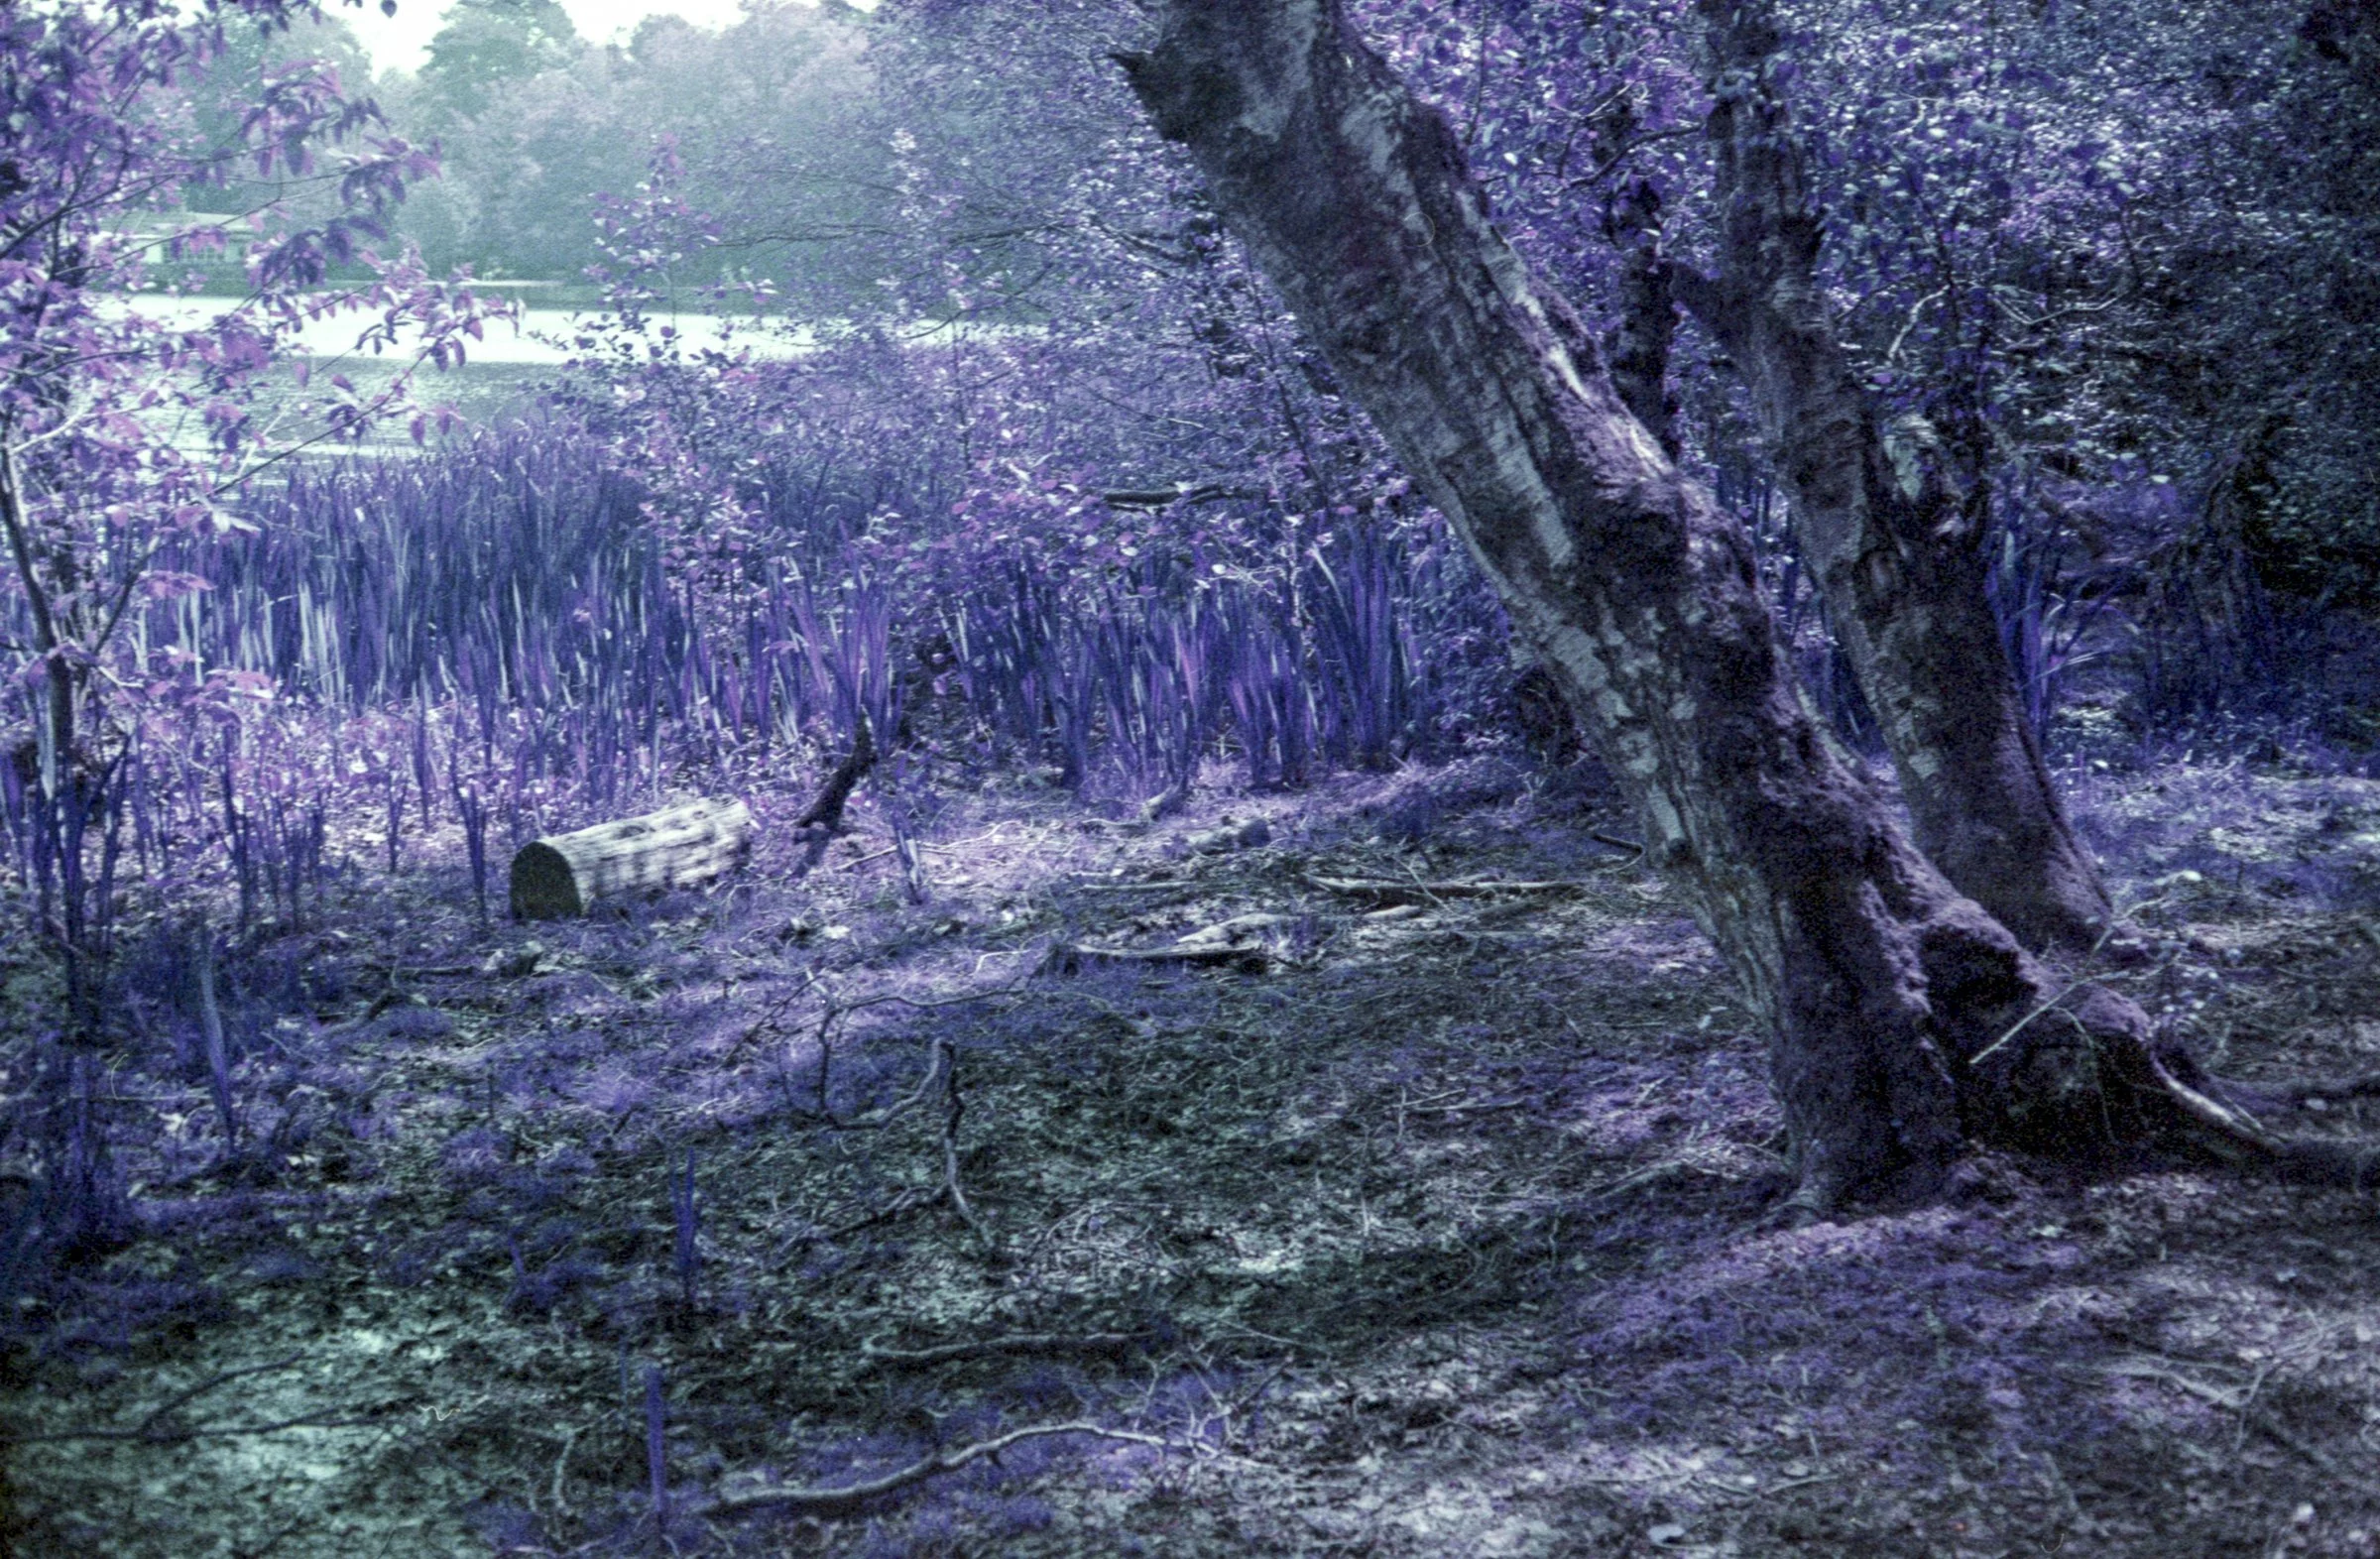
Bracebridge Pool in Purple: Photographing Sutton Park with Lomography Purple and a Yashica35
Returning to Bracebridge Pool for the first time in years, I loaded my Yashica35 with Lomography Purple film to see whether its surreal palette could change the way I viewed a familiar landscape. What followed was less about novelty and more about rediscovering atmosphere, texture, and perspective in one of Sutton Park’s most quietly photogenic locations.

Winterbourne Gardens: Kodak Gold and a Pinhole Camera
A spring afternoon at Winterbourne House and Garden experimenting with the Noon 6x6 pinhole camera and a roll of Kodak Gold 200 produced some wonderfully unpredictable results. From glowing greenhouse light to wild rainbow flare caused by shooting directly into the sun, these images capture the beautifully imperfect character that keeps pulling me back to pinhole photography.
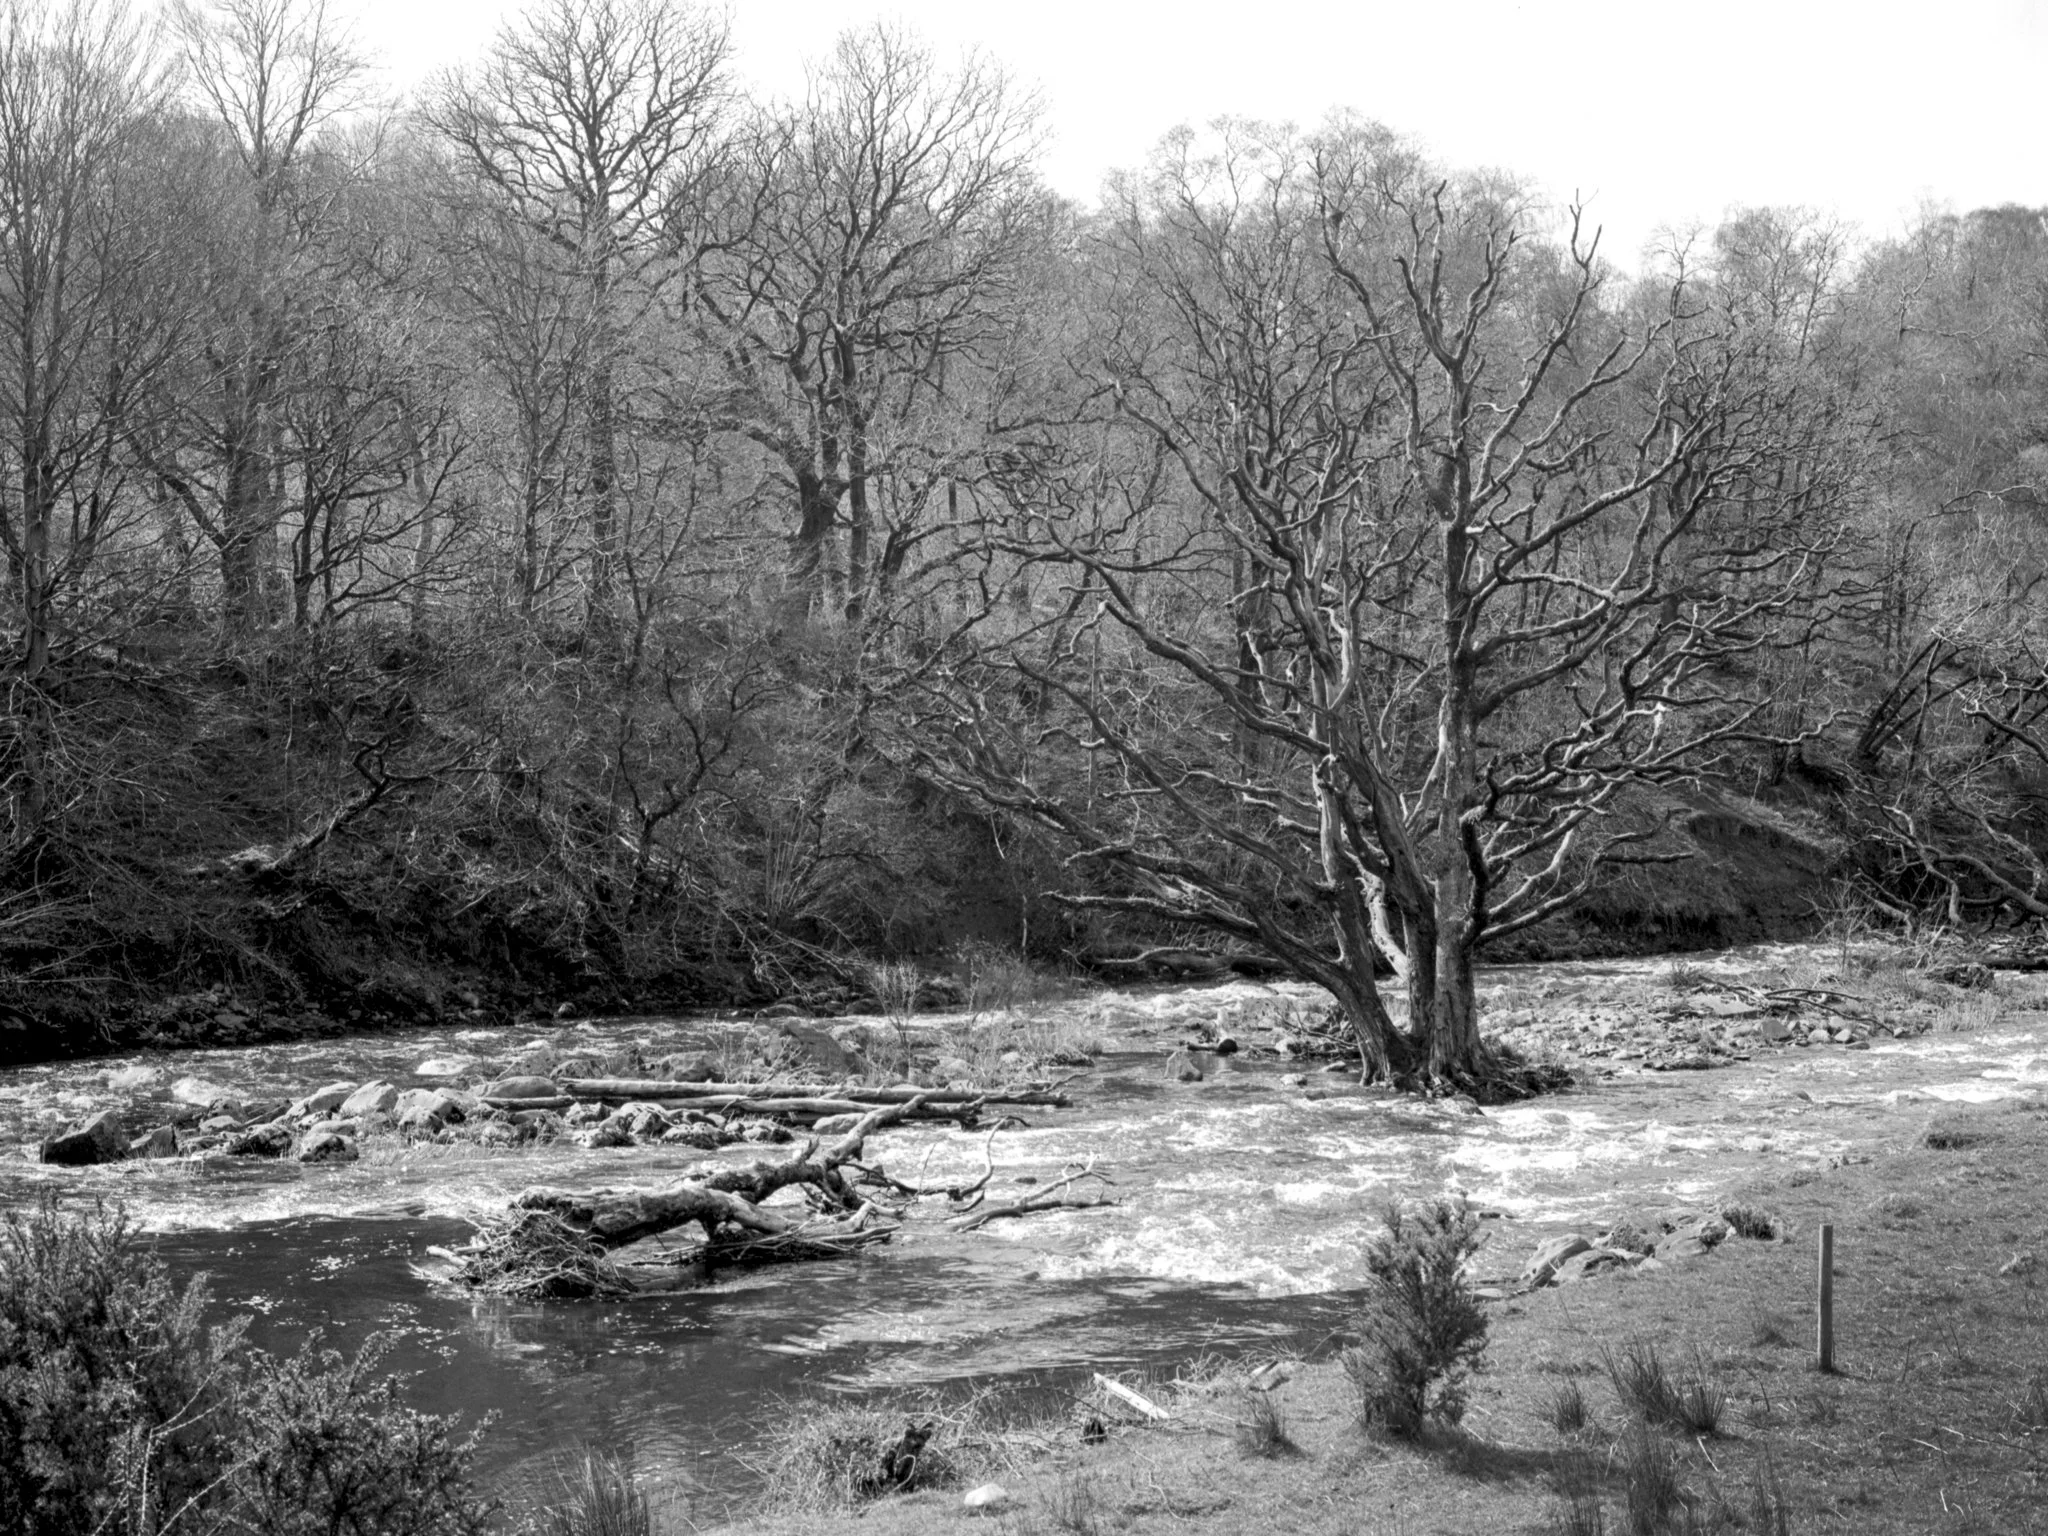
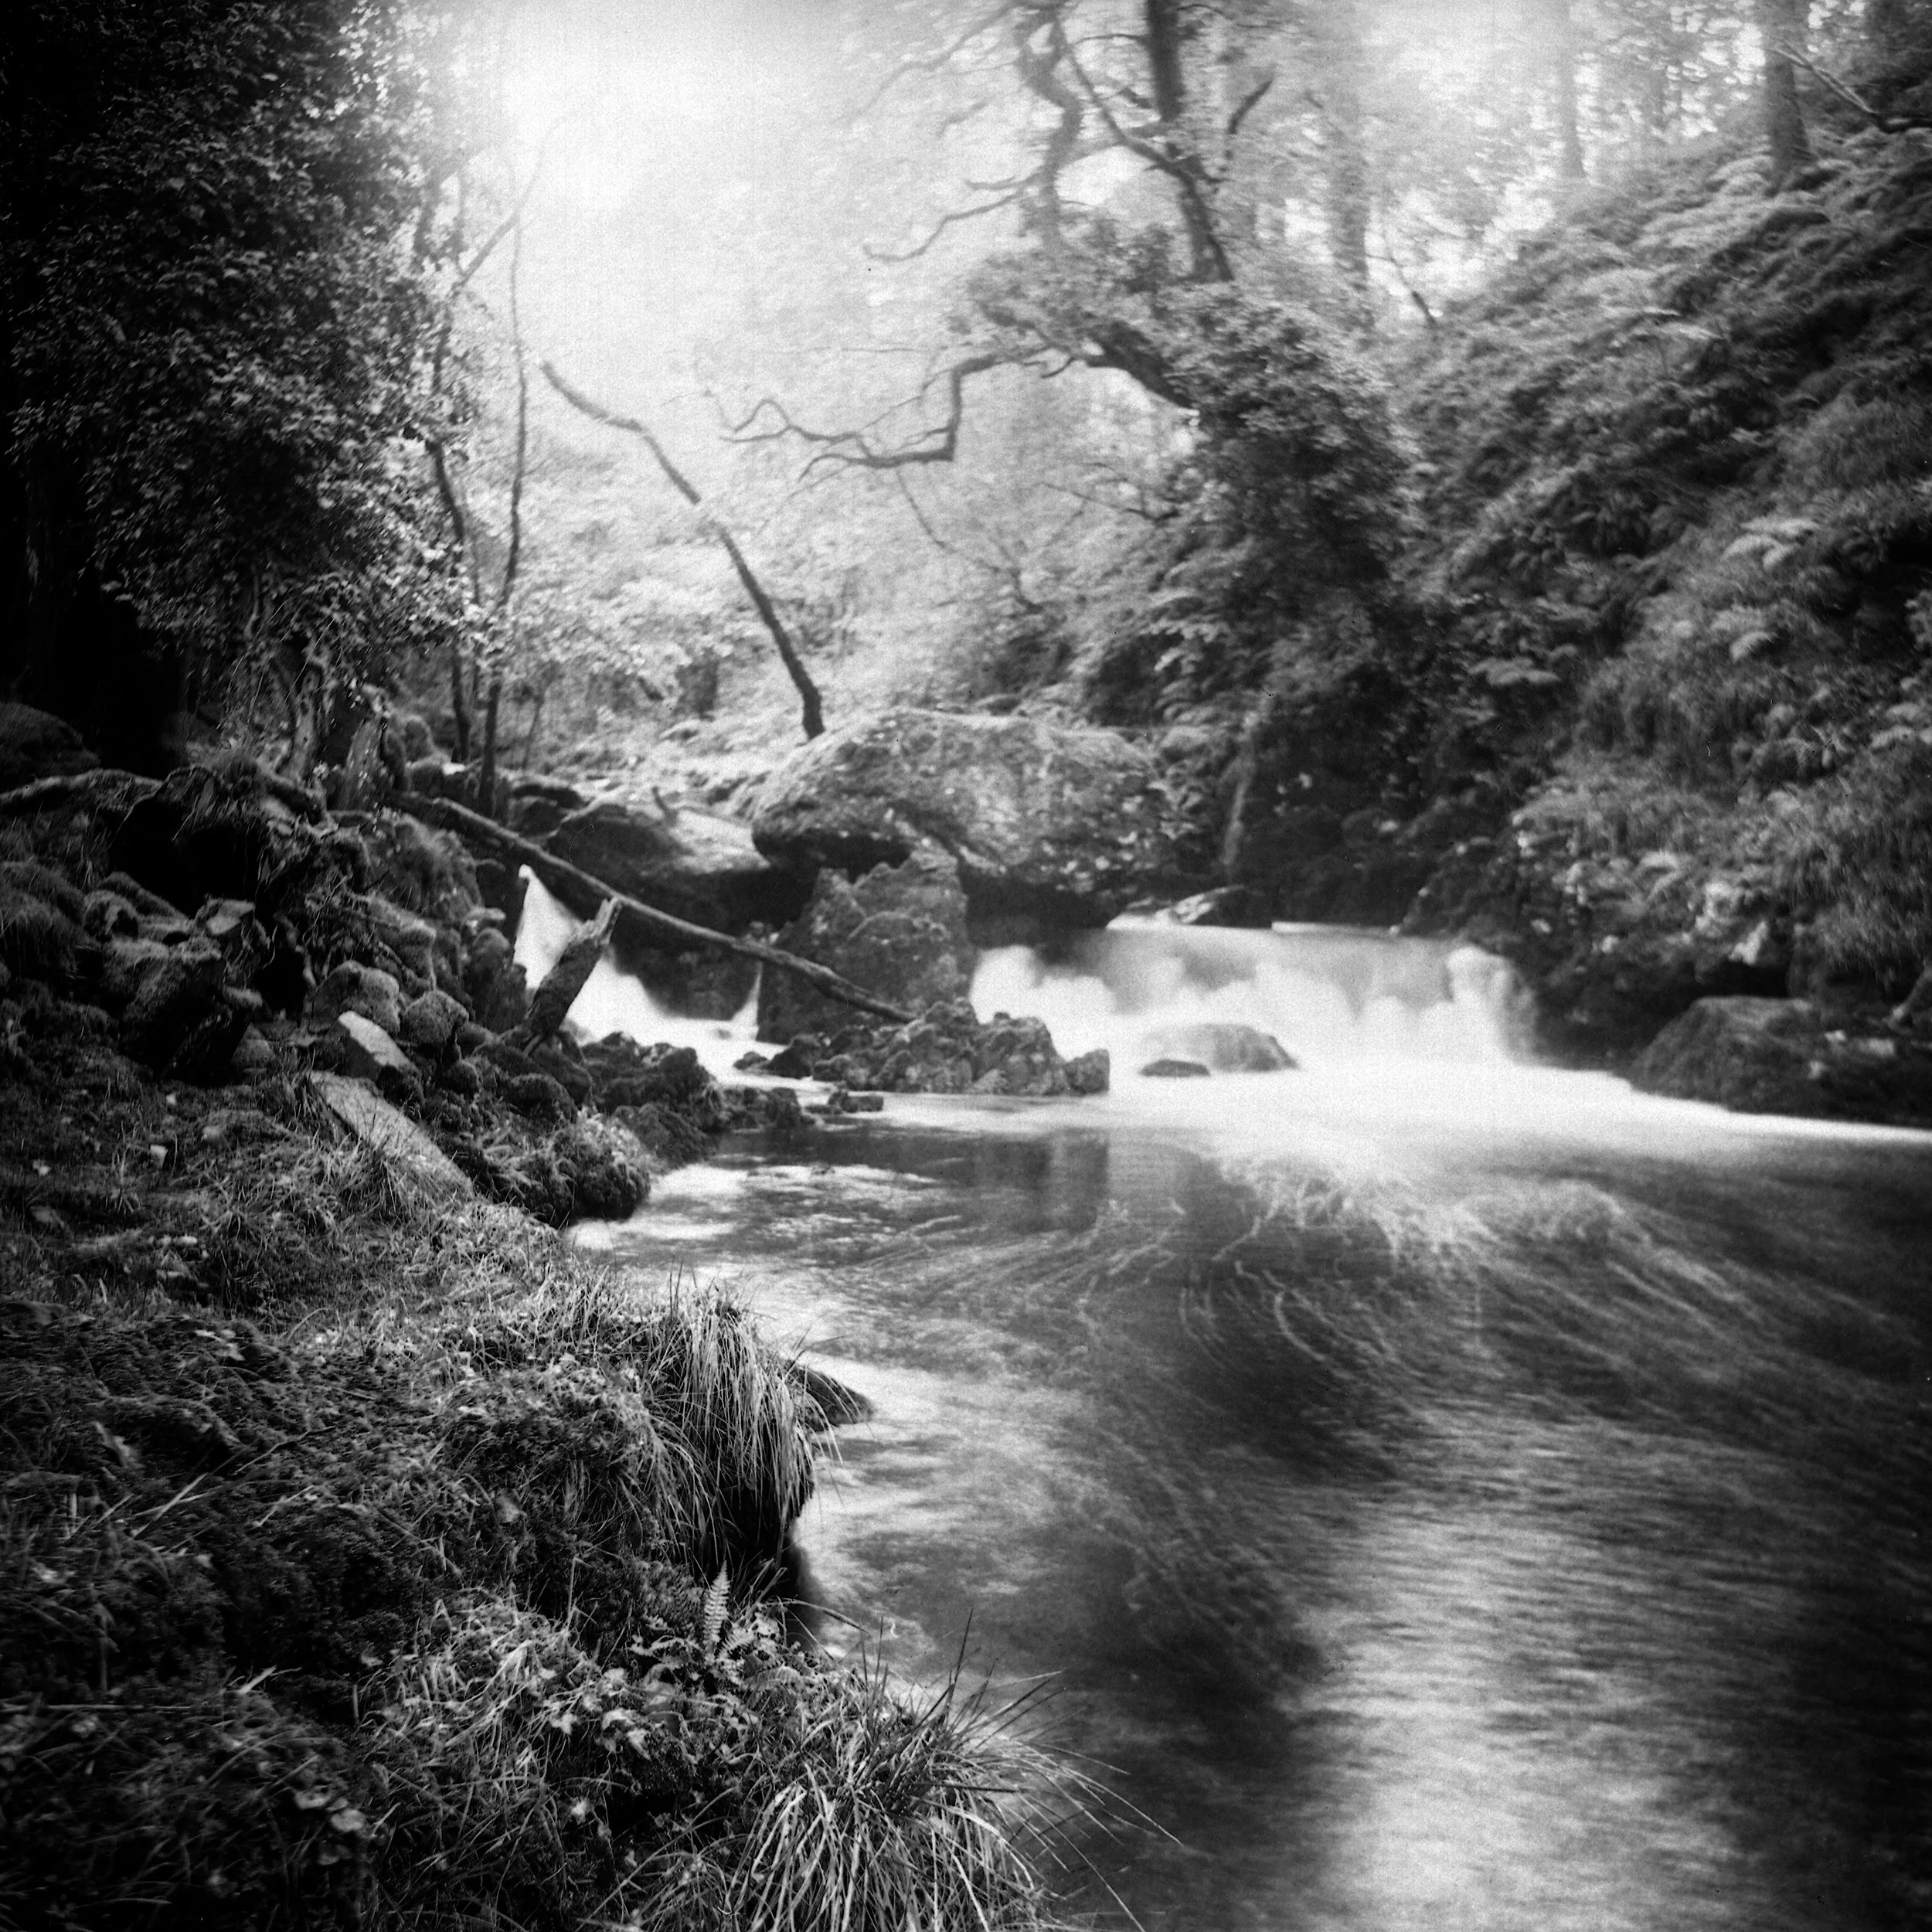
Along the Old Railway: Burns Farm to Keswick
There are walks you plan, and others you simply arrive at. The Threlkeld Railway path to Keswick was the latter.
Last weekend, under morning April light, I set out from Burns Farm Campsite for the first time with the Hasselblad H1 and a roll of Ilford Ortho. There was no fixed intention beyond reaching Keswick and making photographs along the way.
The landscape unfolds gradually. Open views give way to more contained spaces, and the river begins to shape the route. Each frame becomes a response to what is there, rather than what is expected.
A steady walk, and a landscape revealing itself in quiet stages.

Walking the Mawddach: A Photographer’s Tale
A quiet loop from Graig Wen to Barmouth along the Mawddach, photographed on HP5. Early spring light, shifting tides, and the balance between dramatic landscape and quieter detail.
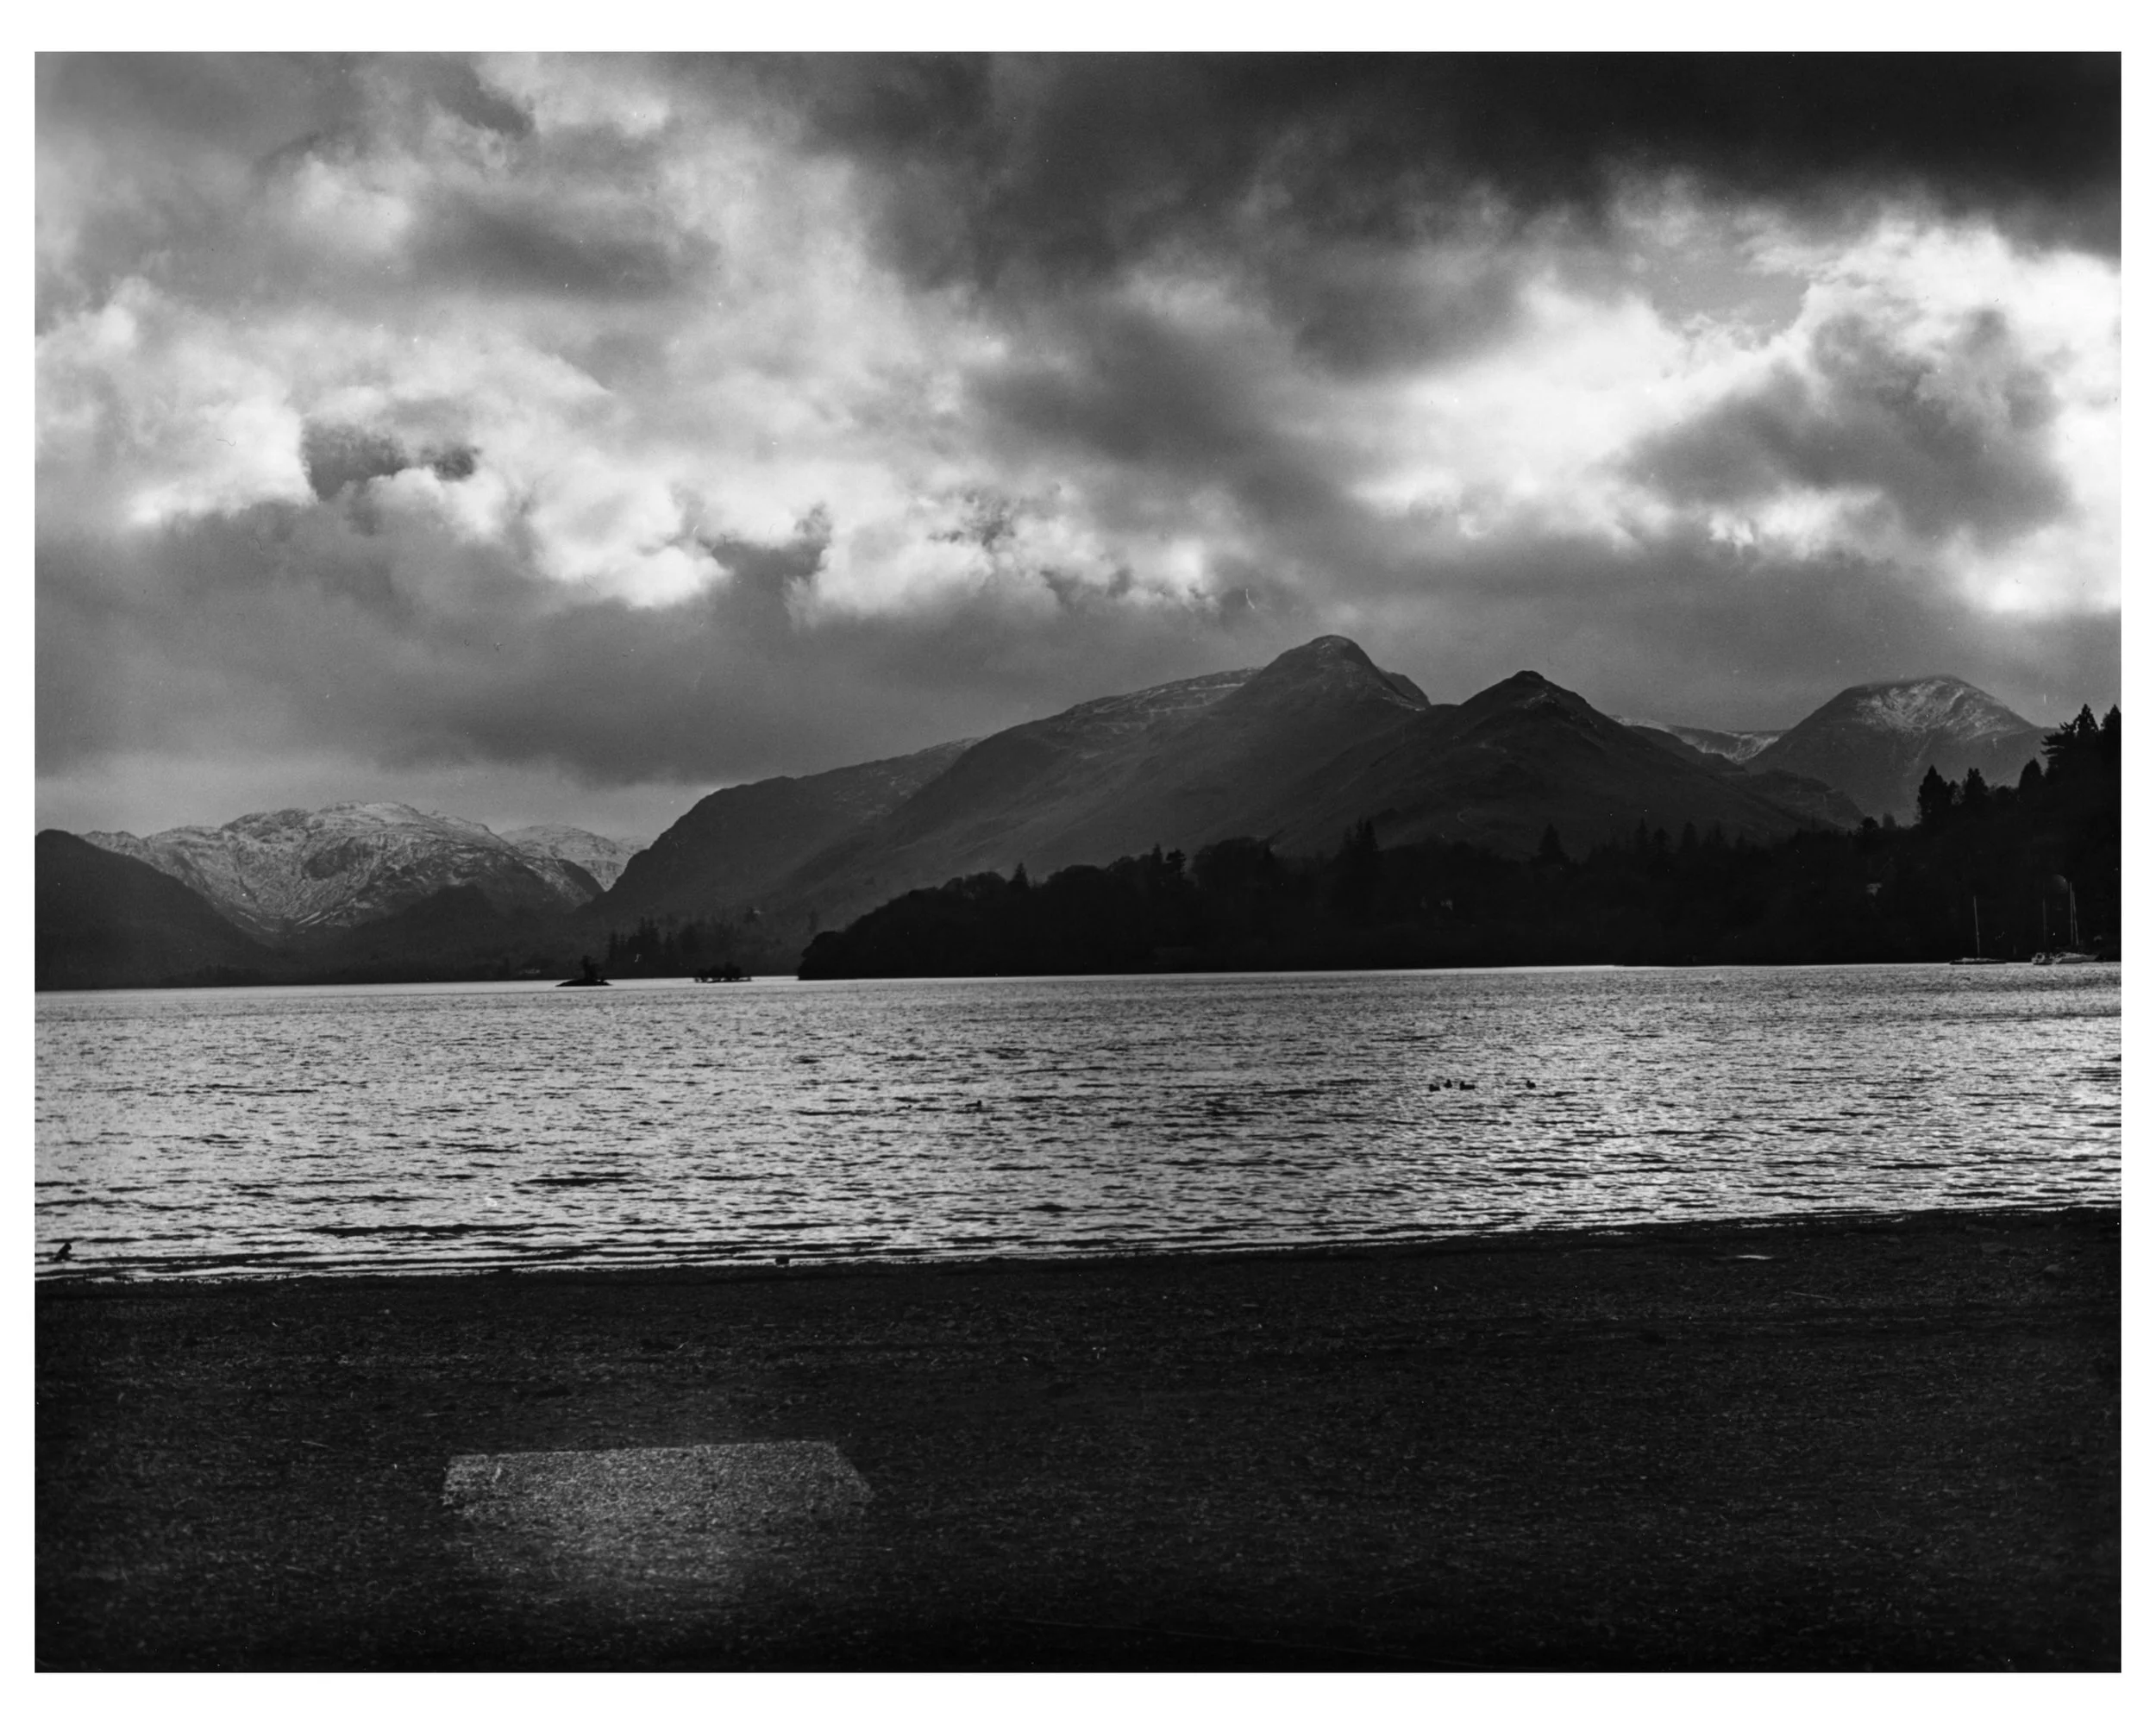
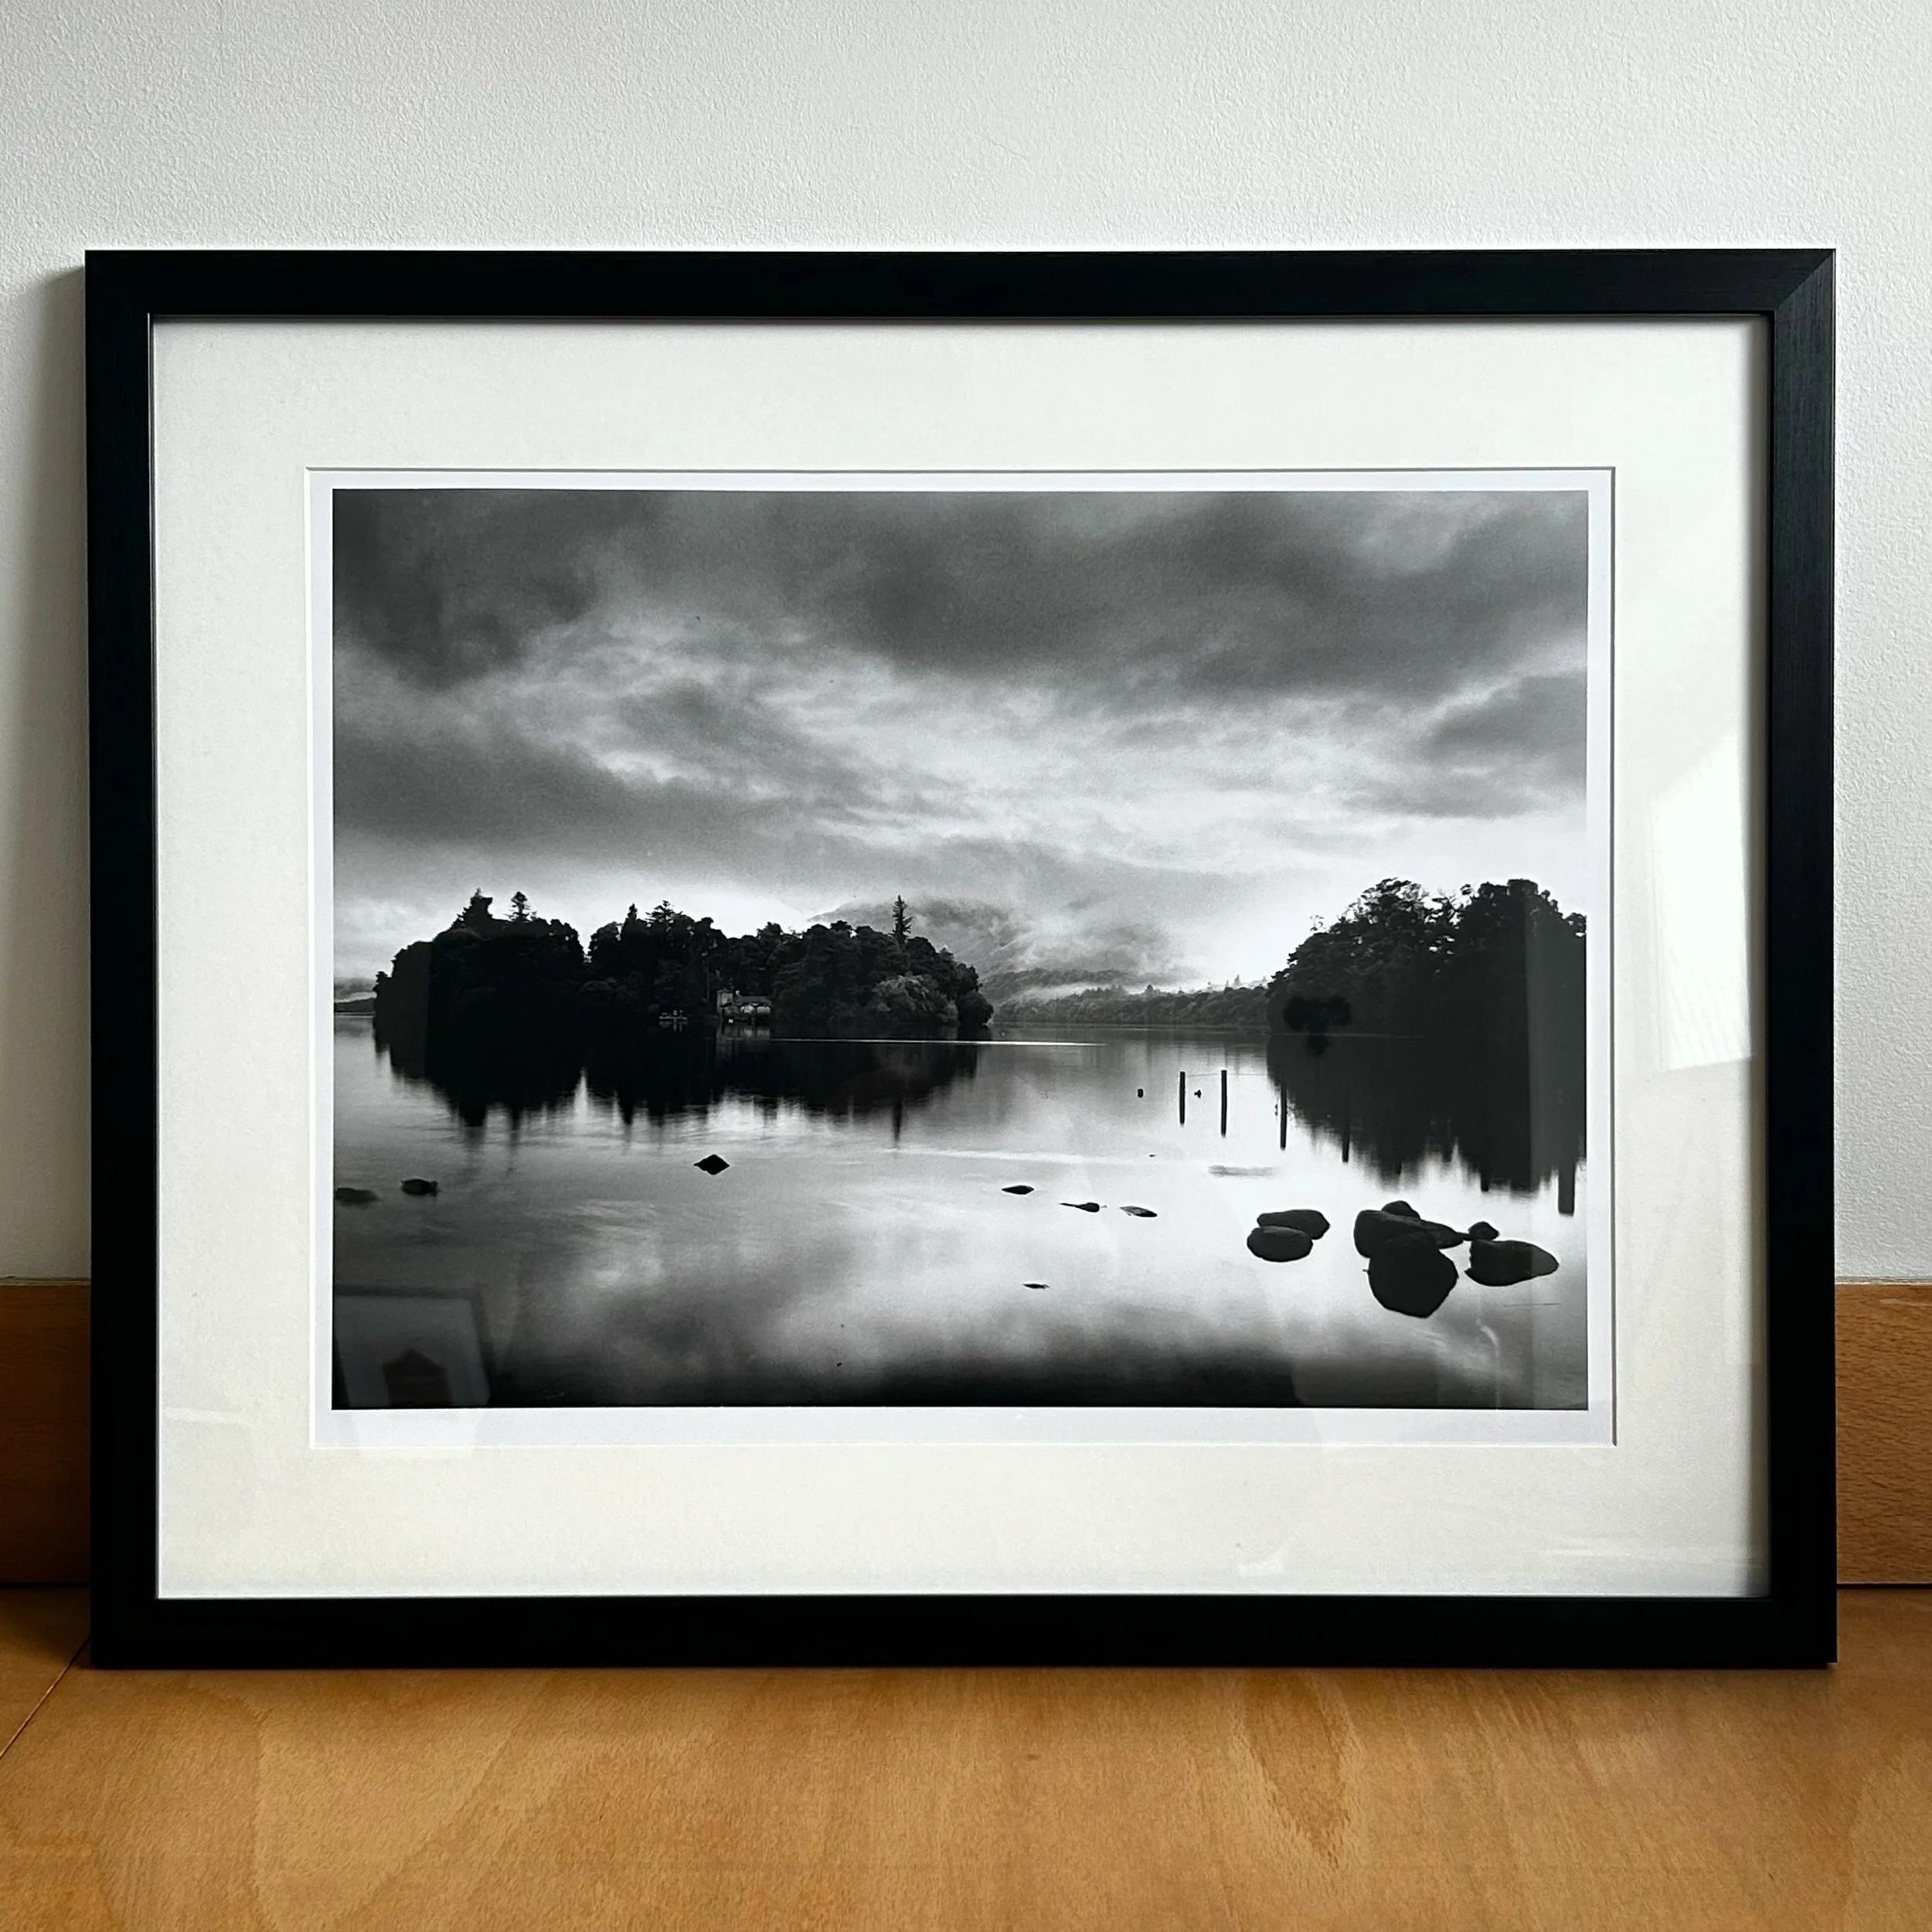
Print and Scan Derwentwater, Lake District
Comparing a darkroom print with a direct scan of the same negative is always interesting. Both come from the same frame of film, yet each renders the scene differently; one shaped by choices made under the enlarger, the other by the scanner’s more literal translation of the negative.
This photograph was taken beside Derwentwater in the Lake District on a moody, cloud-filled day. It’s a good reminder that in film photography the negative isn’t the final image - the photograph truly comes to life in the print.

Finding a replacement Point and Shoot: Pentax ESPIO 125M
After months of searching for a replacement for my Contax TVS II, I tested the Pentax ESPIO 125M on a walk through the Lickey Hills with a roll of HP5+. The first prints are sharp, well-exposed, and full of character. A reminder that even a stopgap camera can become a capable replacement.

Costa De La Digital: A Change of Process
On my first all-digital trip in over five years, I swapped film cameras for a Fujifilm and Hasselblad while exploring Costa De La Luz in 43°C heat. From olive groves and mountain villages to fiery sunsets over Zahara de la Sierra, here are 10 photographs that tell the story.

Going shutterless with Antique glass
It’s not every day you come across a piece of photographic history you can actually use. I recently stumbled upon an antique brass Auzoux & Bauz 5" f/3.2 Petzval lens from the 1850s, its worn brass body hinting at the many images it may have captured over the past century. After some improvised DIY work modifying a Copal 3 lens board with clamps, knives, and a bit of stubborn determination, I managed to adapt it to my Intrepid 4×5 and successfully pair a relic of early photography with a modern large format camera.
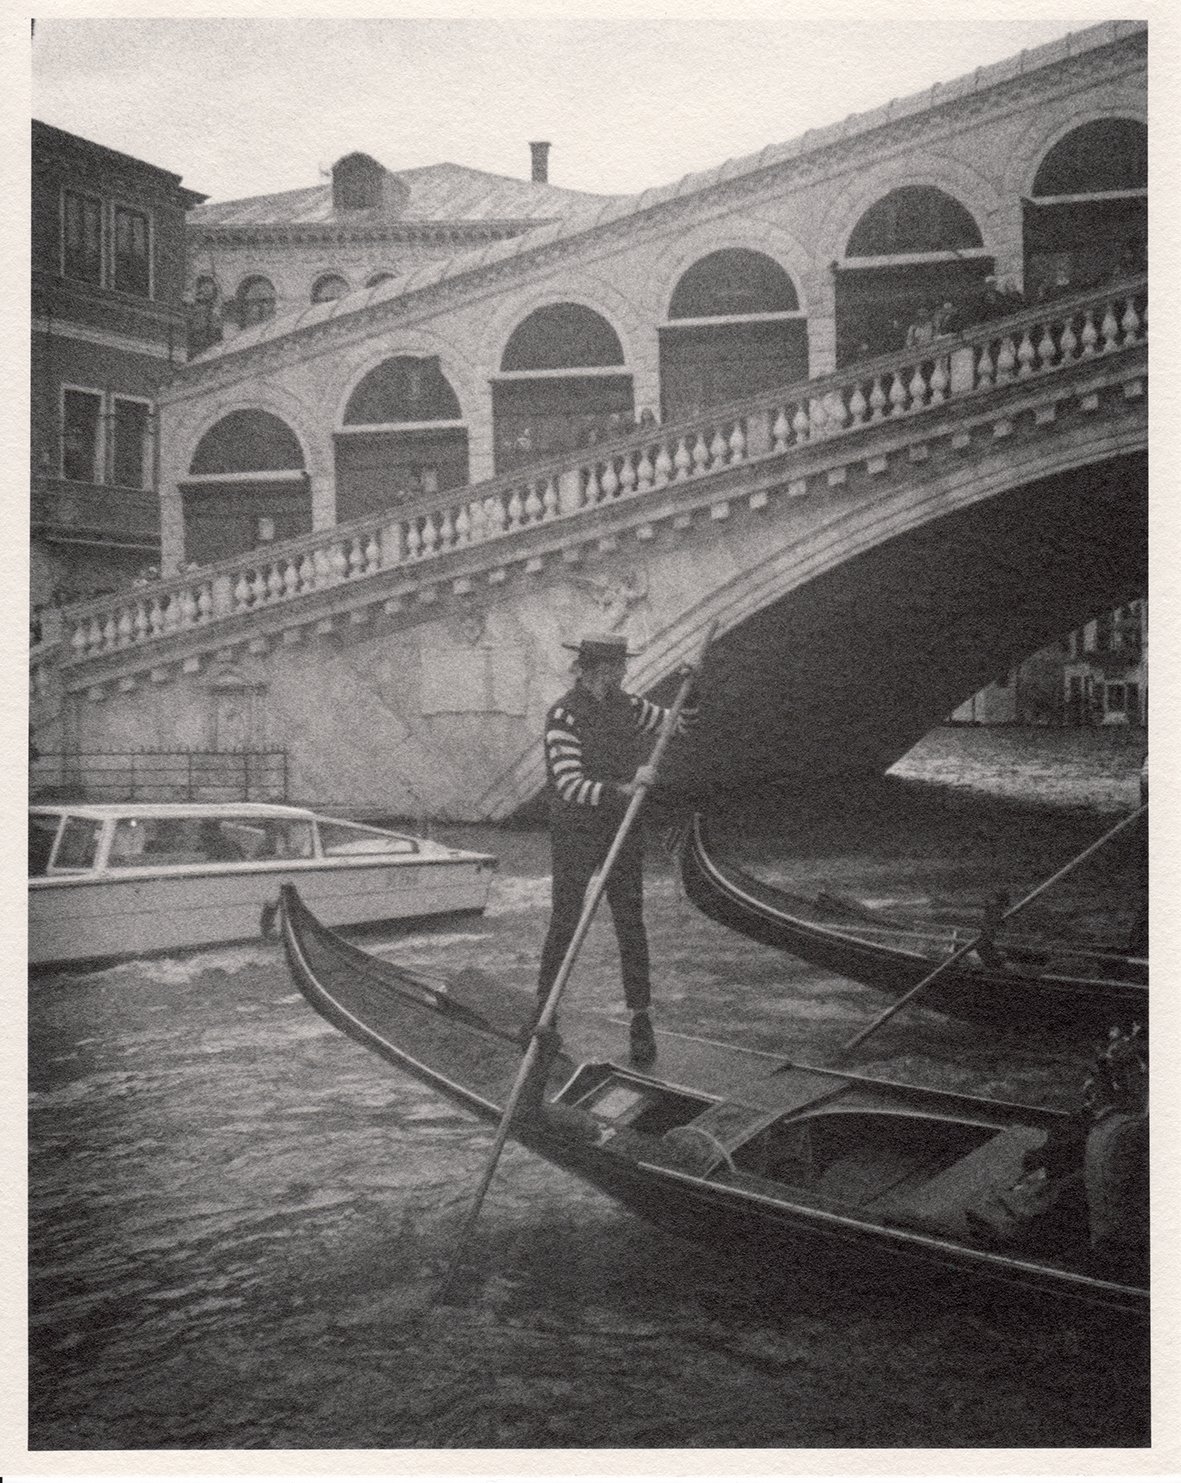
Printing Venice
Recently I developed a roll of Berger Pancro 400 from a rainy autumn trip to northern Italy, most of it shot in a grey, water-soaked Venice with my Contax TVS. Despite concerns about airport X-ray scanners, the negatives came out clean after eight minutes in Rodinal 1+25 at around 20°C, reminding me why this film and developer remain a favourite combination.

Capturing Harvington Hall on 4x5 Film
During a recent visit to the historic Harvington Hall, I captured its beauty using my Intrepid 4x5 camera. Despite challenges, especially with an overcast sky, I managed to produce a nice print albeit, the final result lacks depth and contrast. One to revisit.
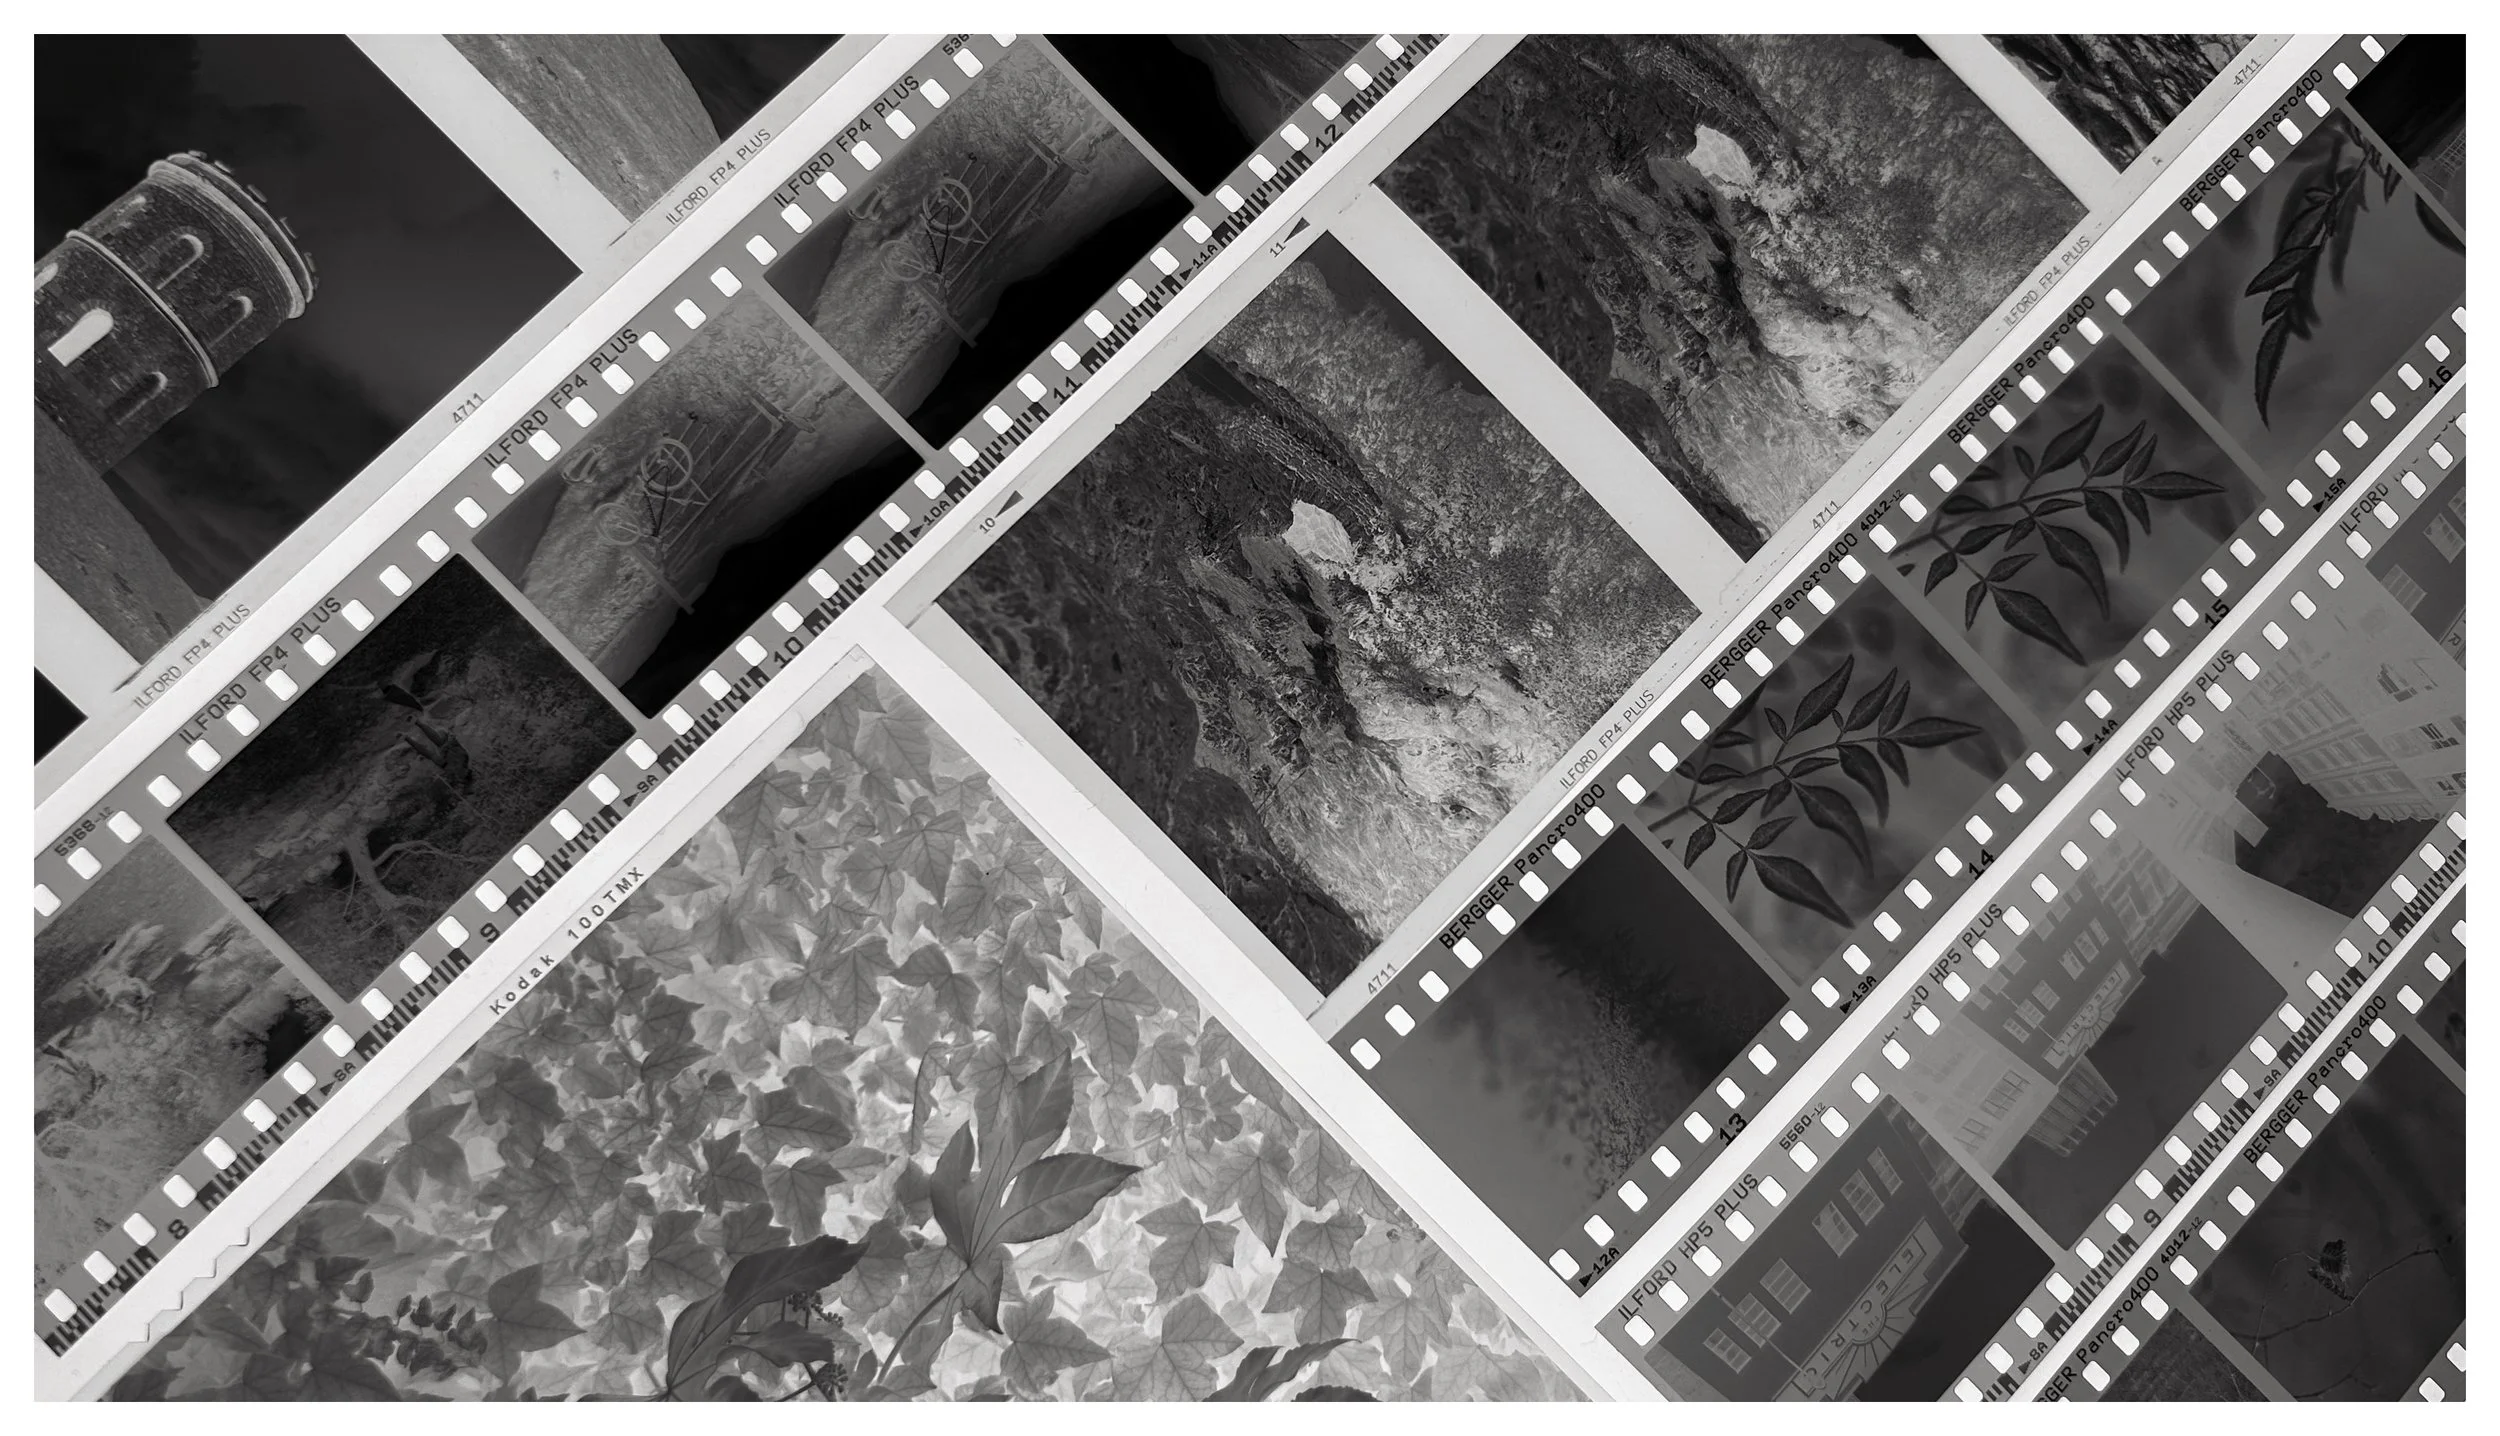
The Anatomy of a Black & White Film Negative
Experiencing the reveal of a newly developed film, catching the first glimpse of its negatives against the light, is nothing short of magical. It's a moment that validates the effort put into framing a scene and patiently anticipating its development. But for some of us, just witnessing the end result isn't enough. Our curiosity propels us to delve deeper into the enigmatic realm of film photography. So, let's embark on a journey to decode the mystique of the black & white film negative, one frame at a time.

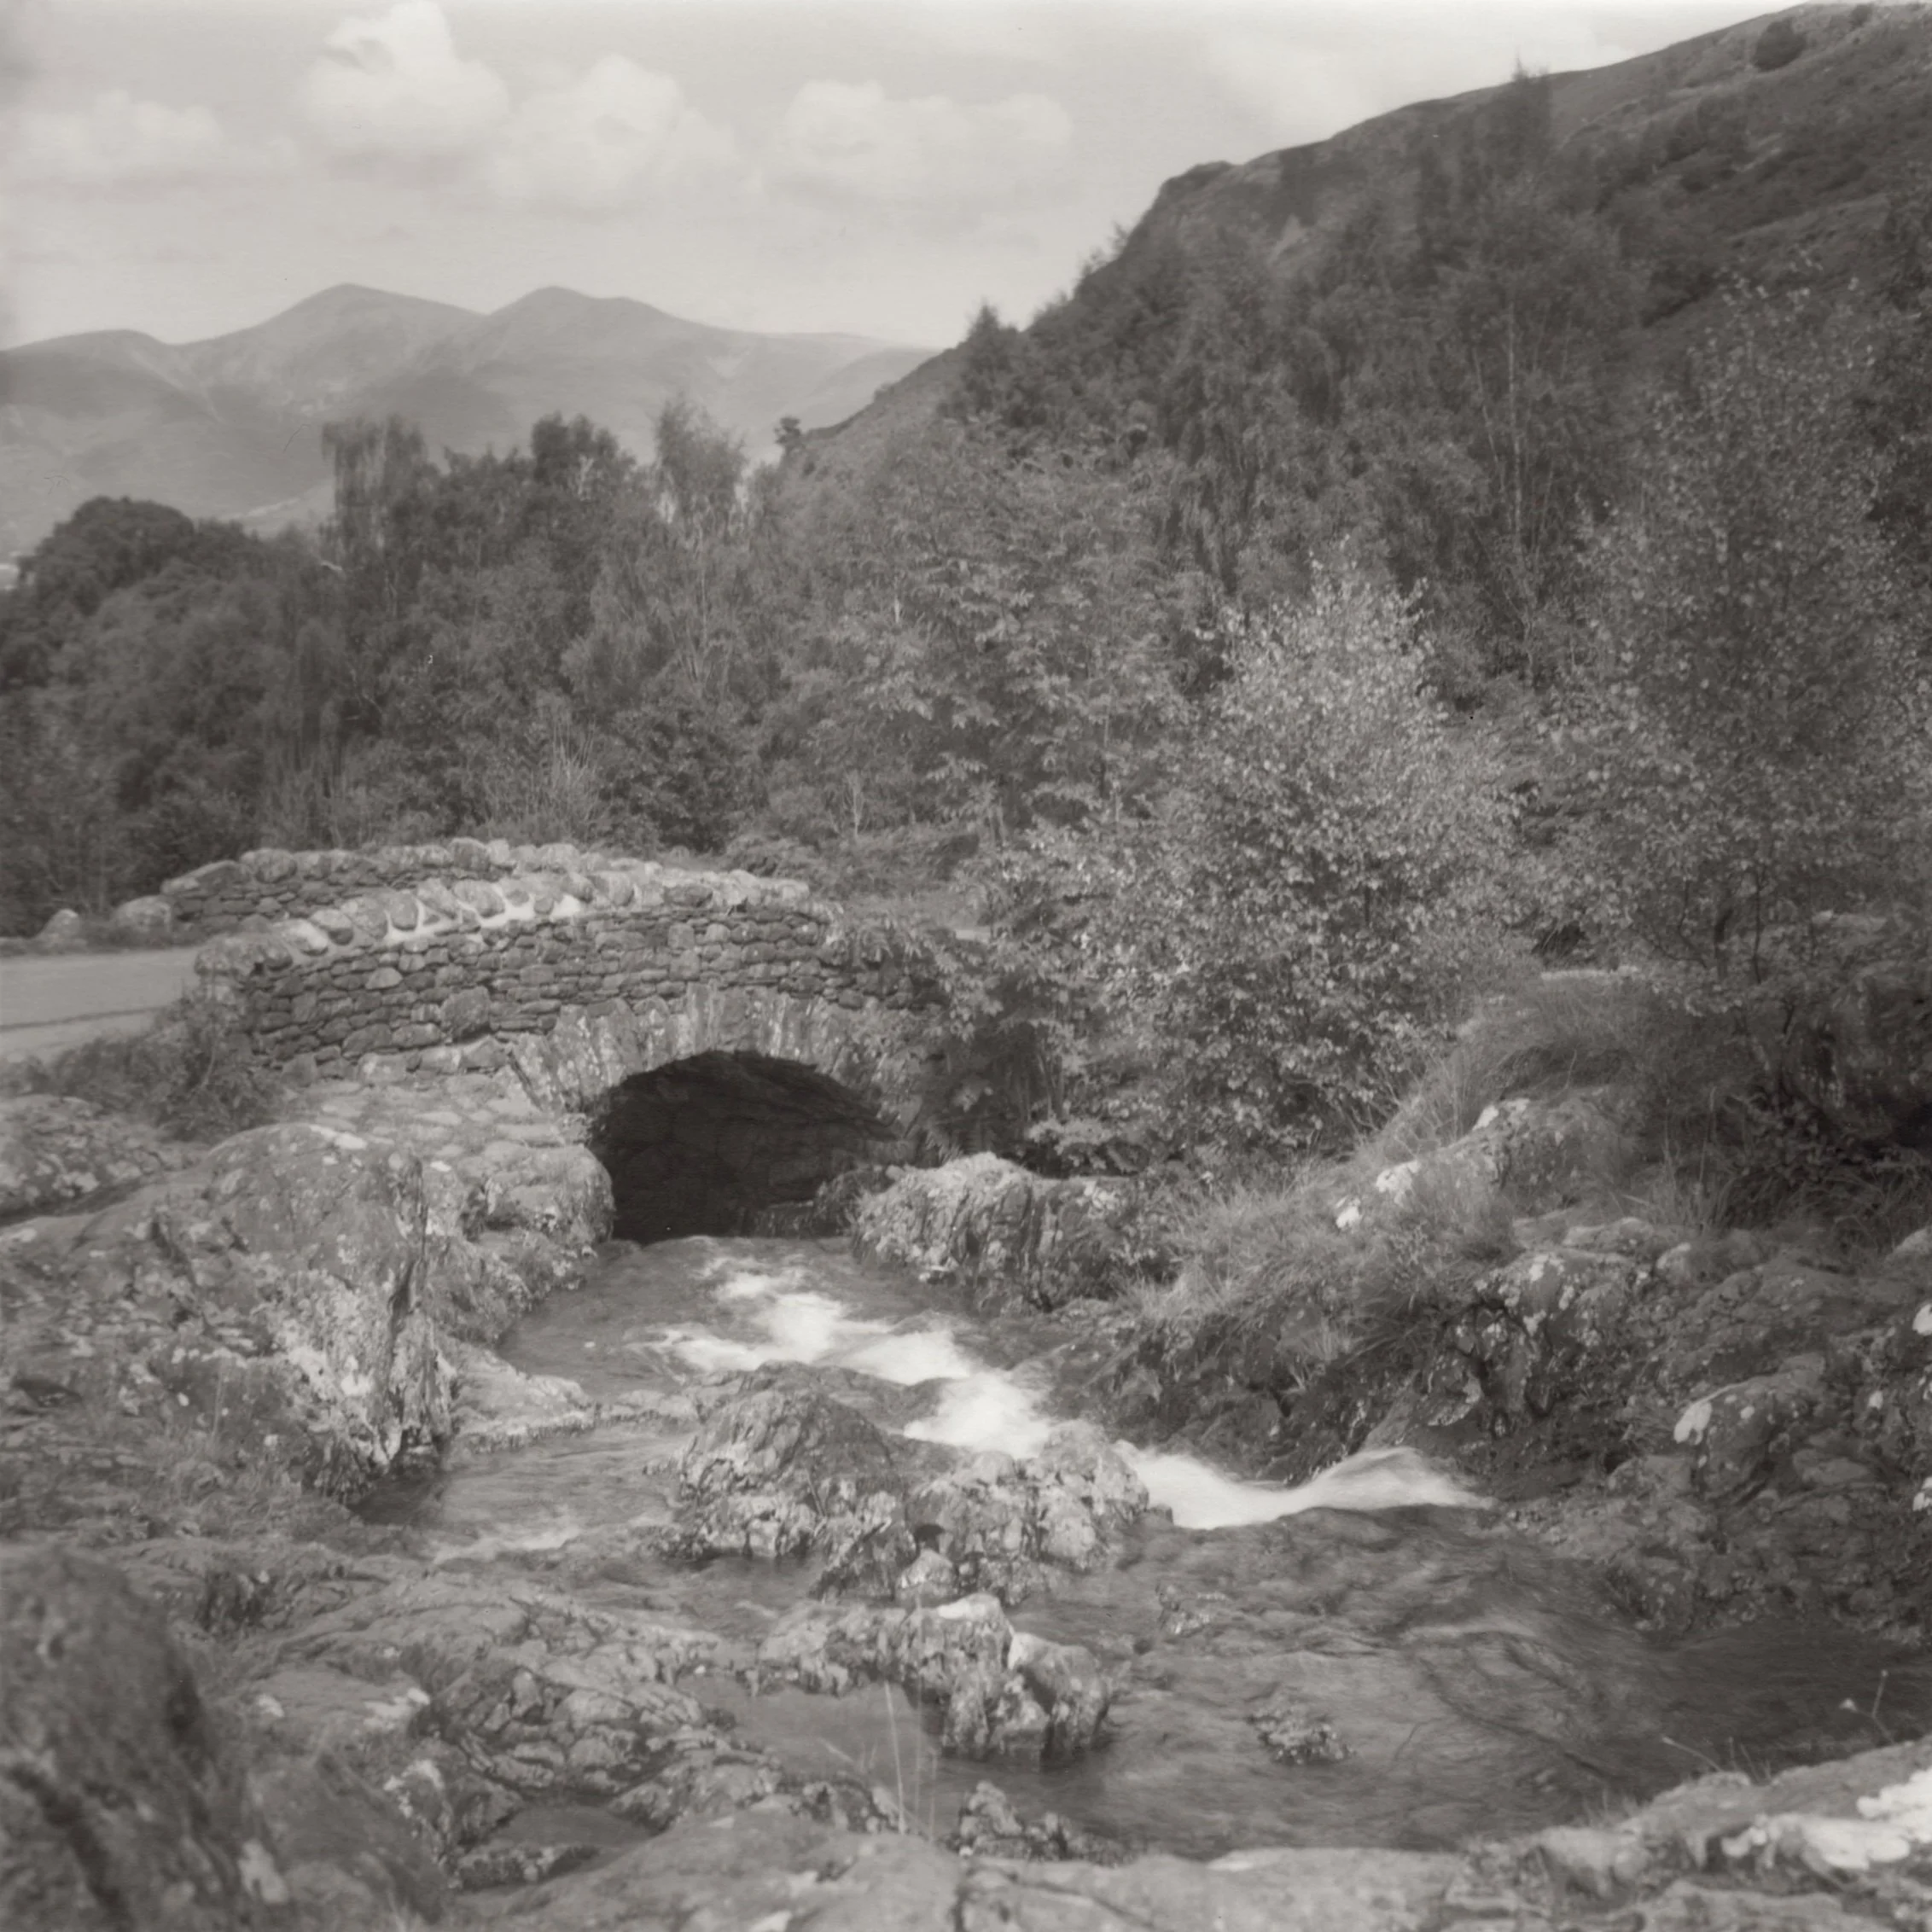
Bleaberry Fell Hike: A Tale of Persistence, Swarms, and Black & White Magic
Embarking on a captivating trek from Castlerigg Hall campsite, the picturesque Walla Crag trail to Bleaberry Fell promises ethereal views that sing nature's praises. With the trusty Contax TVS camera in tow, every step brings forth a spectacle - from vibrant heather fields to the mesmerizing interplay of light and shadow. Yet, challenges abound. From pesky swarms of flies threatening to cut the journey short to gusty winds narrating tales of impending storms. But the true reward? A chance, unexpected encounter near journey's end. Keswick town, the shimmering Bassenthwaite Lake, and the looming Skiddaw mountain all under the watchful eyes of a serene herd of sheep. Discover how a hike, laden with trials, culminates in capturing a moment that's nothing short of magic. Dive into a world where life's beauty isn't just seen in a riot of colors, but also in the nuanced shades of grey.

Pedals, Paddles, and Shutter Clicks
Soon we set off for our annual adventure to the enchanting Lake District. Packed in our trusty VW T25 camper-van "Nobby," armed to the teeth with bikes, boats and film cameras to capture breathtaking landscapes and moments. From the versatile Olympus OM-1 to artistic Noon 6x6 Pinhole Camera, we're set for an extraordinary 10-day journey, embracing nature's wonders and creative expression, creating memories to cherish forever.
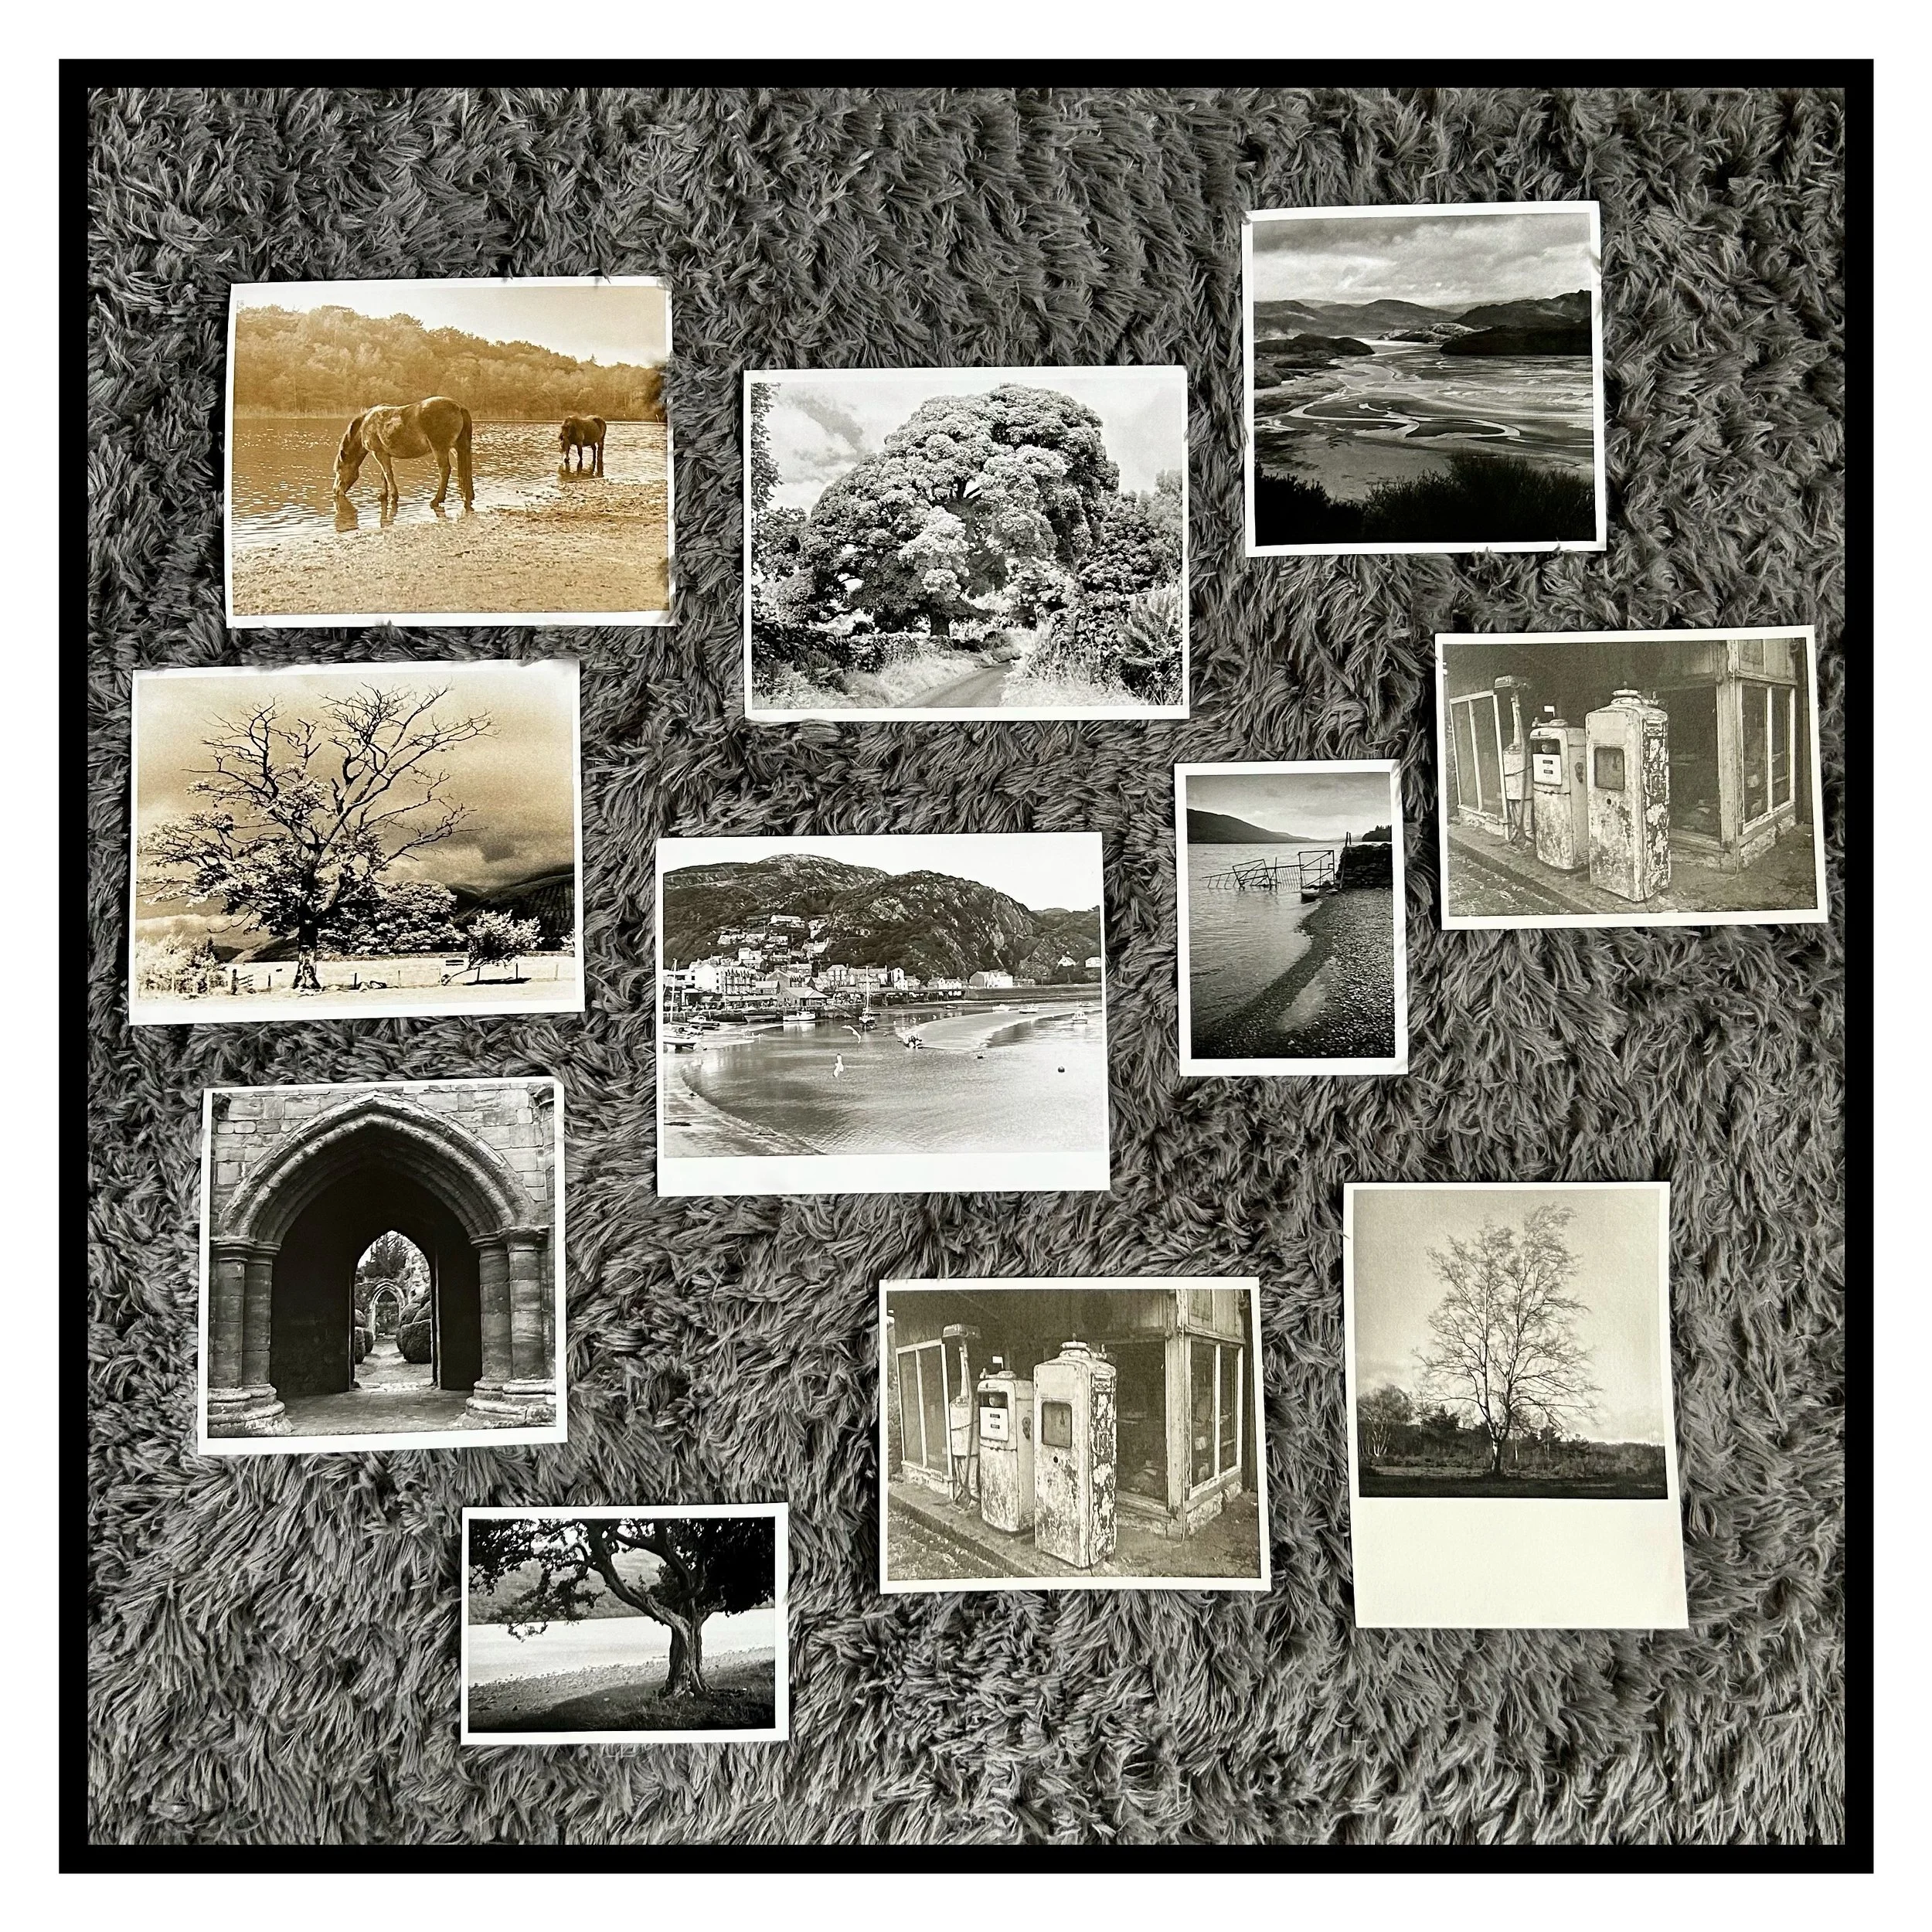
Beyond Display
As a devoted film photography enthusiast and dedicated darkroom artist, I find myself reflecting on my substantial collection of darkroom prints. Initially intending to explore traditional ways of displaying my work, I realise that none truly resonate with me. The idea of setting up an exhibition space in a gallery or artisan cafe feels overwhelming, and replicating my prints in a 'zine' seems to compromise their authenticity. Spending hours behind a craft fair booth also doesn't align with my artistic purpose. Instead, I find joy in the creative process itself - capturing new images in the field and immersing myself in the darkroom. While I acknowledge the value of displaying my prints, I’m pulled toward the artistic journey and cherishing the process of creation over seeking external validation.
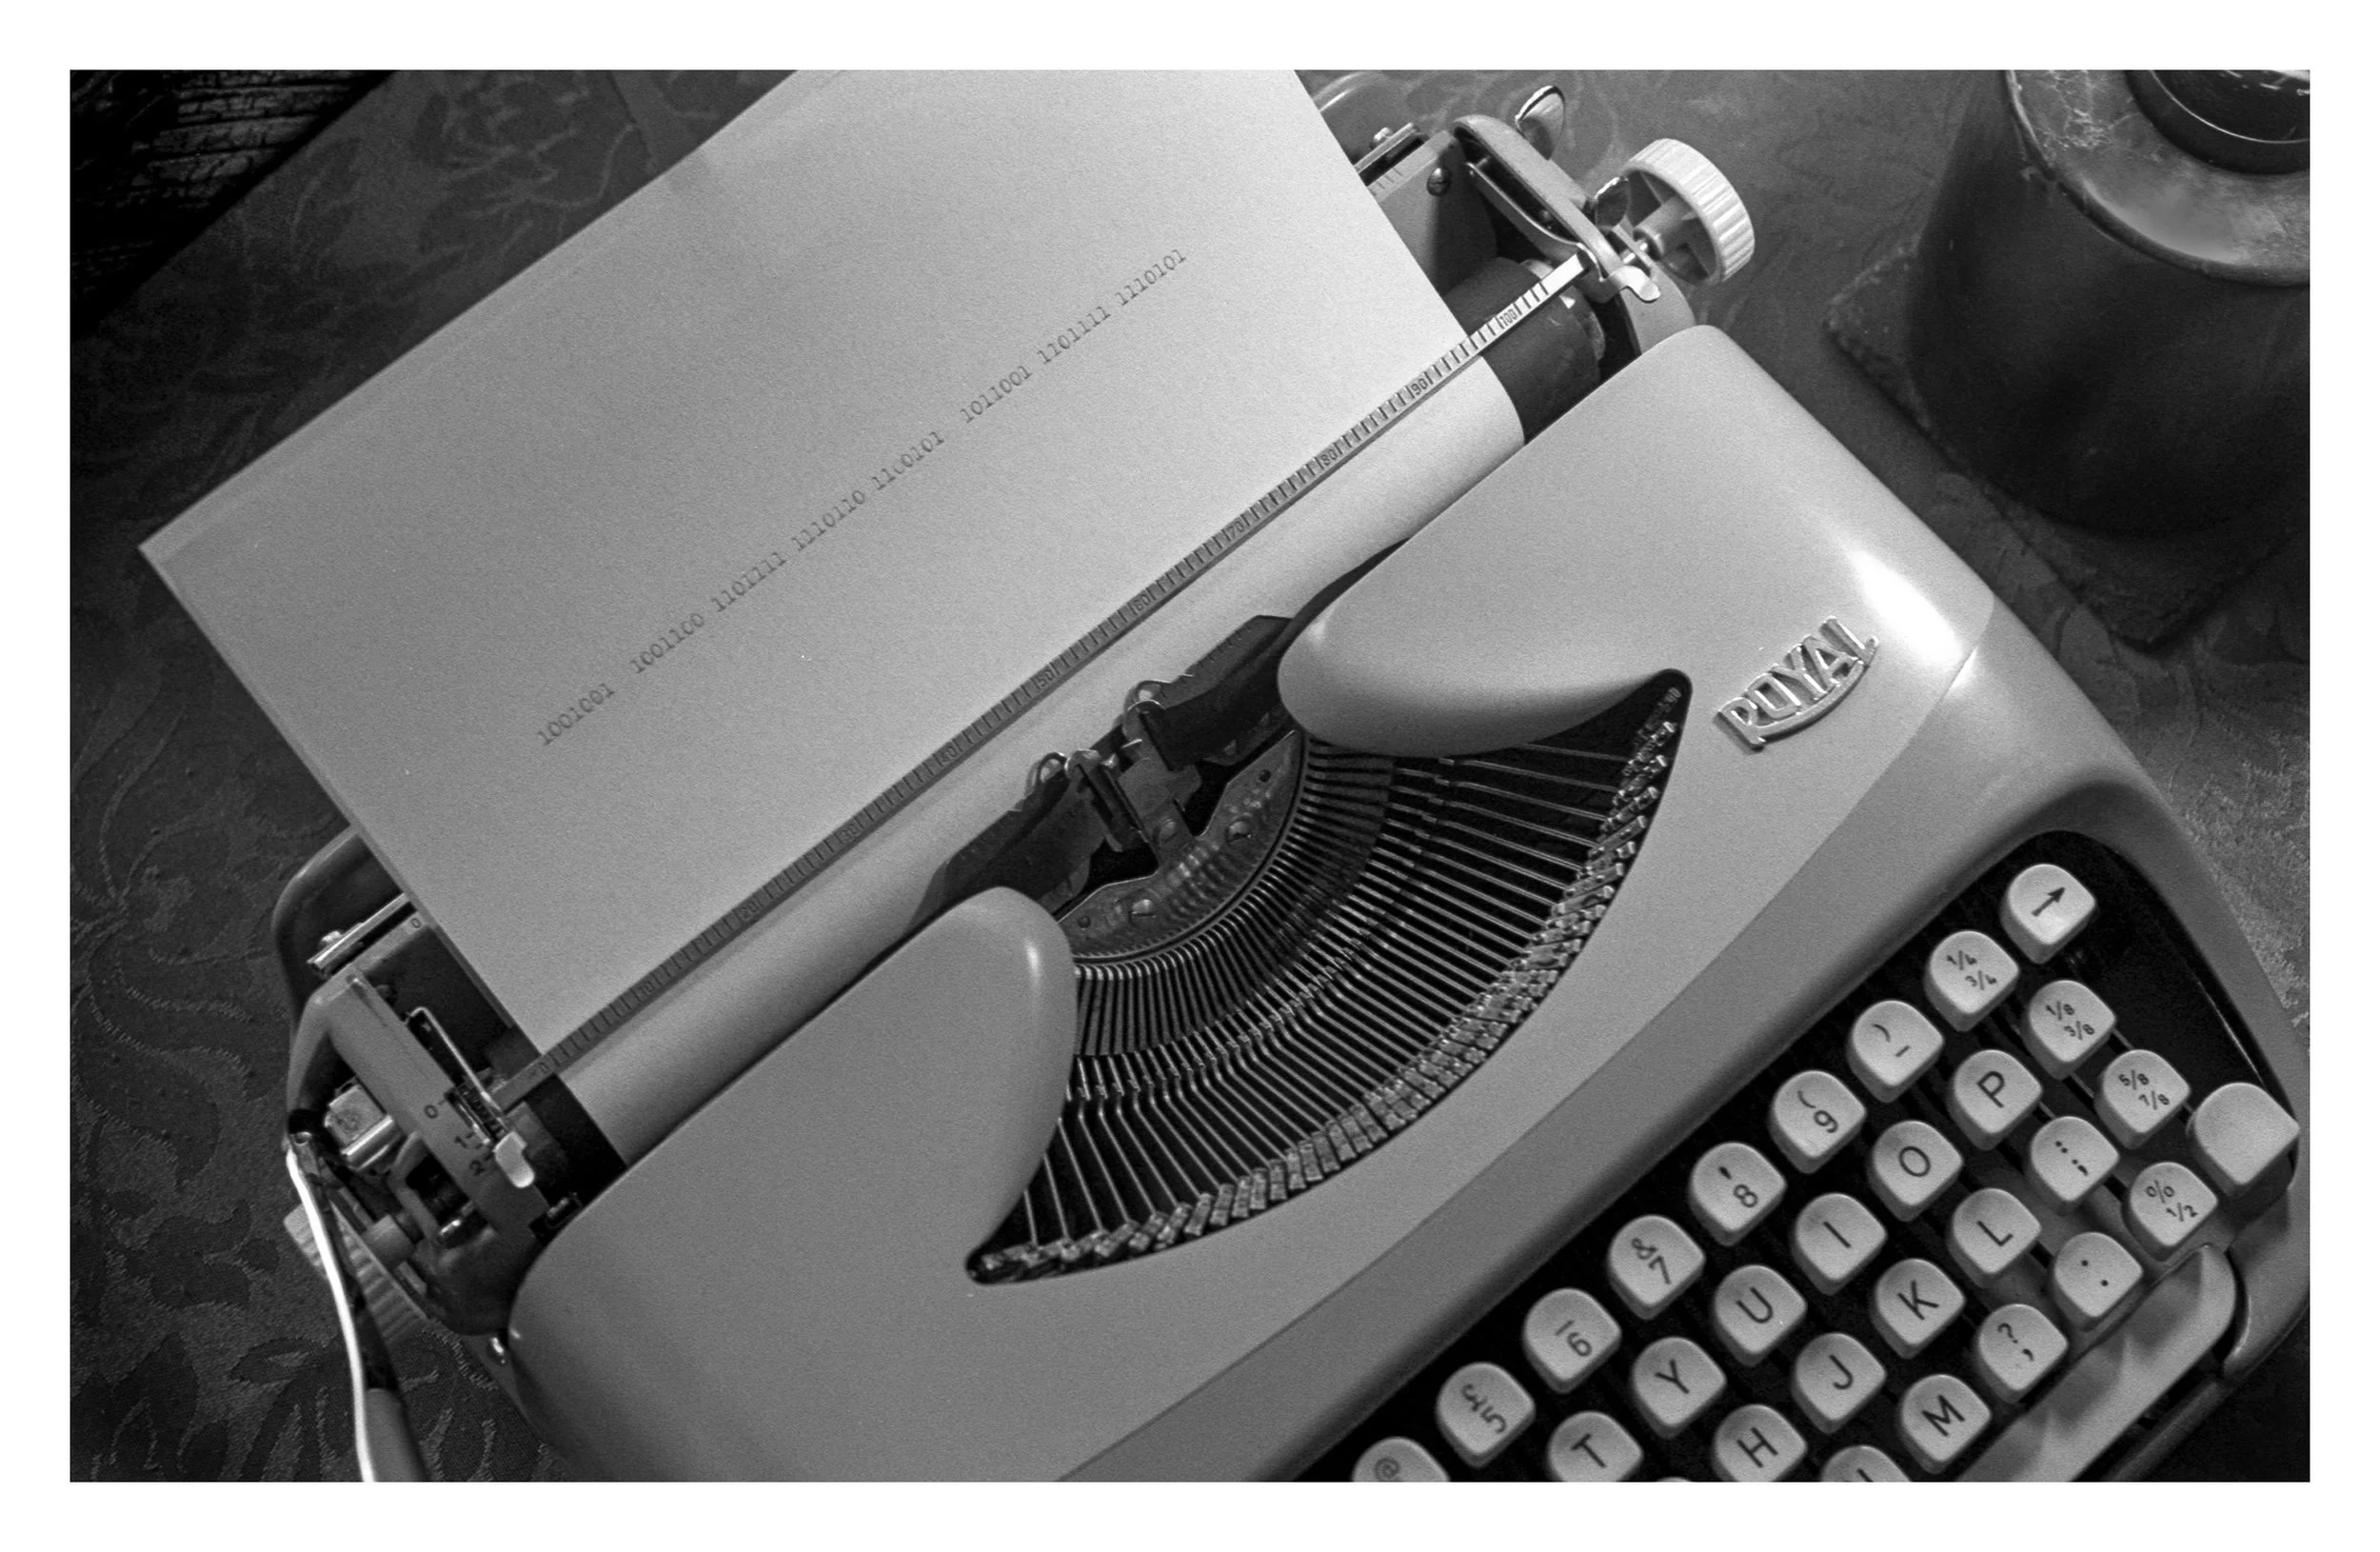
The use of AI in photography
The use of AI in photography is not entirely new and initially focused on improving image quality. Today, these AI-powered tools are continuously being refined and improved. One of the latest advancements is leveraging generative AI to help creators make photographs without the need for a physical camera. The rise in popularity of camera-less AI image generation has raised legal and ethical concerns that demand attention - is it possible to strike a balance between innovation and the protection of intellectual property rights, consent, and privacy?
The Lost Art of Printing Photos: Celebrating the Beauty of Darkroom Prints
In today's digital age, printing photos has become a neglected tradition, with people opting for instant sharing and storing of images. However, the art of darkroom printing offers a unique and magical experience, allowing for meticulous control and a tangible connection to the image-making process. The beauty of darkroom prints lies in their craftsmanship, tactile quality, and ability to evoke emotions in ways that digital images often cannot.
Shooting on Film
I’ve chosen to shoot exclusively on film for the past five years largely because I love its look and the process behind it. Film captures light with a warmth and depth that still feels unique, and working in the darkroom mixing chemicals, developing negatives, and making prints gives me a level of craftsmanship and control that I find deeply rewarding. It also slows me down, encouraging more thoughtful compositions and a stronger connection to each image I make.